The day starts early, even before the sun has a chance to peek into the old hall where we will repair the floor with epoxy resin.
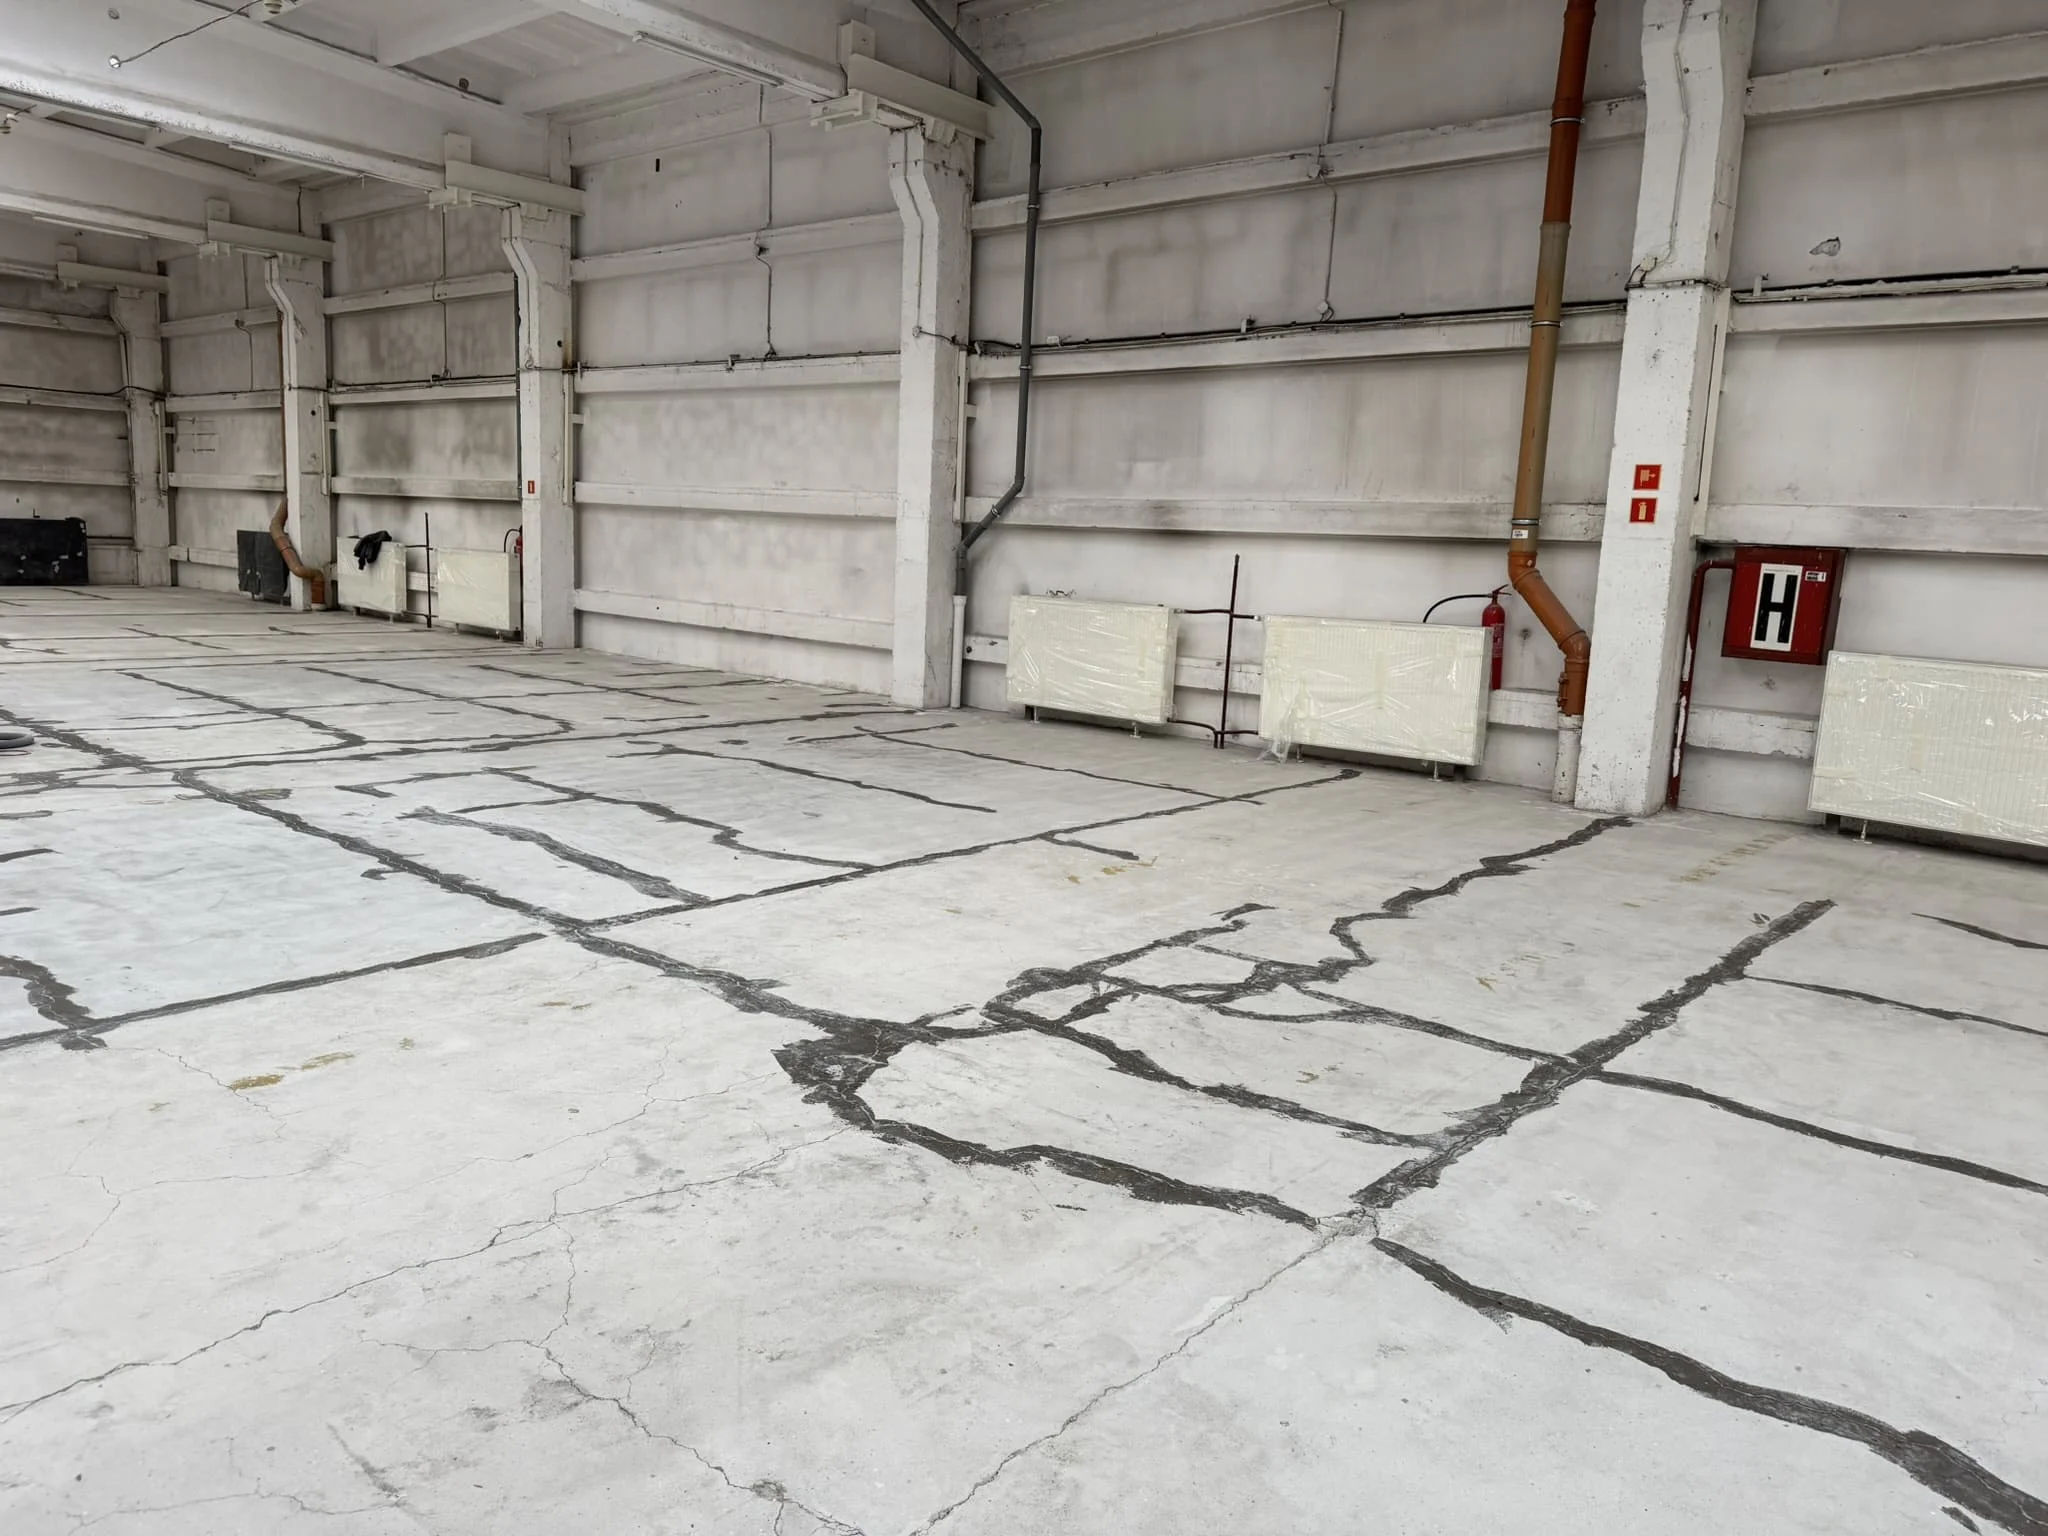
It smells of coffee and dust, and dull concrete crunches underfoot. This floor is the star of the show: cracked, brittle in places, with oil stains and years of neglect.
Our task is to renovate it with epoxy resin so that it becomes even, strong, and easy to maintain. No gimmicks – solid technology, step by step. We start with an inspection. We check the concrete moisture content (CM method – it should be below 4%), the substrate temperature and dew point (at least 3°C difference to avoid condensation), and assess the peel strength (we aim for at least 1.5 MPa).
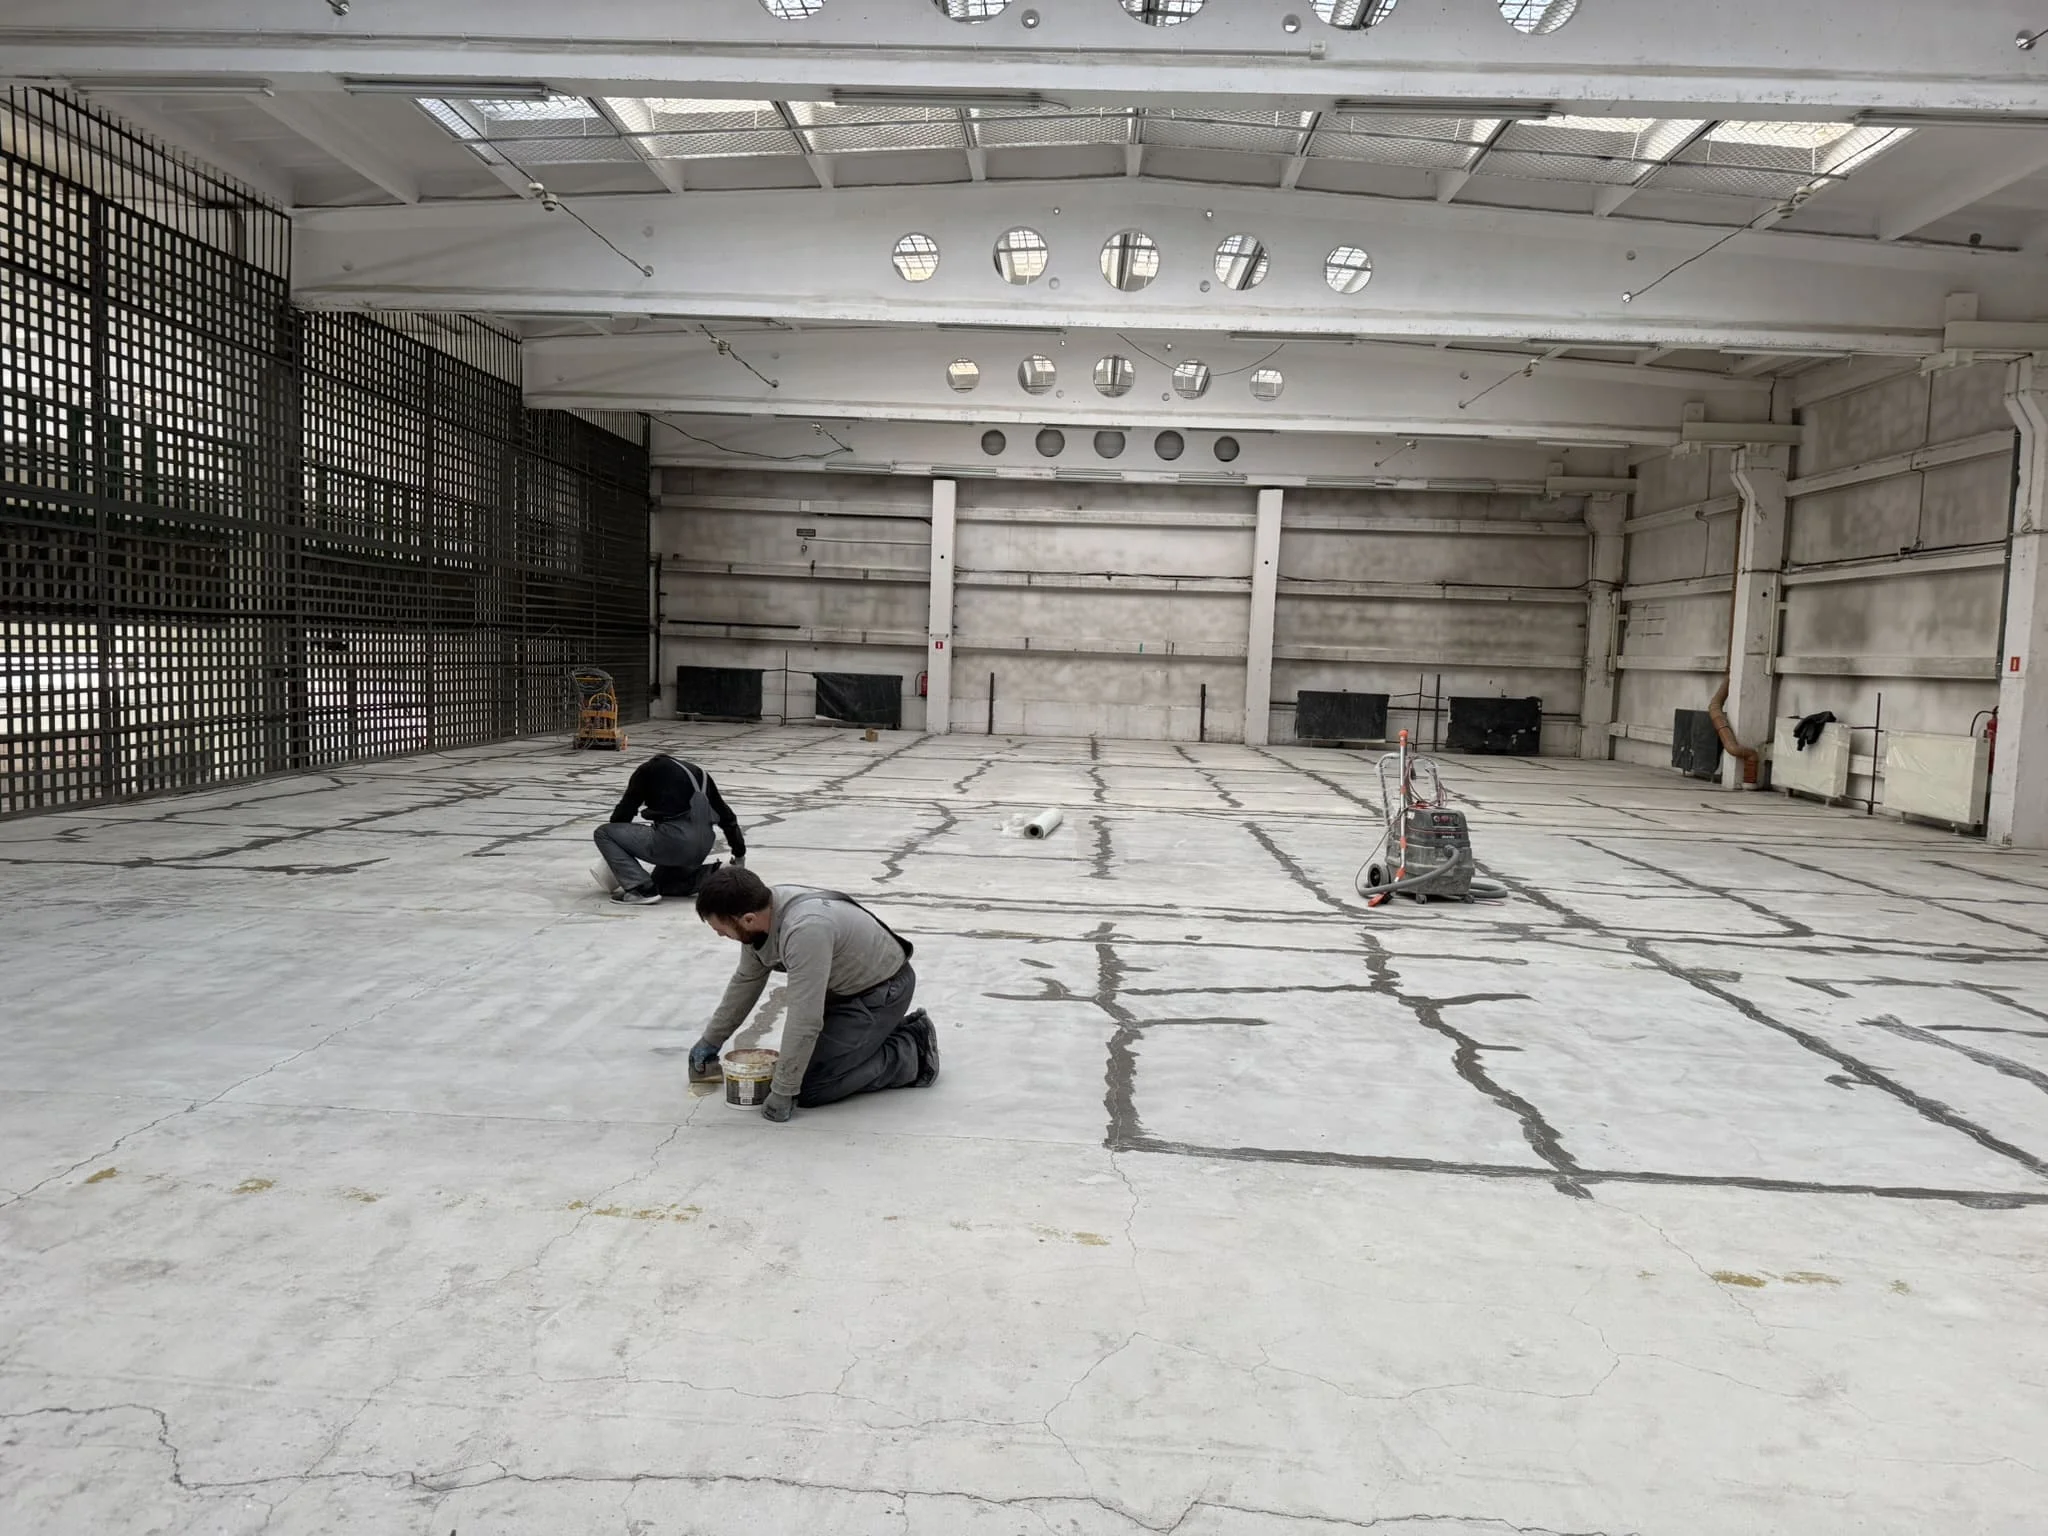
To repair floors using epoxy resin, we mark the cracks and scuffs with a marker. Where the concrete "rings" hollowly, there will likely be some loosening—this needs to be removed. We also remove the detector and check where the old reinforcement runs. We mark the expansion joints because we'll be reconstructing them, not pouring them rigidly.
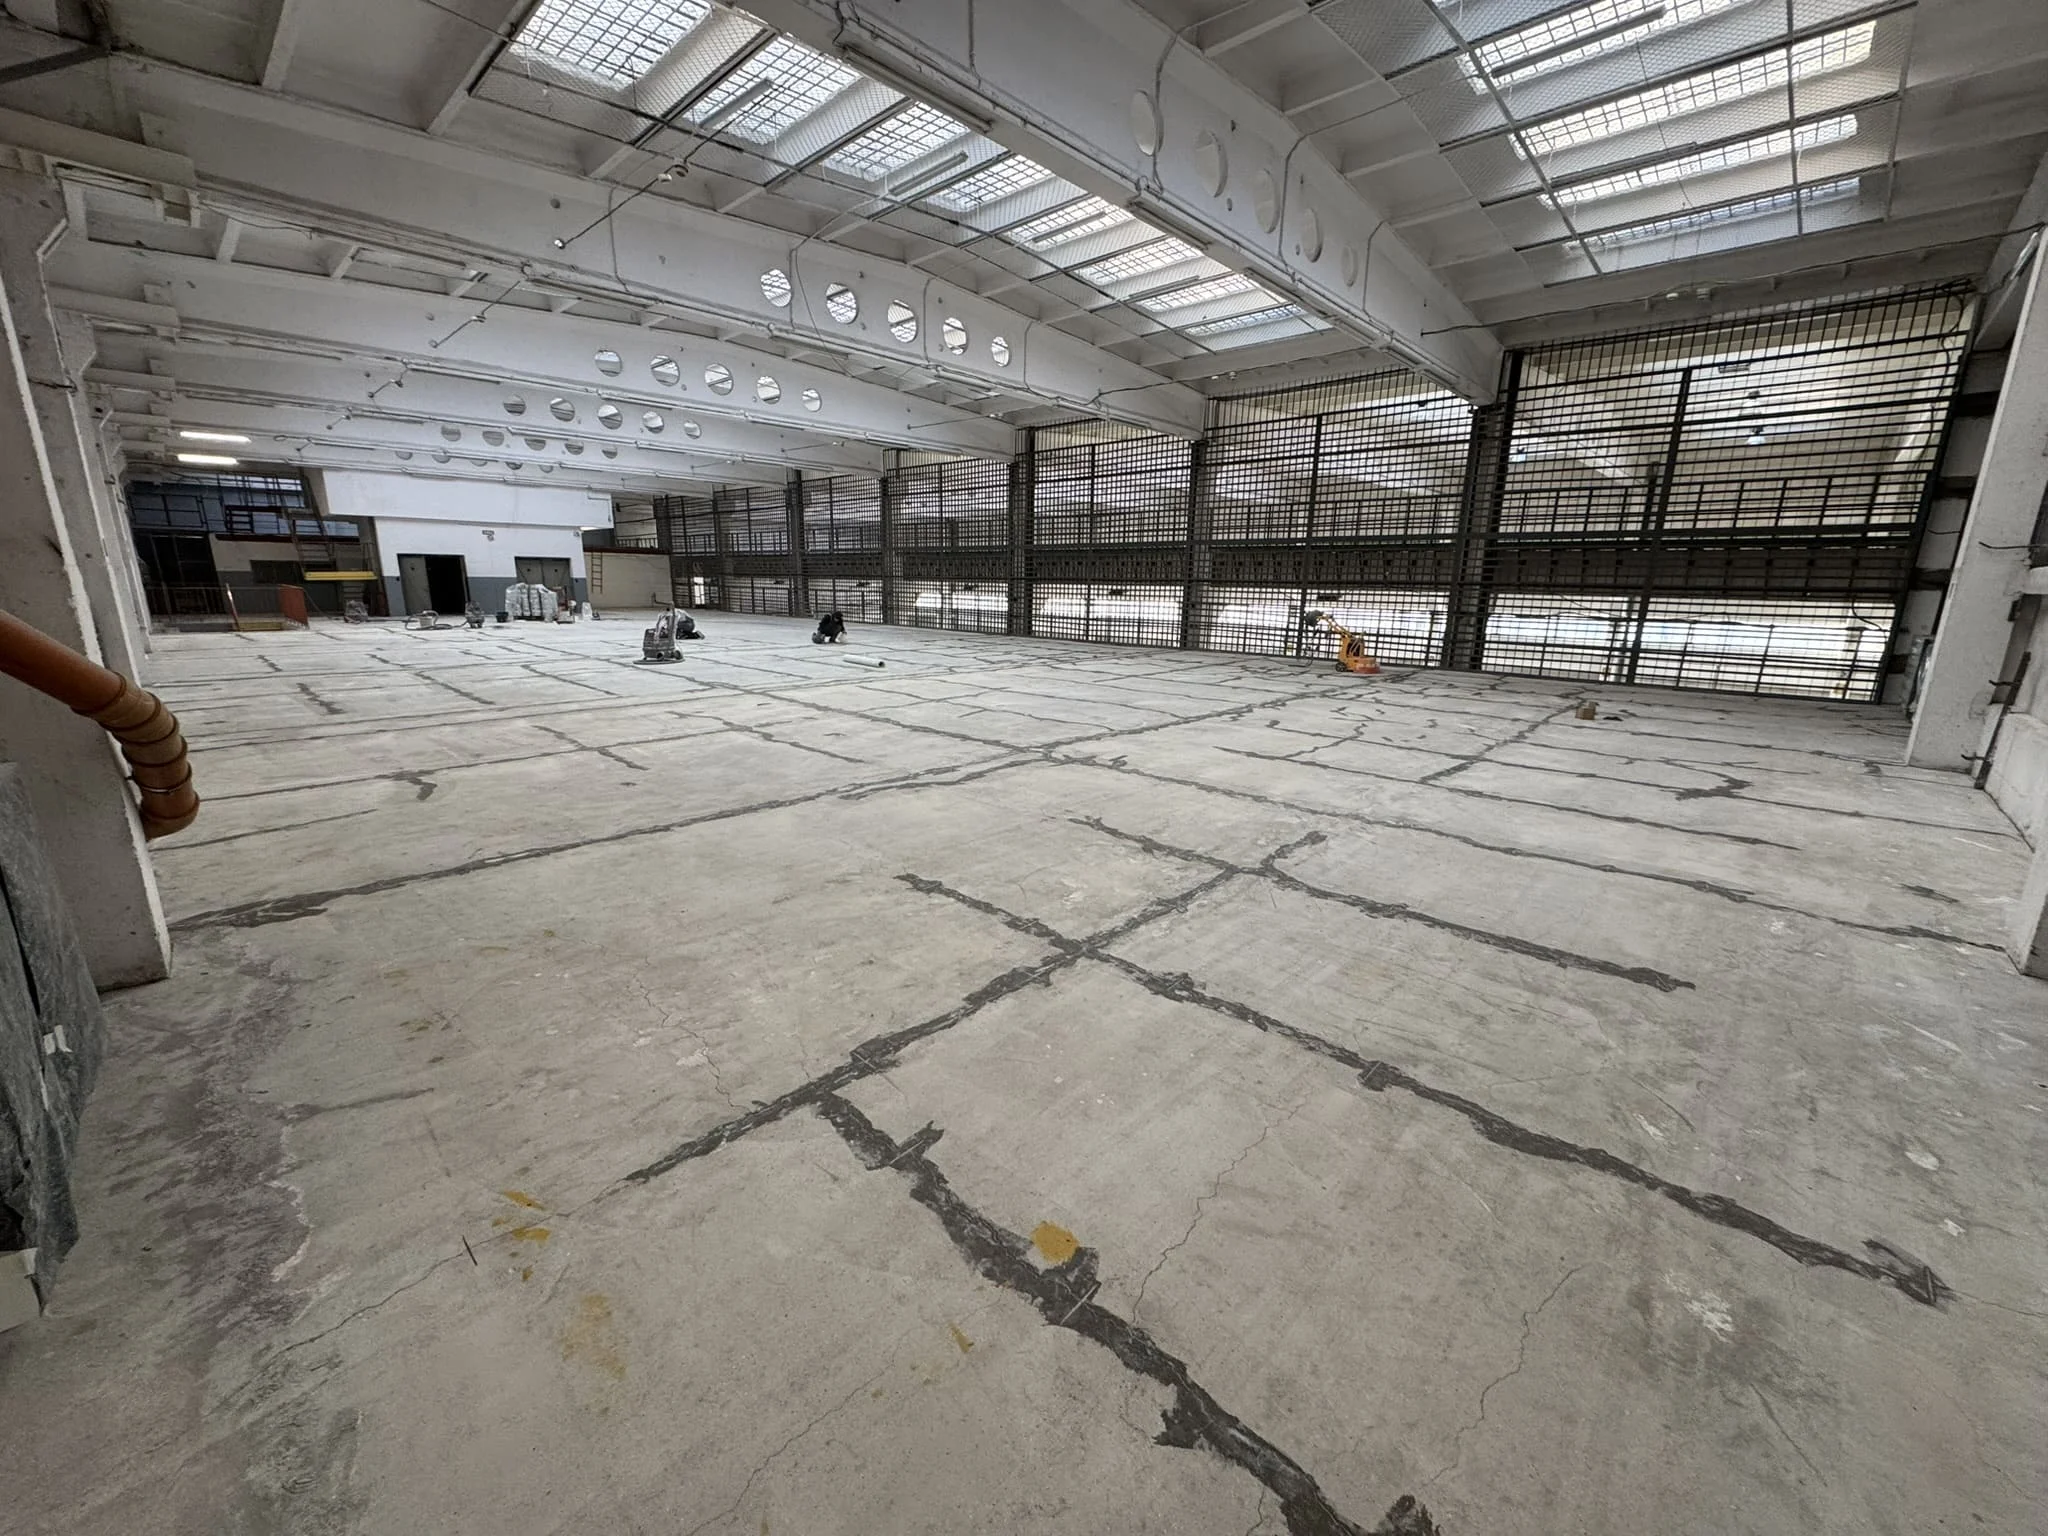
Heavy equipment comes in. A diamond-tipped planetary grinder for floor repairs moves lengthwise and widthwise until we've removed cement laitance and all weak layers. An angle grinder with extraction works on edges and columns. If there's heavy dirt, we use shotblasting. We vacuum every meter with an industrial vacuum cleaner with a HEPA filter – dust is the enemy of adhesion. We degrease oil stains, sometimes burn them off with hot air, and apply a special barrier primer if they're stubborn.
Now for the cracks. First, we widen them into a "U" or "V" shape—using a wall chaser to create a groove 8-12 mm wide and approximately 15-20 mm deep. We carefully vacuum these channels. We inject low-viscosity injection resin for floor repairs into the narrow, active cracks, which soaks into the capillaries.
We fill wider gaps with epoxy floor repair mortar – a mixture of resin and quartz sand (usually 1:5 by weight), which becomes very hard once cured. Structural joints are not grouted – they will be rebuilt and sealed with a flexible sealant.
Reinforcing cracked areas is our peace of mind for the future. Apply a thin layer of epoxy resin to pre-griding concrete as a "wet bed," and then lay strips of 200-300 g/m² glass fabric on top. Overlap the strips by at least 10 cm beyond the repaired area and by 5-10 cm at the strip joints.
Next, we saturate the fabric with resin (wet-on-wet), pressing with a squeegee or air roller until the fibers become transparent and bubble-free. This "patch" creates a bridge that transfers stresses and distributes them over a larger surface area. Once the fabric is installed, it can only be removed by concrete milling.
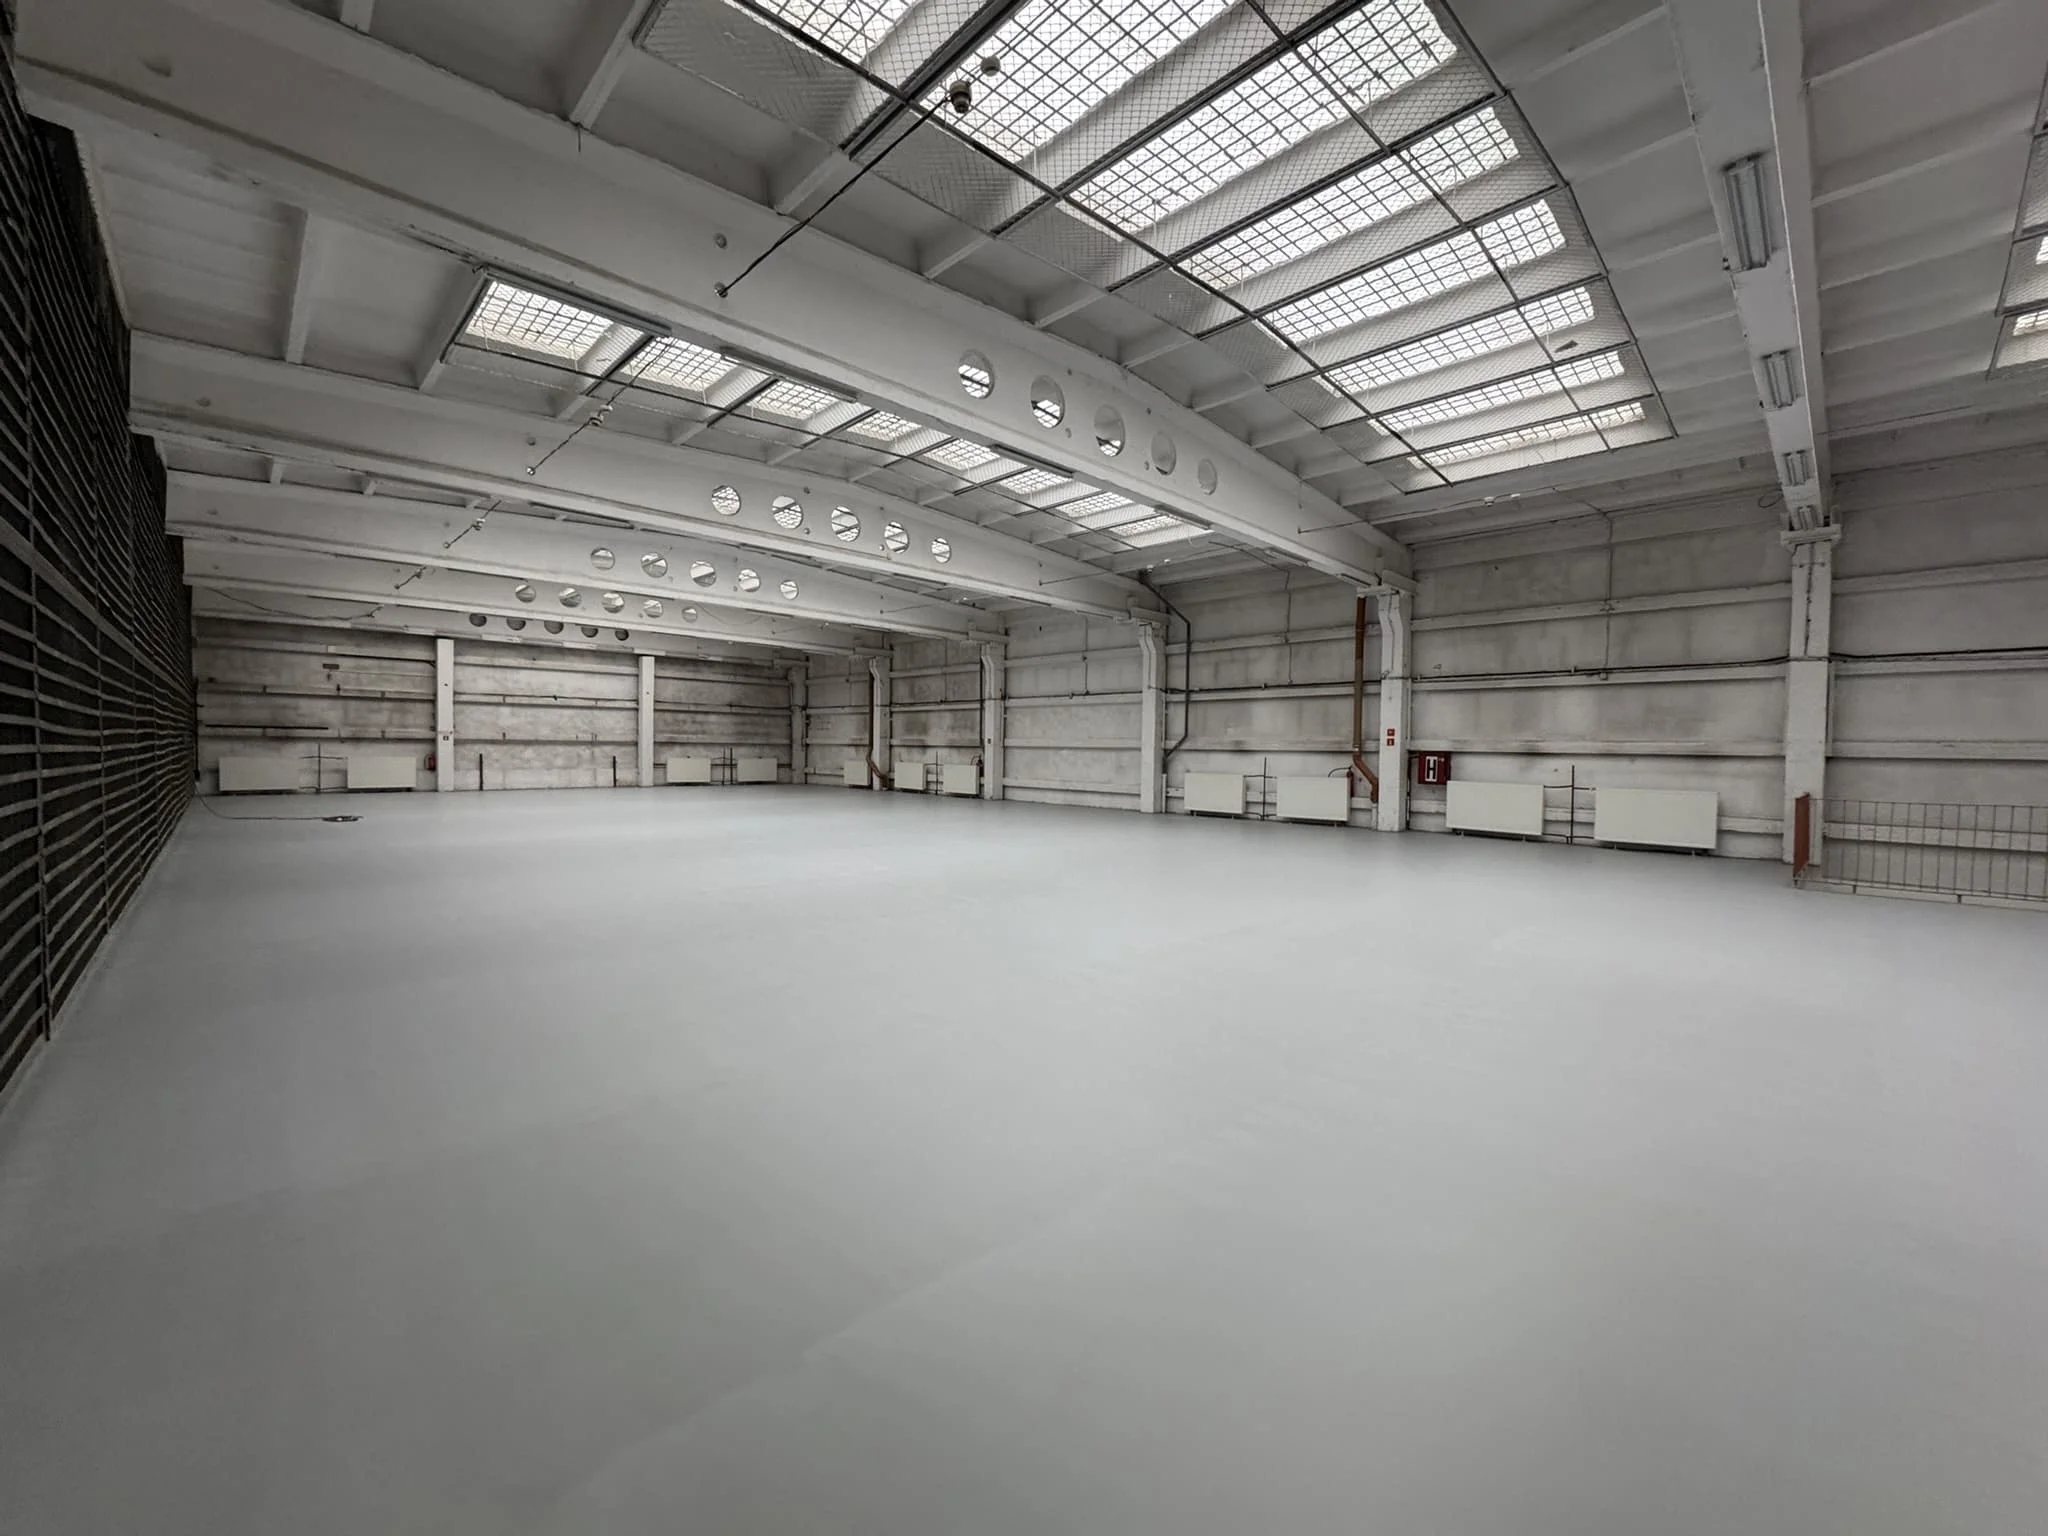
Once the repairs are set, we move on to leveling the entire surface of the thin-layer commercial cement floor. If the floor has any local "dimples," we apply an epoxy filler with fine quartz and smooth it out with a steel trowel. Thicker imperfections are leveled with an epoxy-quartz mortar. Patience and checking the flatness with a 2-meter float are key here. Finally, we gently sand again, vacuum, and wipe down any sticky areas to ensure there's nothing left that could weaken the adhesion.
We begin laying a three-layer system on the industrial floor surface. The first layer is an epoxy primer – a low-viscosity resin that penetrates the concrete and binds dust. We spread it evenly (approx. 300–500 g/m²) using a roller and squeegee. While the primer is still wet, we generously sprinkle it with 0.3–0.8 mm quartz sand "to saturate" it – so that the surface is completely covered with grain. This creates a mechanical roughness and builds a base. After curing, usually the next day, we sweep and vacuum away the excess sand.
The second layer of epoxy resin floor repair is a repeat, but with a stronger finish. We apply another layer of resin (approx. 400–600 g/m²), then sprinkle with a thicker quartz, e.g., 0.6–1.2 mm, again until fully saturated. These two "sandy" stages create a kind of epoxy grid, which is highly resistant to abrasion and pressure points. After setting, we vacuum a second time, leveling out loose grains, and checking for any "bald" spots. If necessary, we add some spot-dressing.
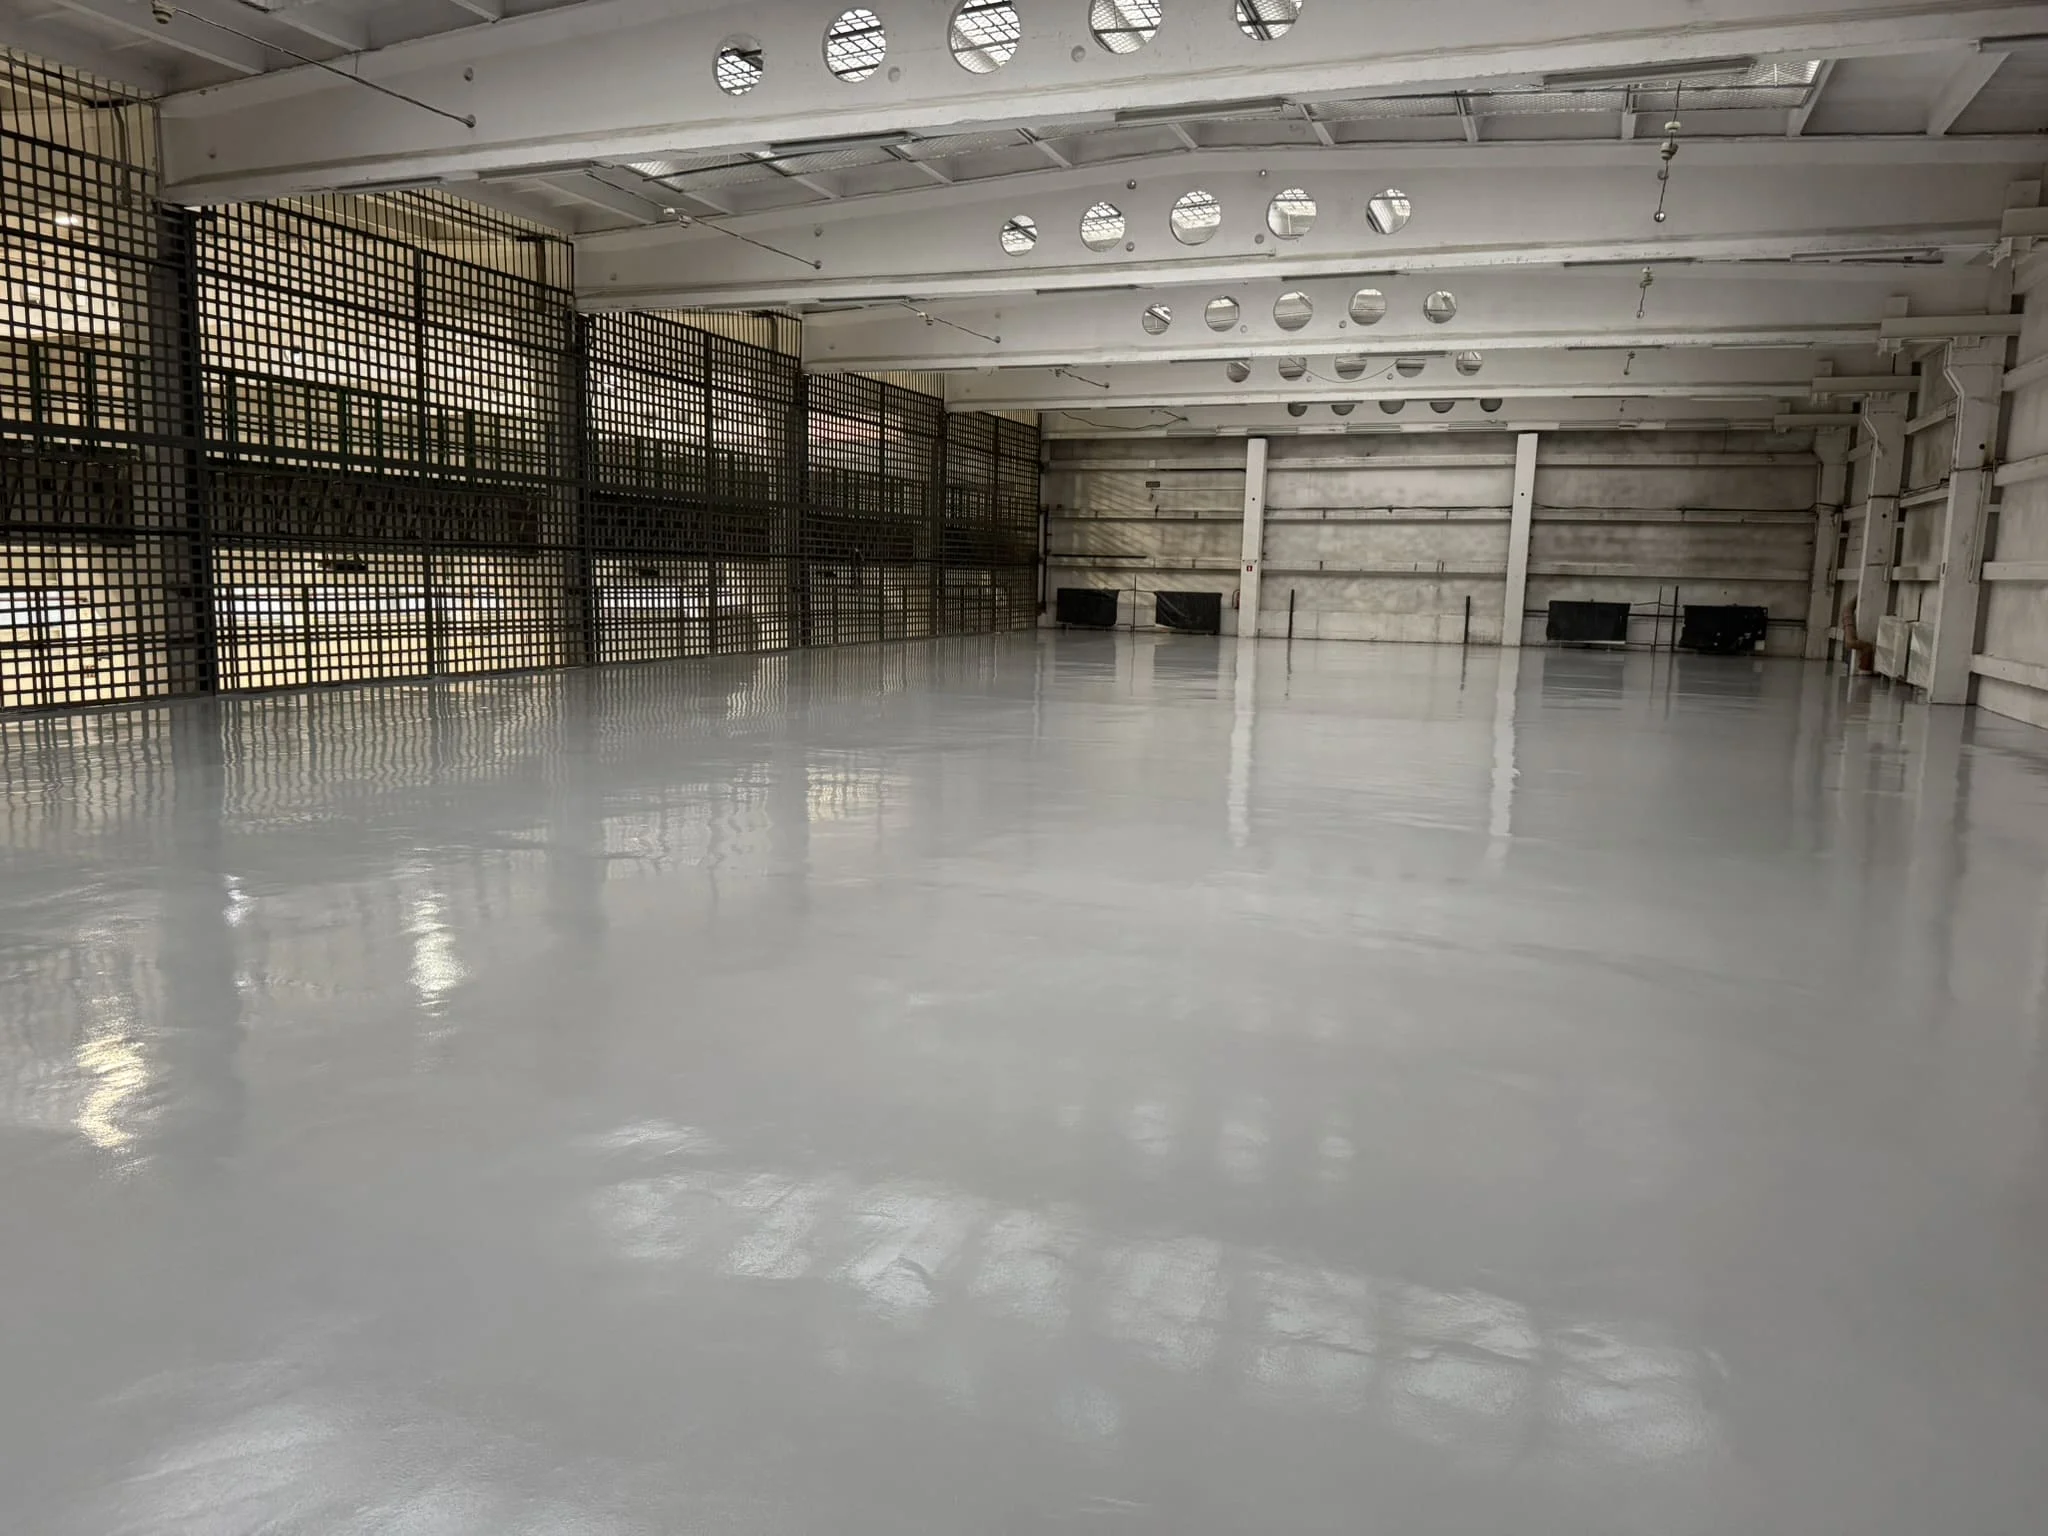
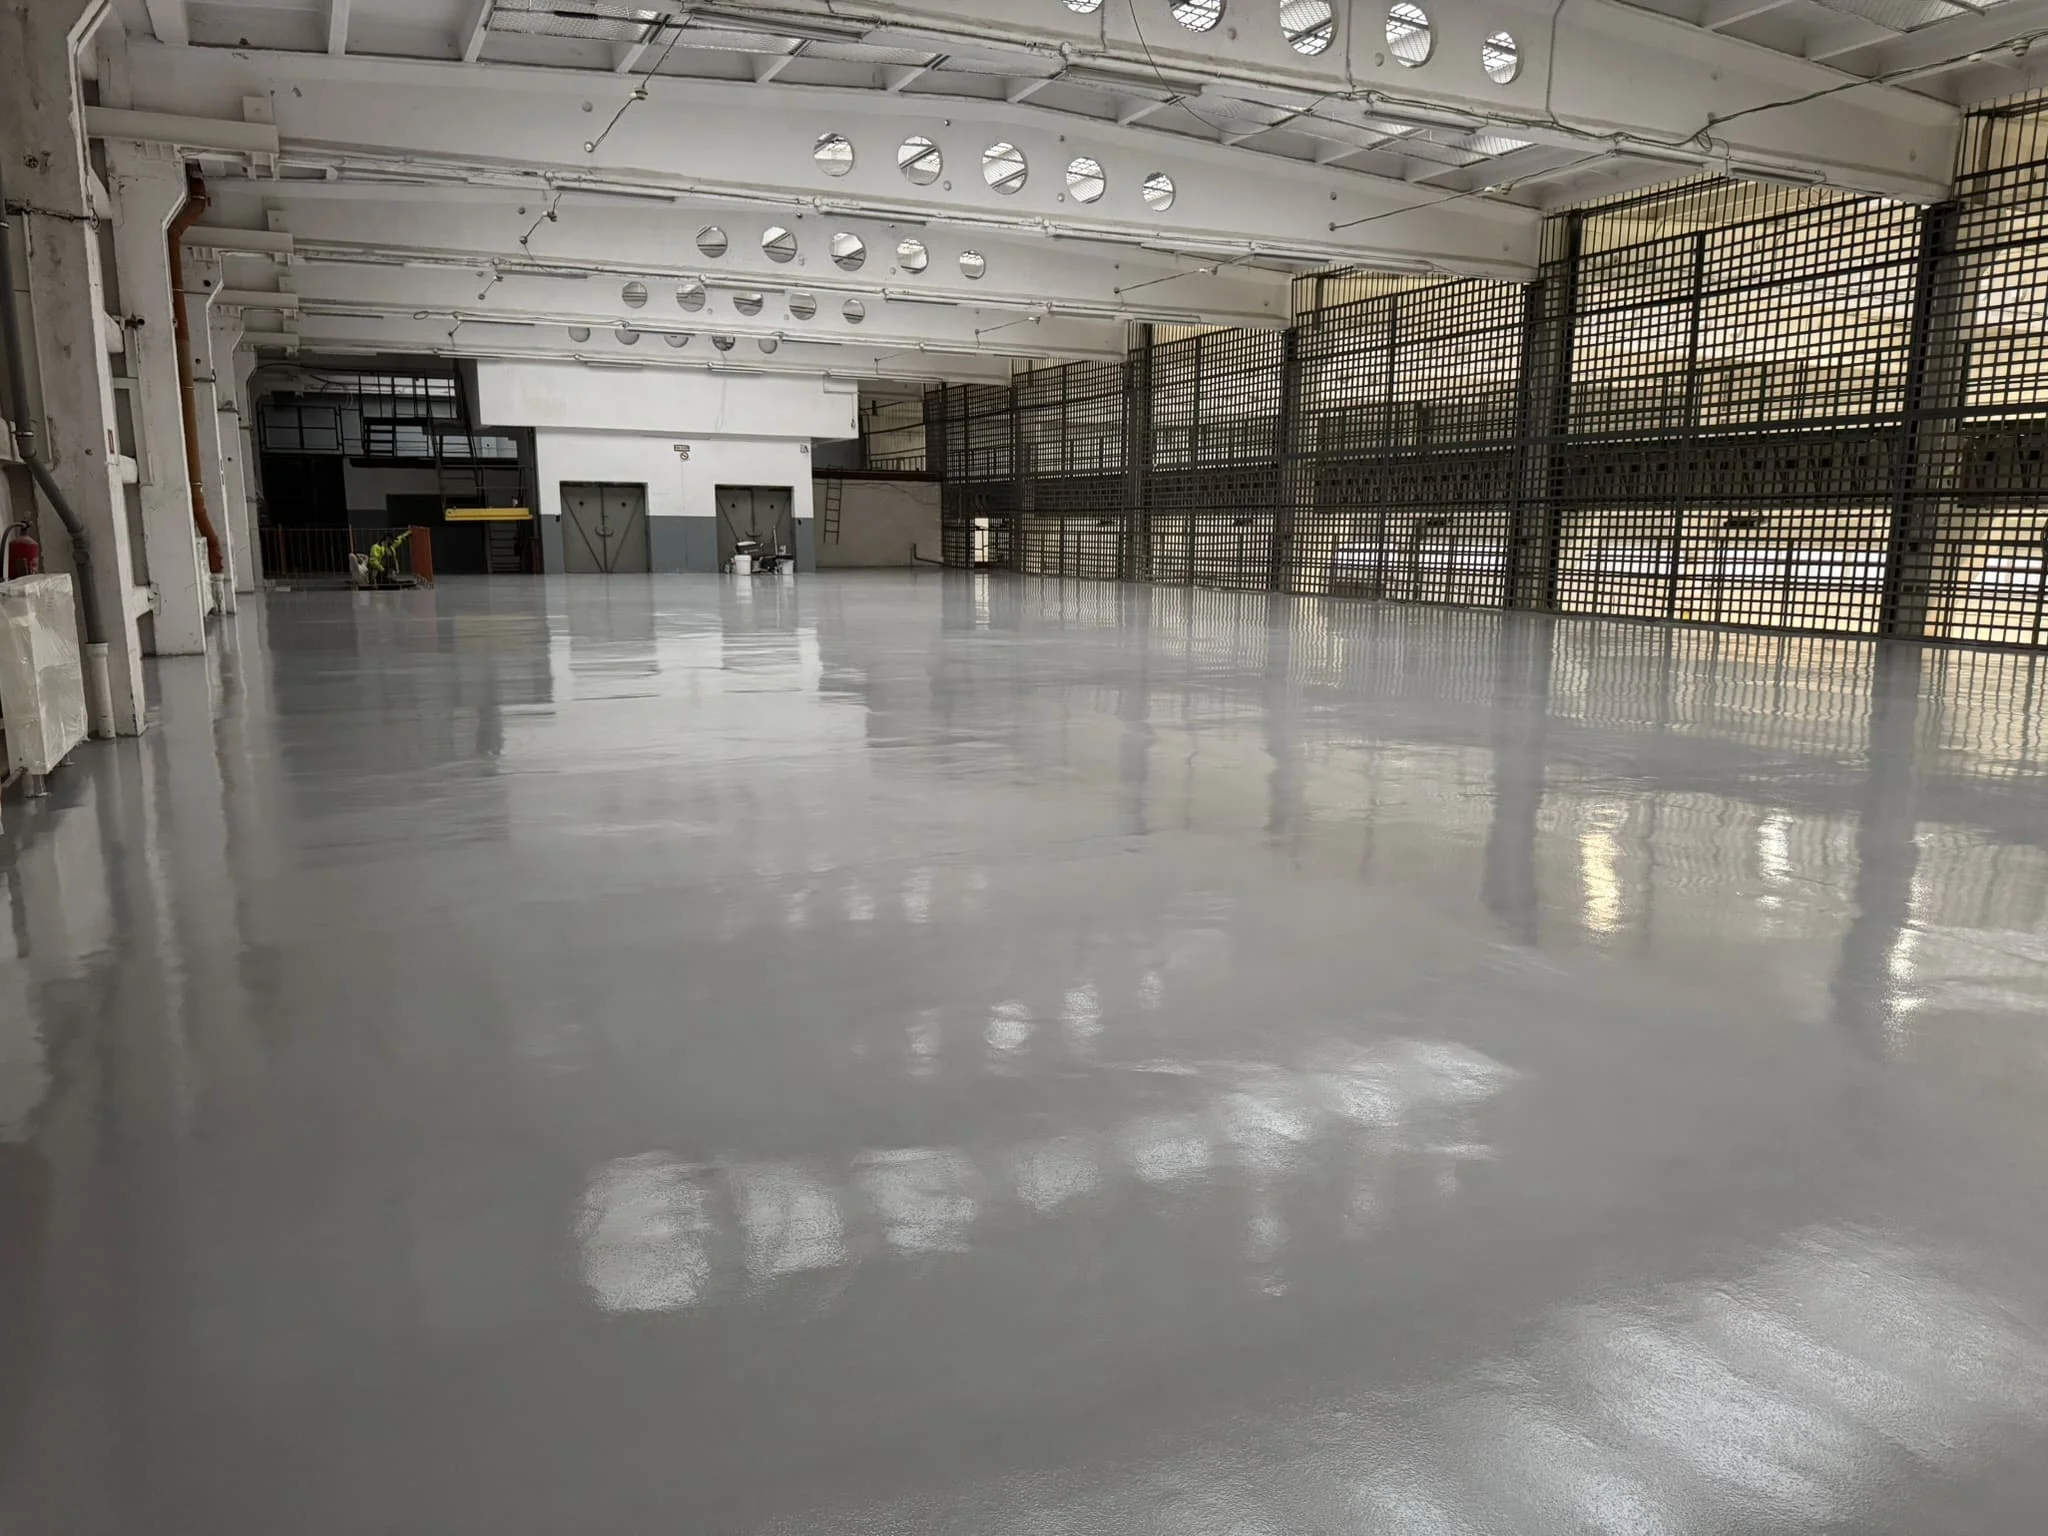
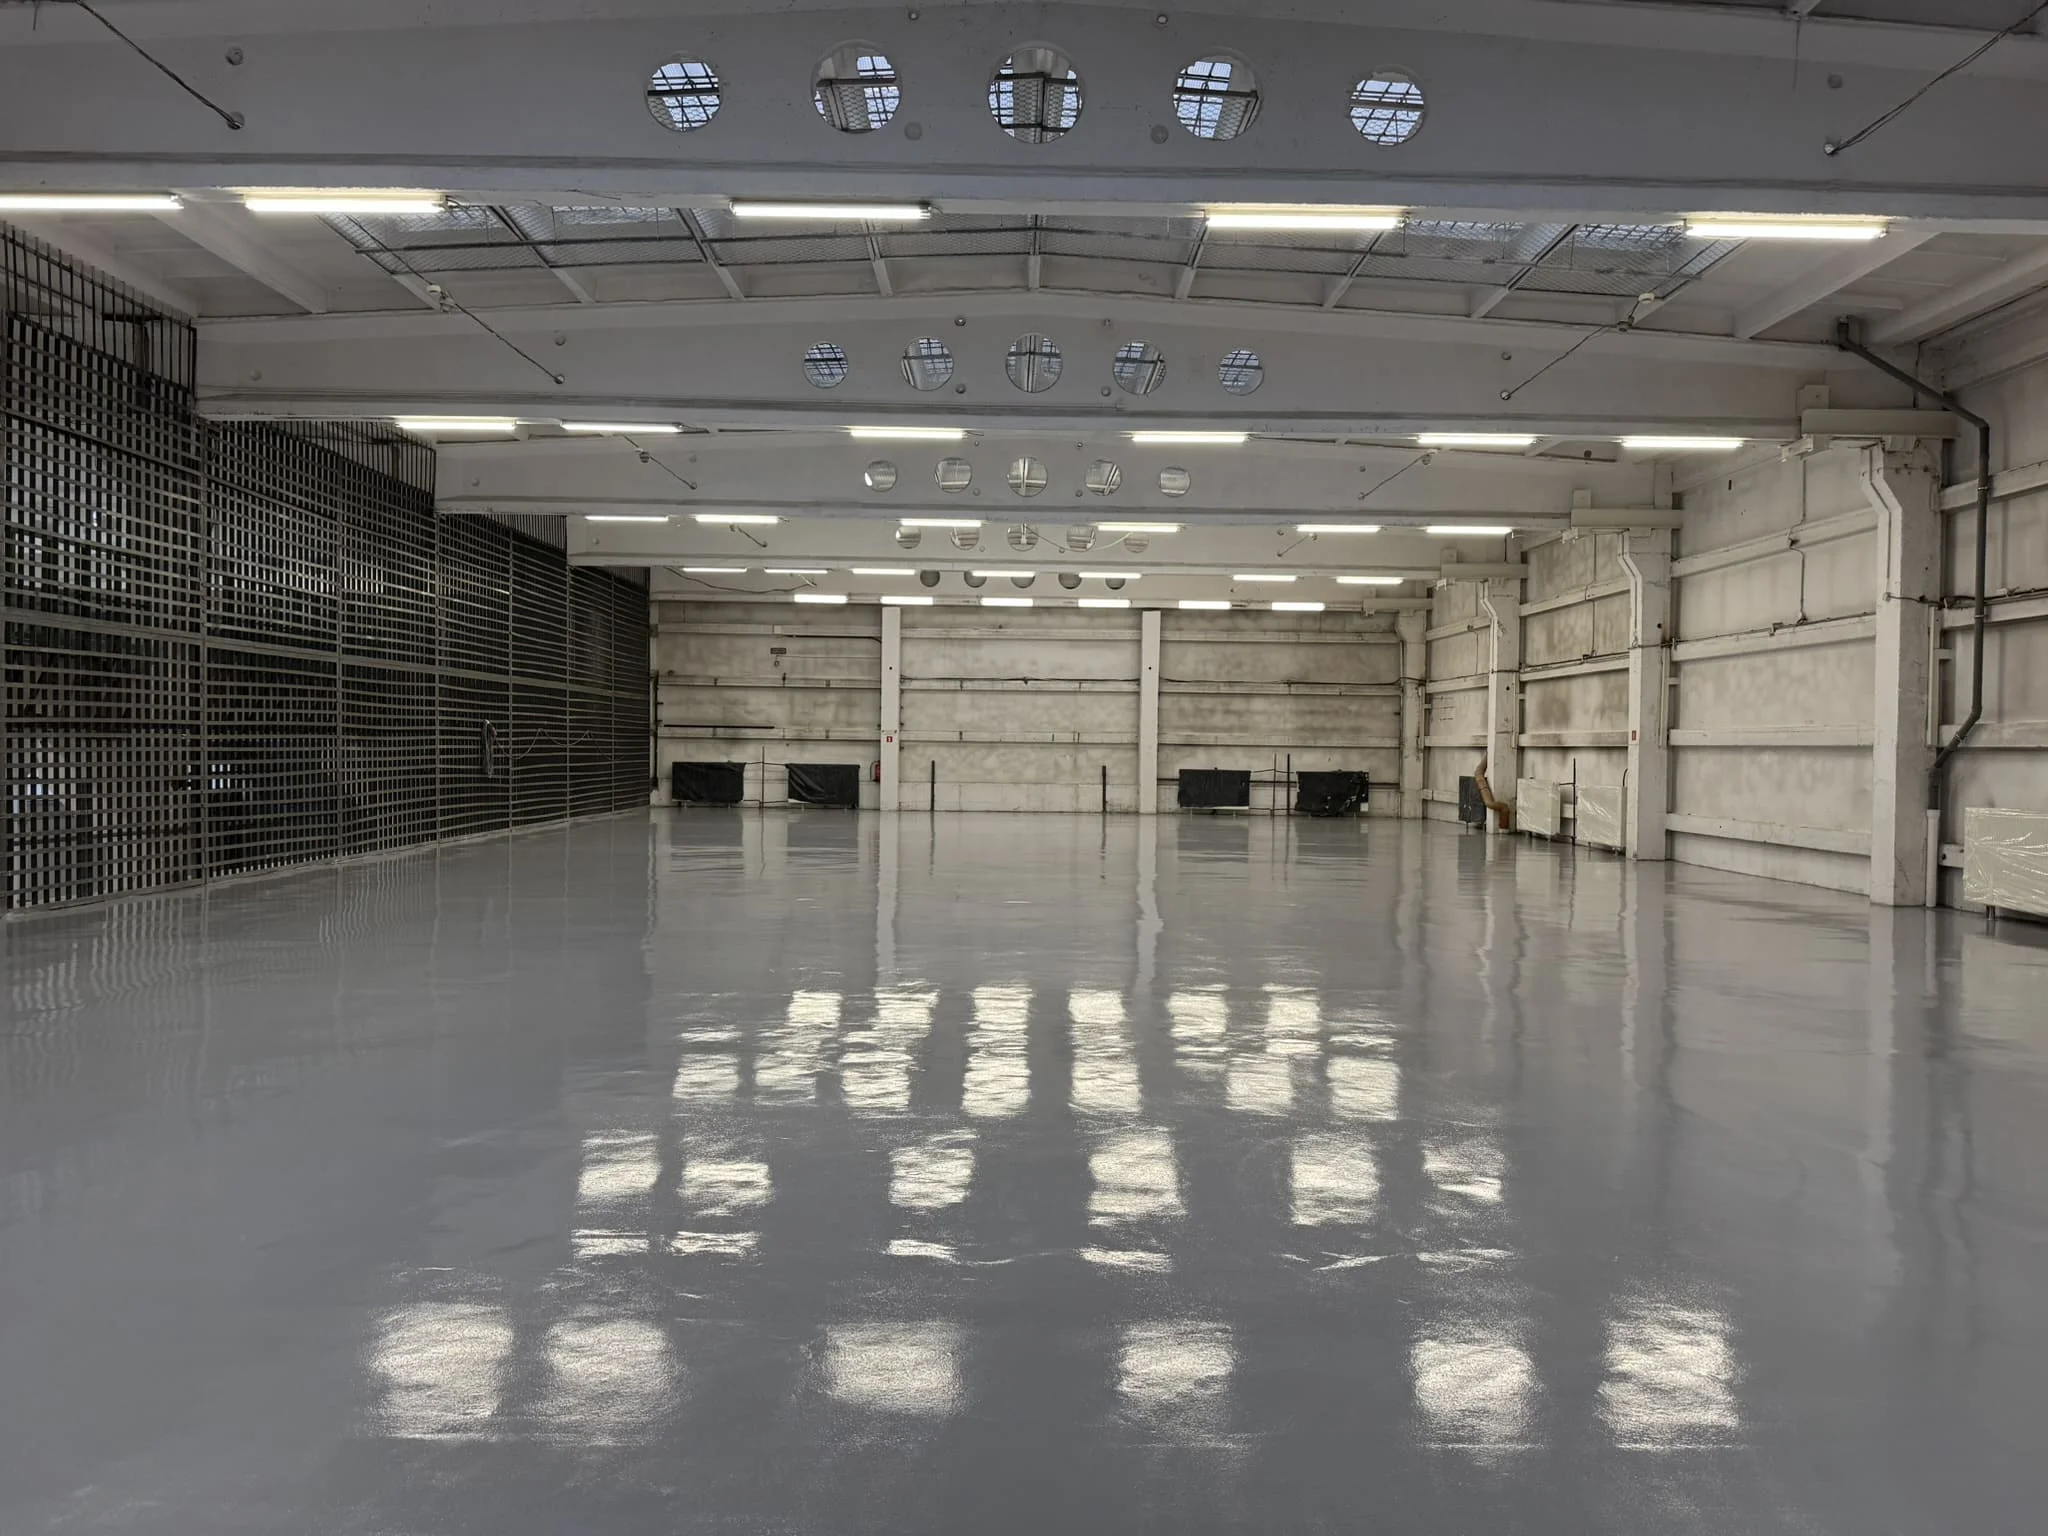
The third layer is a tight, continuous epoxy coating. Depending on requirements, we apply 800–1200 g/m² of self-leveling resin, using a toothed squeegee and de-aerating with a spiked roller. This step is pure pleasure: the resin spreads like glass, covering the sand structure and leaving a smooth, solid surface. We monitor the pot life of the mixture, mixing in two buckets (the "two-bucket method"), and avoid leaving "dead" corners. Edges and wall transitions are pre-treated, and expansion joints are milled and reconstructed for later flexible sealing. After this layer, you can begin installing the safety barriers.
Epoxy loves shade, but it doesn't like sun like polished concrete. Therefore, once the resin has set and the minimum repainting time has passed, we apply two coats of UV-resistant varnish, usually polyurethane, tinted to match the resin color (e.g., RAL).
The first layer of epoxy resin floor repair should be applied thinly, approximately 120–150 g/m², and the second layer should be applied similarly after the first has dried. The varnish stabilizes the color, protects against yellowing and minor scratches, and improves chemical resistance. If the investor requires anti-slip properties, we add microbeads or very fine quartz to the first layer, and apply a second layer to seal the structure.
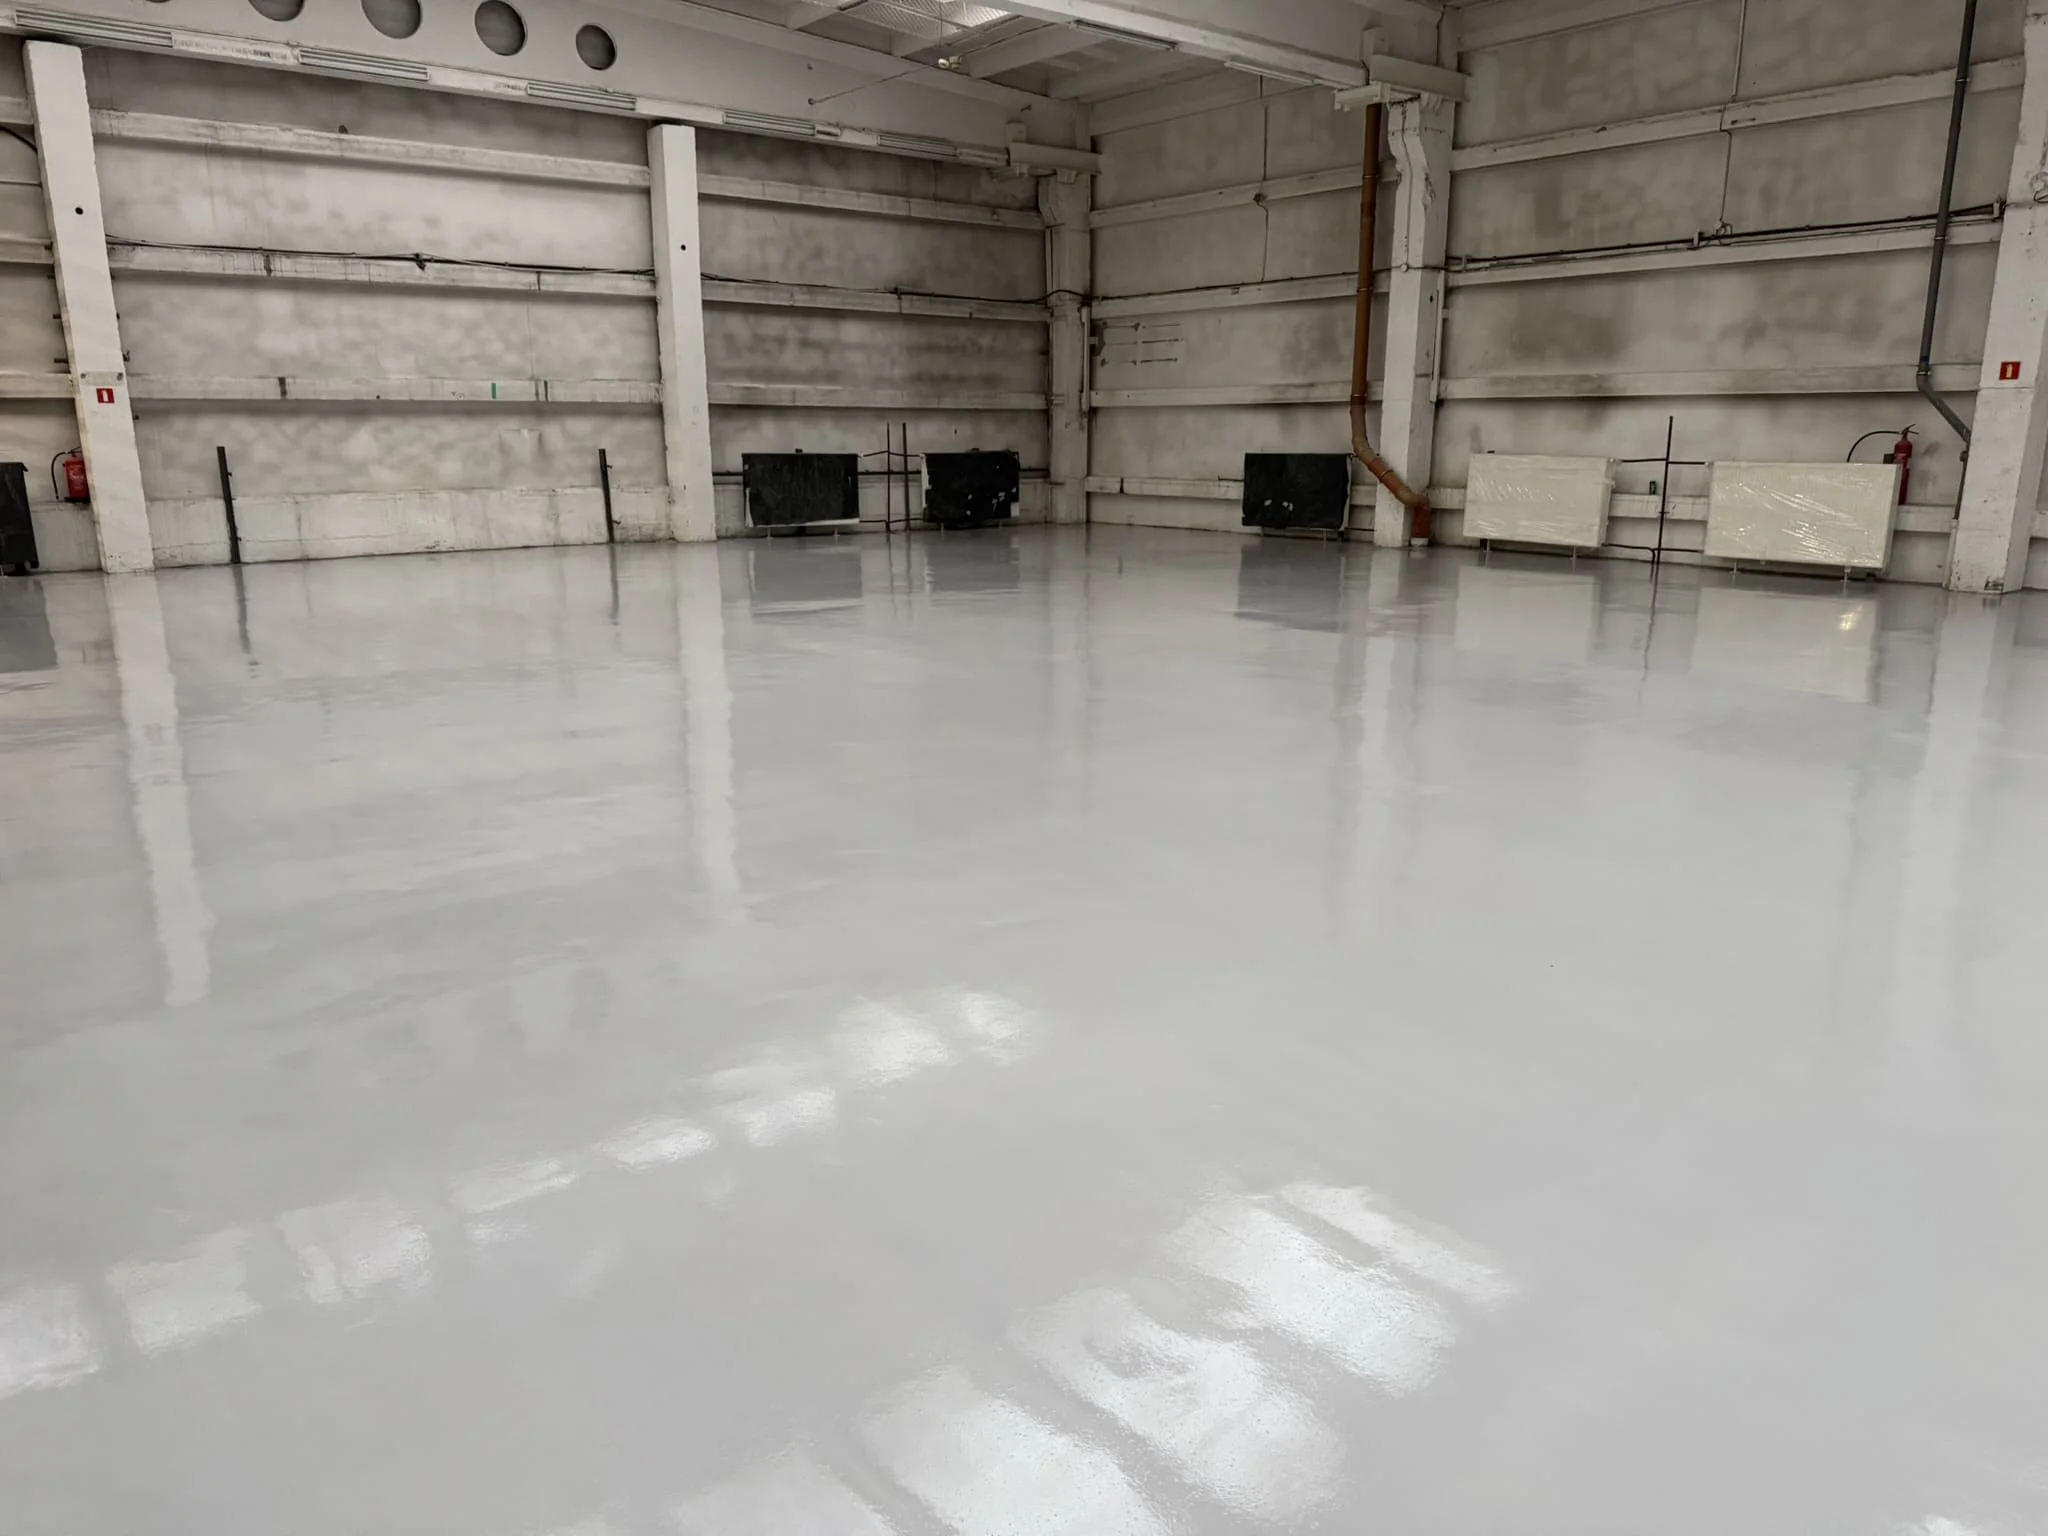
The end of the day for a epoxy resin floor repair is all about the details: we cut and fill expansion joints with flexible sealant, install baseboards, tidy up the area, and check for gloss uniformity. We record temperature and humidity to know when it's safe to reopen foot traffic (usually after 24 hours) and wheel traffic (after 3–7 days, depending on the system). We leave the investor with care instructions: soft pads, neutral pH, no aggressive solvents. Simple things that extend the life of the floor.
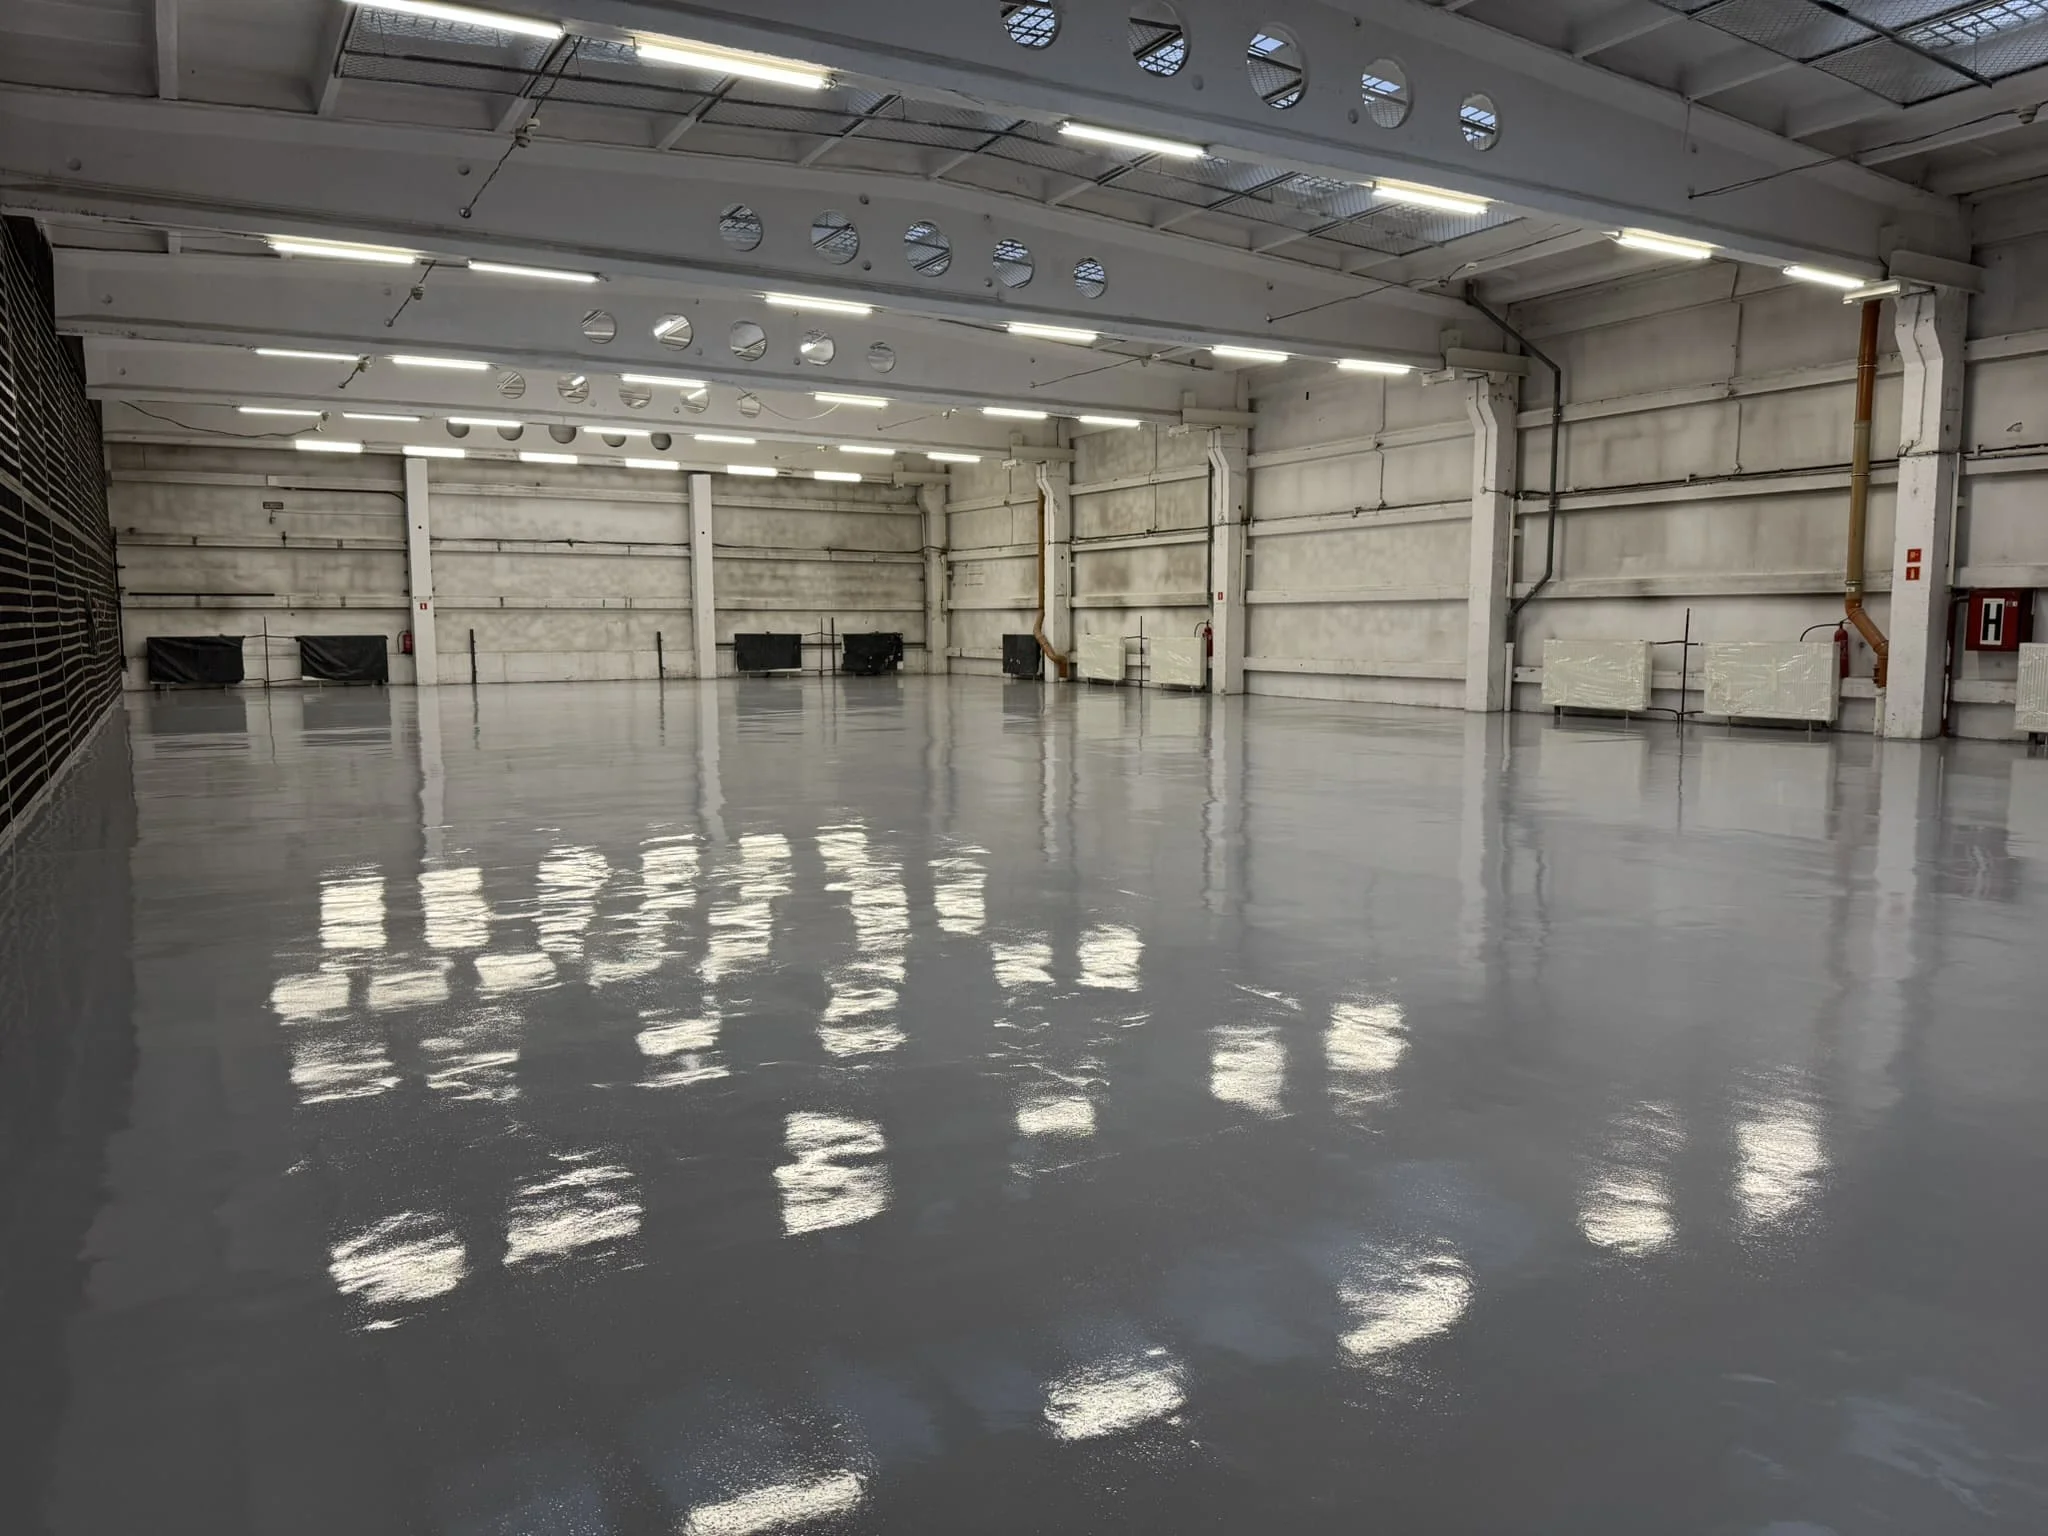
We take another look at the old-new floor. This morning it was worn, full of cracks. Now it's smooth, strong, and even, reinforced where necessary with glass fabric, with a system of two layers of sand and three layers of resin, and protected with UV varnish. It's not magic – it's technology, consistency, and attention to detail. Tomorrow we'll be back to remove the tape, inspect the whole thing in daylight, and take a few more photos. But we already know that this industrial concrete floor has many years of work ahead of it. And that's the most enjoyable thing about this craft.