Resin Floor Repair – Loosening and Blistering. Causes and Effective Repair Methods.
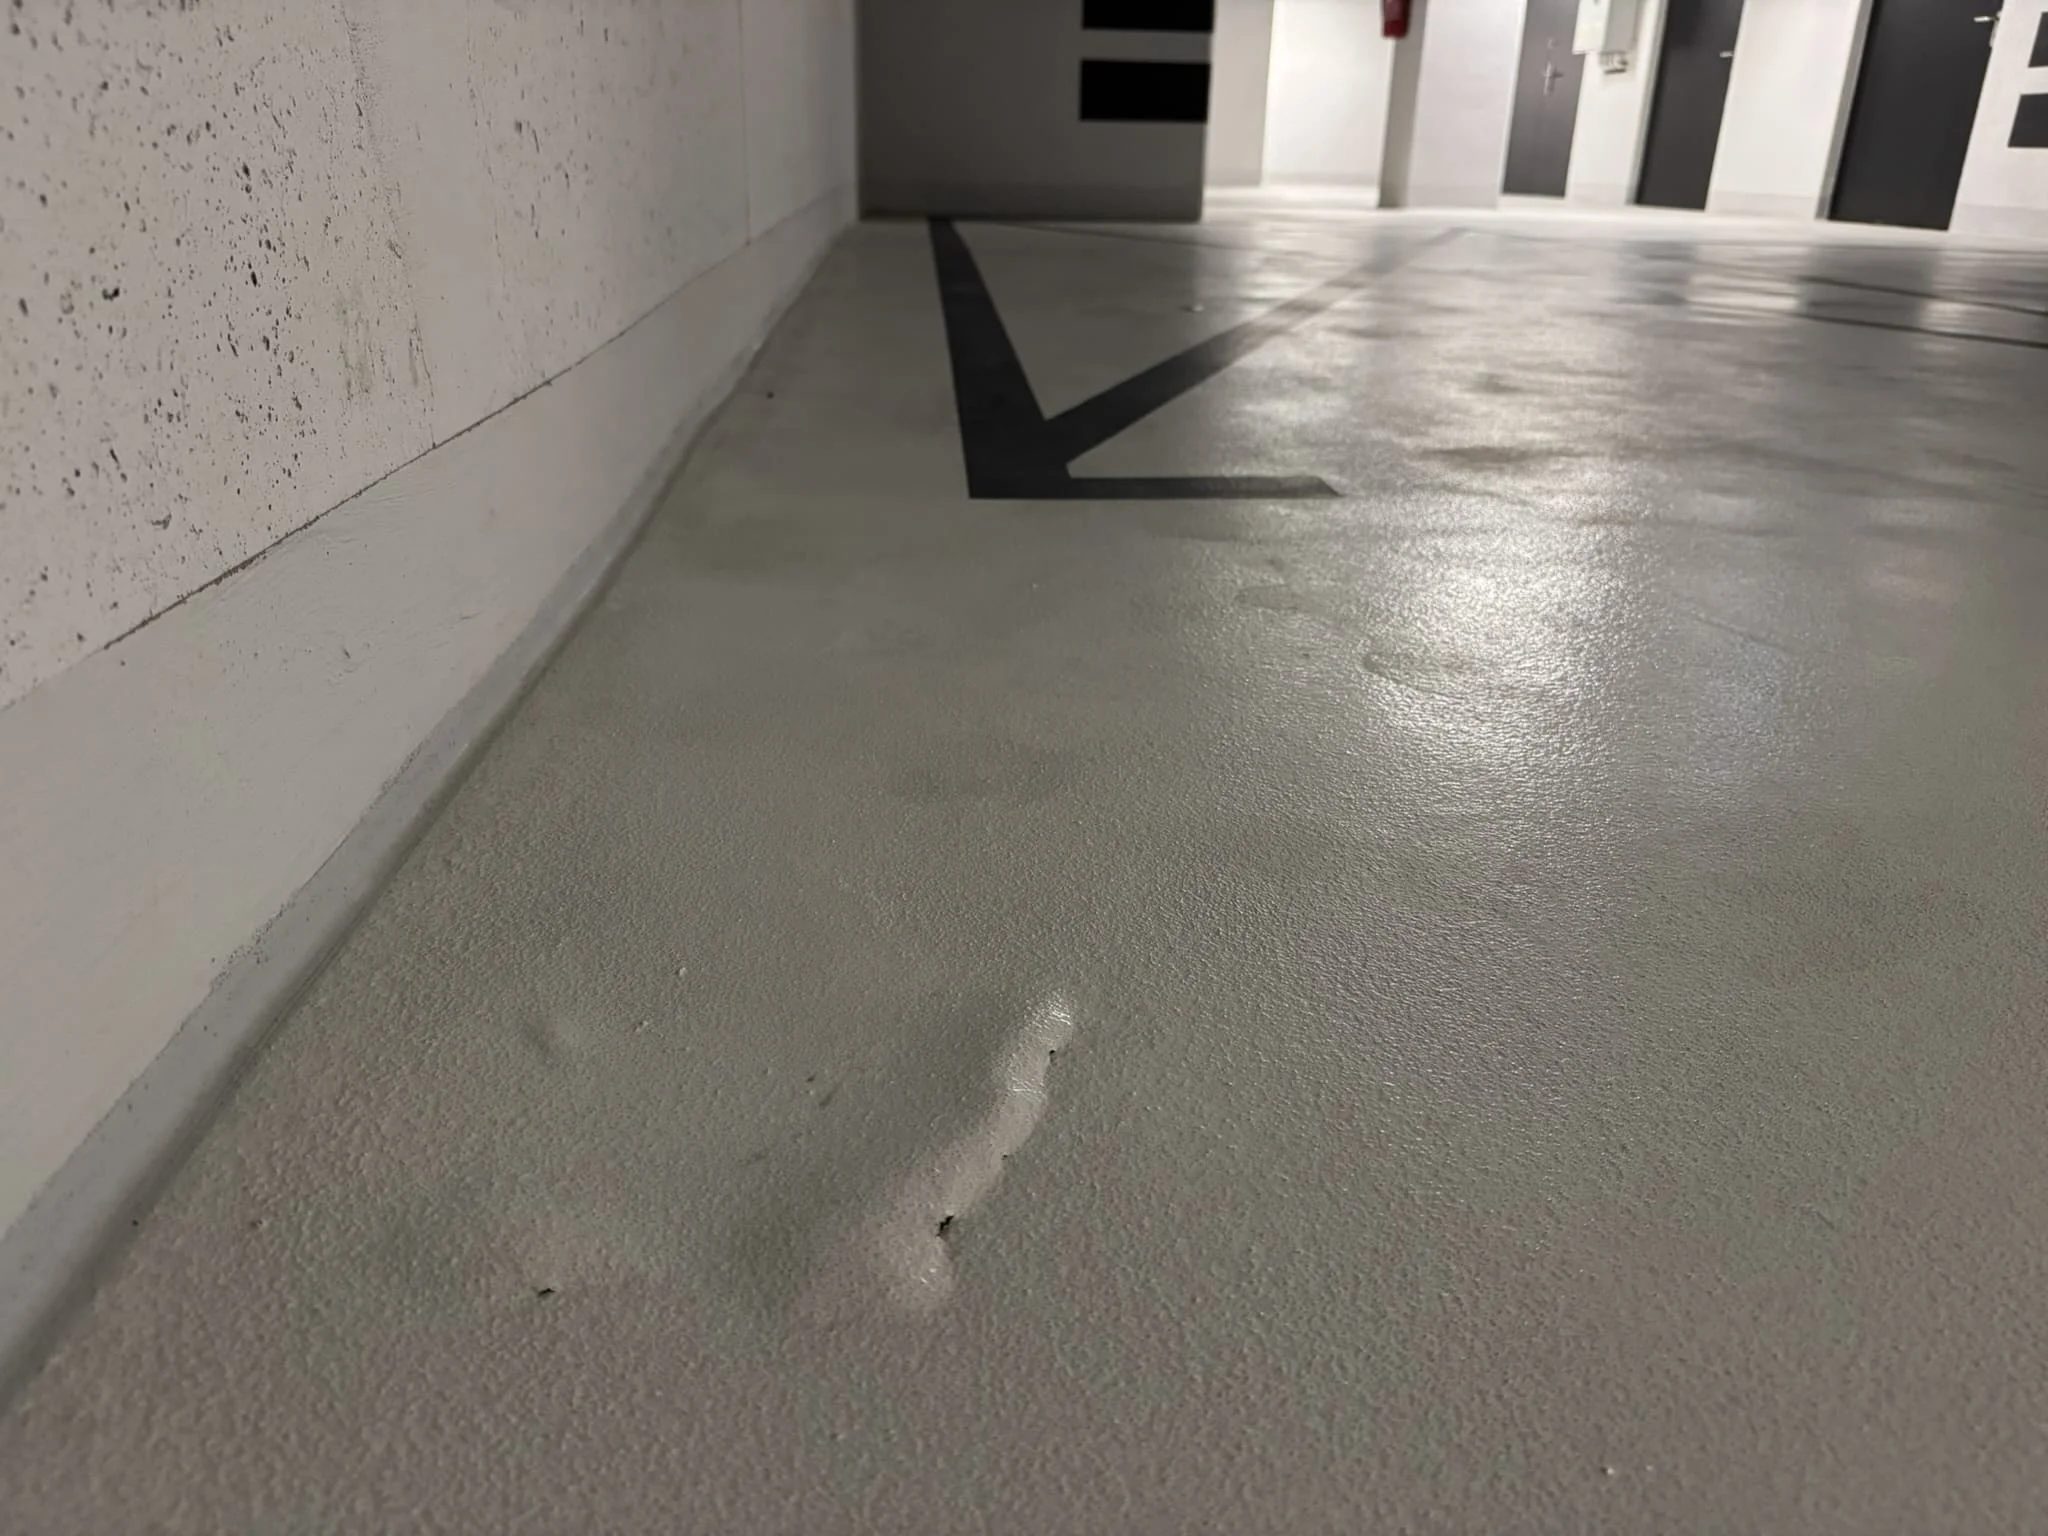
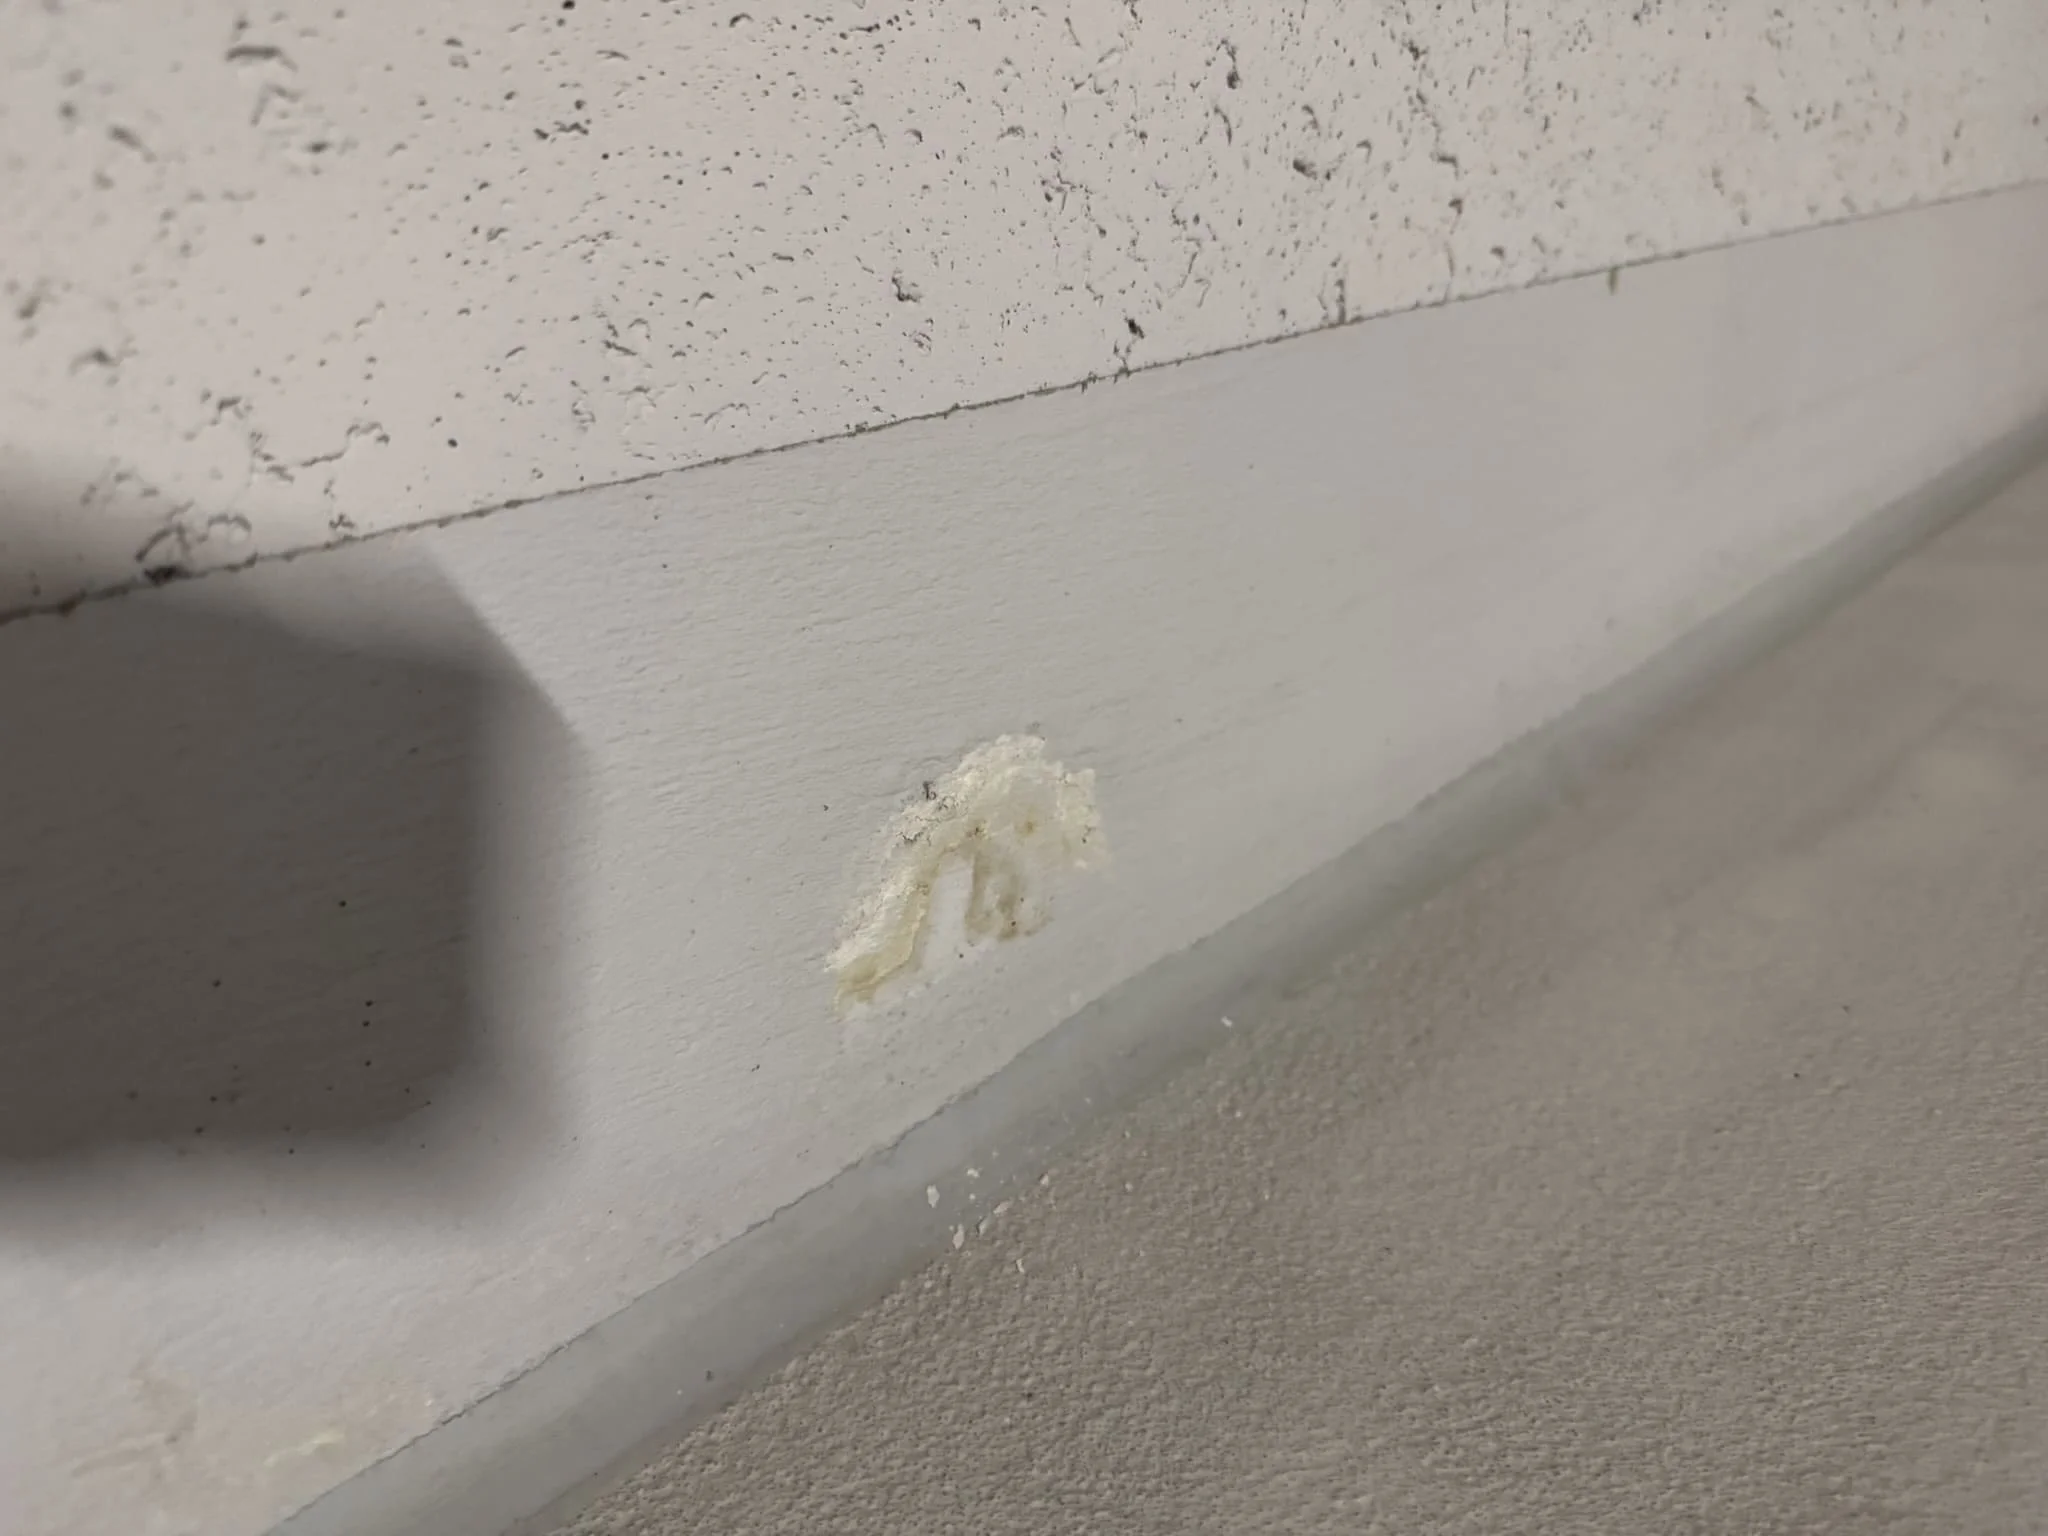
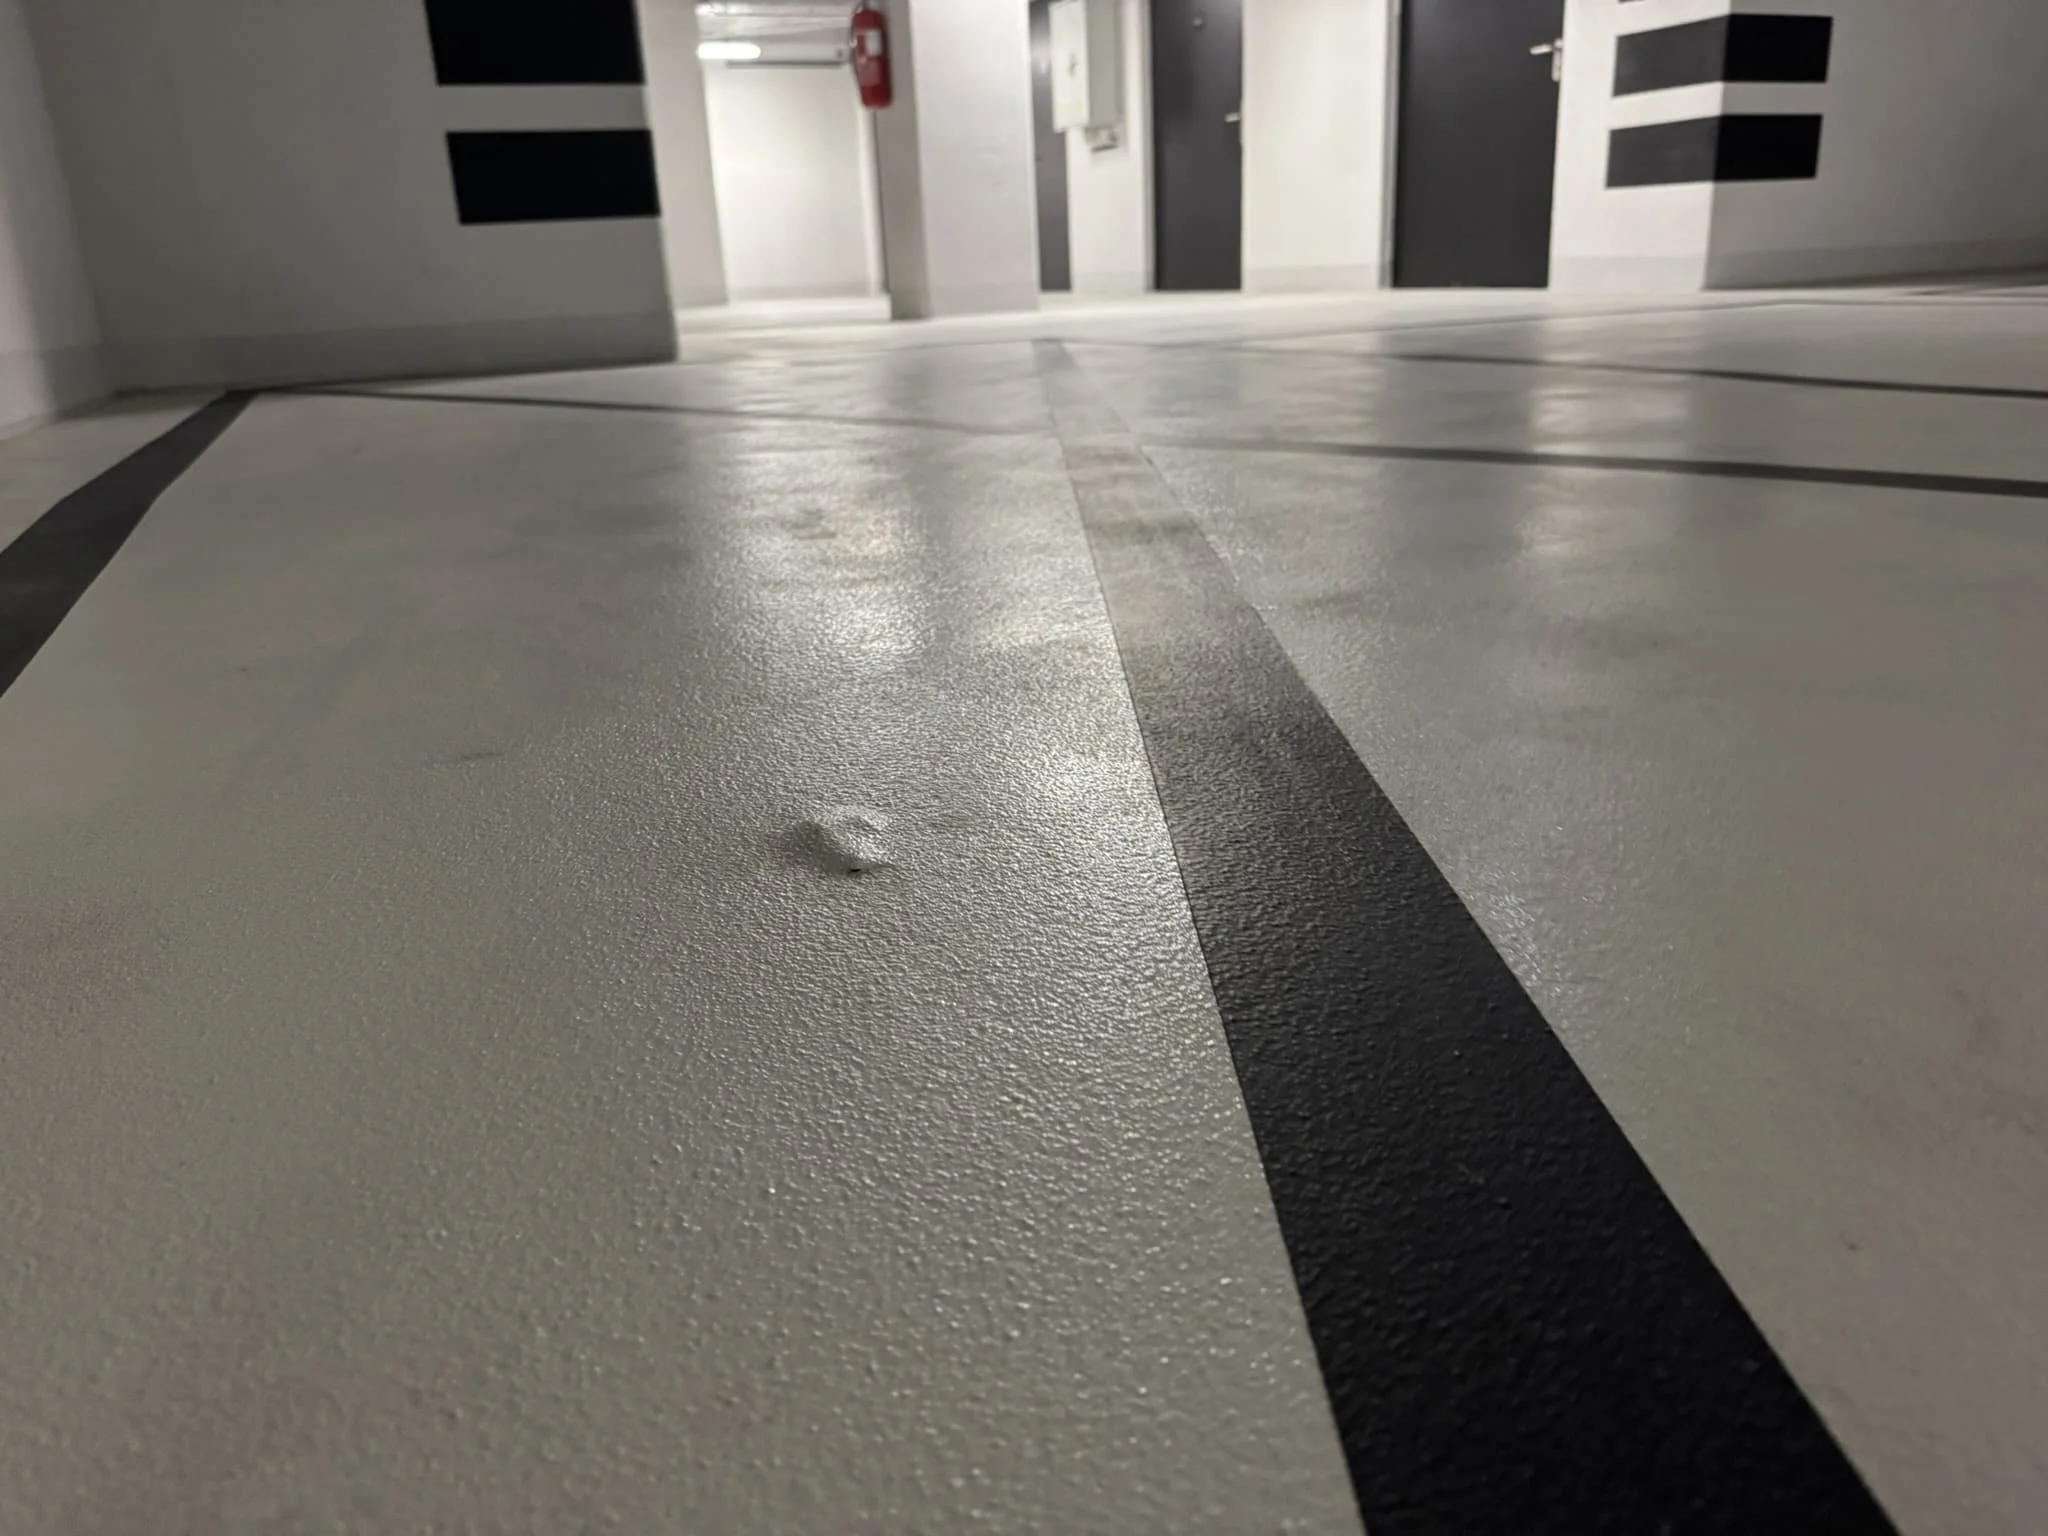
The photo shows a typical problem: bubbles and bulges have appeared on the resin surface. Sometimes, when tapped, you can also hear hollow, hollow spots—a sign that the coating has "separated" from the substrate. The good news: this can be repaired. Identifying the cause is key, as it determines whether local repair is sufficient or a more extensive renovation is necessary.
The most common causes of blisters and loosening
Moisture in concrete industrial flooring: water vapor presses from underneath, creating blisters. This can happen with newly poured slabs, lack of damp-proofing, rising water from the ground, leaking expansion joints, or flooding.
Substrate contamination: dust, cement laitance, oils, concrete care products. The resin has nothing to "stick" to.
Application in unfavorable conditions: too low or too high temperature, high humidity, lack of dew point control on the industrial concrete floor. This results in concrete "degassing" and bubbles.
Errors in the system: wrong resin selection (e.g. too stiff for working concrete), lack of penetrating primer, closed pores, too thin a layer, inaccurate mixing of components, too fast material or dilution with solvent.
Operational stresses: heavy traffic, "hot tires," car wash chemicals, and road salt. If the topcoat is not resistant, the coating will deteriorate more quickly.
Cracks and expansion joints: movement of the board will transfer to the rigid resin and tear it away if there are no flexible inserts or properly filled gaps.
How to easily recognize the cause
Foil test: firmly adhere a 50x50 cm piece of painter's foil to the resin floor repair area (tape tightly). After 24–48 hours, check for steam or dark moisture on the underside. This indicates a water problem.
Tapping a coin: a hollow sound indicates a loose joint. Mark it with chalk to make repairs easier.
Inspect the blisters: if moisture or a specific "musty" odor appears after the cut, again suspect moisture. If you smell solvent, it may have been "encapsulated" under another layer.
Monitor the environment: Underground garages and uninsulated slabs are more likely to "pump" moisture. Areas near expansion joints, columns, and driveways are typical hotspots for problems.
1. Local repair (single blisters, small detachments)
Cutting out the damage: Use a sharp knife or sander to cut away the blister to a sound, well-adhered edge. Slightly bevel the edge to allow the new resin floor repair mortar to "overlap."
Cleaning concrete grinding and dust removal: vacuum cleaner, wash with acetone or isopropyl alcohol (if the manufacturer allows), dry.
Priming: Use a low-viscosity, penetrating epoxy primer, preferably tolerant to slightly damp concrete.
Filling: Prepare epoxy floor repair mortar with quartz sand and fill the gap evenly.
Sealing coat: Apply the same resin as the rest of the floor (or a compatible topcoat), matching the texture and slip resistance. When it makes sense: When the damage covers less than approximately 5–10% of the surface and there is no active moisture.
2. Extensive repair (multiple blisters, separation maps, recurring problems)
Mechanical removal: Grind or shot blast the resin back to sound concrete or thin-layer commercial cement flooring. Remove cement laitance.
Solution to the moisture problem: eliminate leaks, seal expansion joints, consider a moisture barrier system on the floor side (epoxy vapor barrier, usually 2 layers to a specified thickness).
System restoration: penetrating primer, quartz bonding layer/filler, base coat for resin floor repairs (epoxy or polyurethane, depending on requirements), anti-slip topping, chemically resistant topcoat. Flexible polyurethane systems or epoxy with a flexible polyurethane topcoat are ideal for garages.
Expansion joints and cracks: cut, clean, and apply bridging tape or fill with flexible polyurethane. This is a critical step – otherwise, the problem will return.
3. When the cause is outgassing or application conditions
Apply when the concrete slab is cooling down (afternoon/evening), not when it's warming up. This limits the "pumping" of air from the pores.
Use a low-viscosity primer and back-roll to saturate the open pores.
Monitor the dew point: the substrate temperature should be at least 3°C higher than the air dew point.
Do not dilute resins for resin floor repair unless the manufacturer specifically provides this. Allow time for evaporation if using solvent-based materials.
What not to do
Don't force patches onto a swollen surface. The blister will return, and moisture can develop underneath. Don't skip priming. It's the most common cost-saving measure, but it ends up costing you the most.
Don't ignore expansion joints. They must remain "working" and elastically sealed. Do not apply resin to fresh, damp polished concrete without confirming the moisture content.
Post-repair prevention
Regularly wash with neutral detergents, removing salt and chemicals from the wheels to avoid repairing the resin floor. Inspect and seal expansion joints every 1-2 years.
Refresh the paint/topcoat every few years, before any damage occurs. Mats at driveways and good drainage – less water on the surface means fewer problems. For your safety, remember to use safety barriers.
When to call a specialist
When blisters appear in multiple places or return quickly. When the test foil shows moisture and the floor is above ground or in an underground garage. When a moisture barrier or concrete milling is required.
Blistering and loosening of resin floors are usually the result of moisture, poor concrete preparation, or improper application conditions. Small areas can be repaired locally: cut, prime, epoxy mortar, and a new layer. If the problem is extensive, remove old layers, retain moisture with an epoxy barrier, and rebuild the system with a proper, preferably flexible, topcoat. Proper substrate preparation and control of conditions are 80% of the success – then the floor will be durable and blister-free.


