Repair of polished concrete floor - surface leveling, repair, microcement application
A poorly finished, wavy, or cracked polished concrete floor is no fun. Fortunately, it doesn't always have to be torn up. Microcement allows you to quickly and thinly cover imperfections, giving your floor a new, modern look. Below, I'll describe a step-by-step approach: from leveling the subfloor, through epoxy resin repairs, to microcement installation. This text is for the average user – devoid of unnecessary jargon, but with practical tips.
What is microcement and when does it make sense?
Microcement is a thin-layer decorative mortar, like thin-layer commercial cement flooring, that is applied with a trowel to a prepared substrate. It creates the effect of "architectural concrete" or a smooth, modern floor.
It works well when polished concrete is structurally sound but has aesthetic defects (scratches, pitting, discoloration, slight unevenness, excessive gloss, or sanding marks). It's not a cure-all. Deep subfloor deflections, moisture in the concrete, delaminations, or significant level differences require thorough preparation or structural repairs.
Before you start
Check the floor's stability by knocking on various spots – a hollow sound may indicate looseness, which indicates a need for floor repair. Check for moisture by performing a simple foil test. Microcement prefers a dry substrate.
Mark cracks and crumbling areas. Determine the floor's level by applying a patch or spirit level – see where the peaks and valleys are.
Step 1. Leveling the floor – grinding and milling
The idea is to get rid of the "hills", open the concrete surface and prepare it for repairs and microcement layers.
Grinding
Smooths the floor surface, removing cement laitance, minor scratches, and minimal irregularities. Opens the pores of the concrete, improving adhesion. Concrete grinding is used when height differences are small (up to a few millimeters) and there are no large "humps".
Milling
It collects more material in less time. It's used when the floor has larger waves, resin streaks, thick coatings, or when you need to evenly "cut" off bulges. Milling concrete is aggressive – do it carefully to avoid creating "pockets".
Practical tips
Protect your home from dust (doors, ventilation grilles, furniture). Use dust masks, goggles, and hearing protection. Work with belts and evenly. Don't press down on the machine—let the tool do its thing. Vacuum thoroughly after processing—dust is the enemy of adhesion. Don't forget to use safety barriers in your warehouse or production.
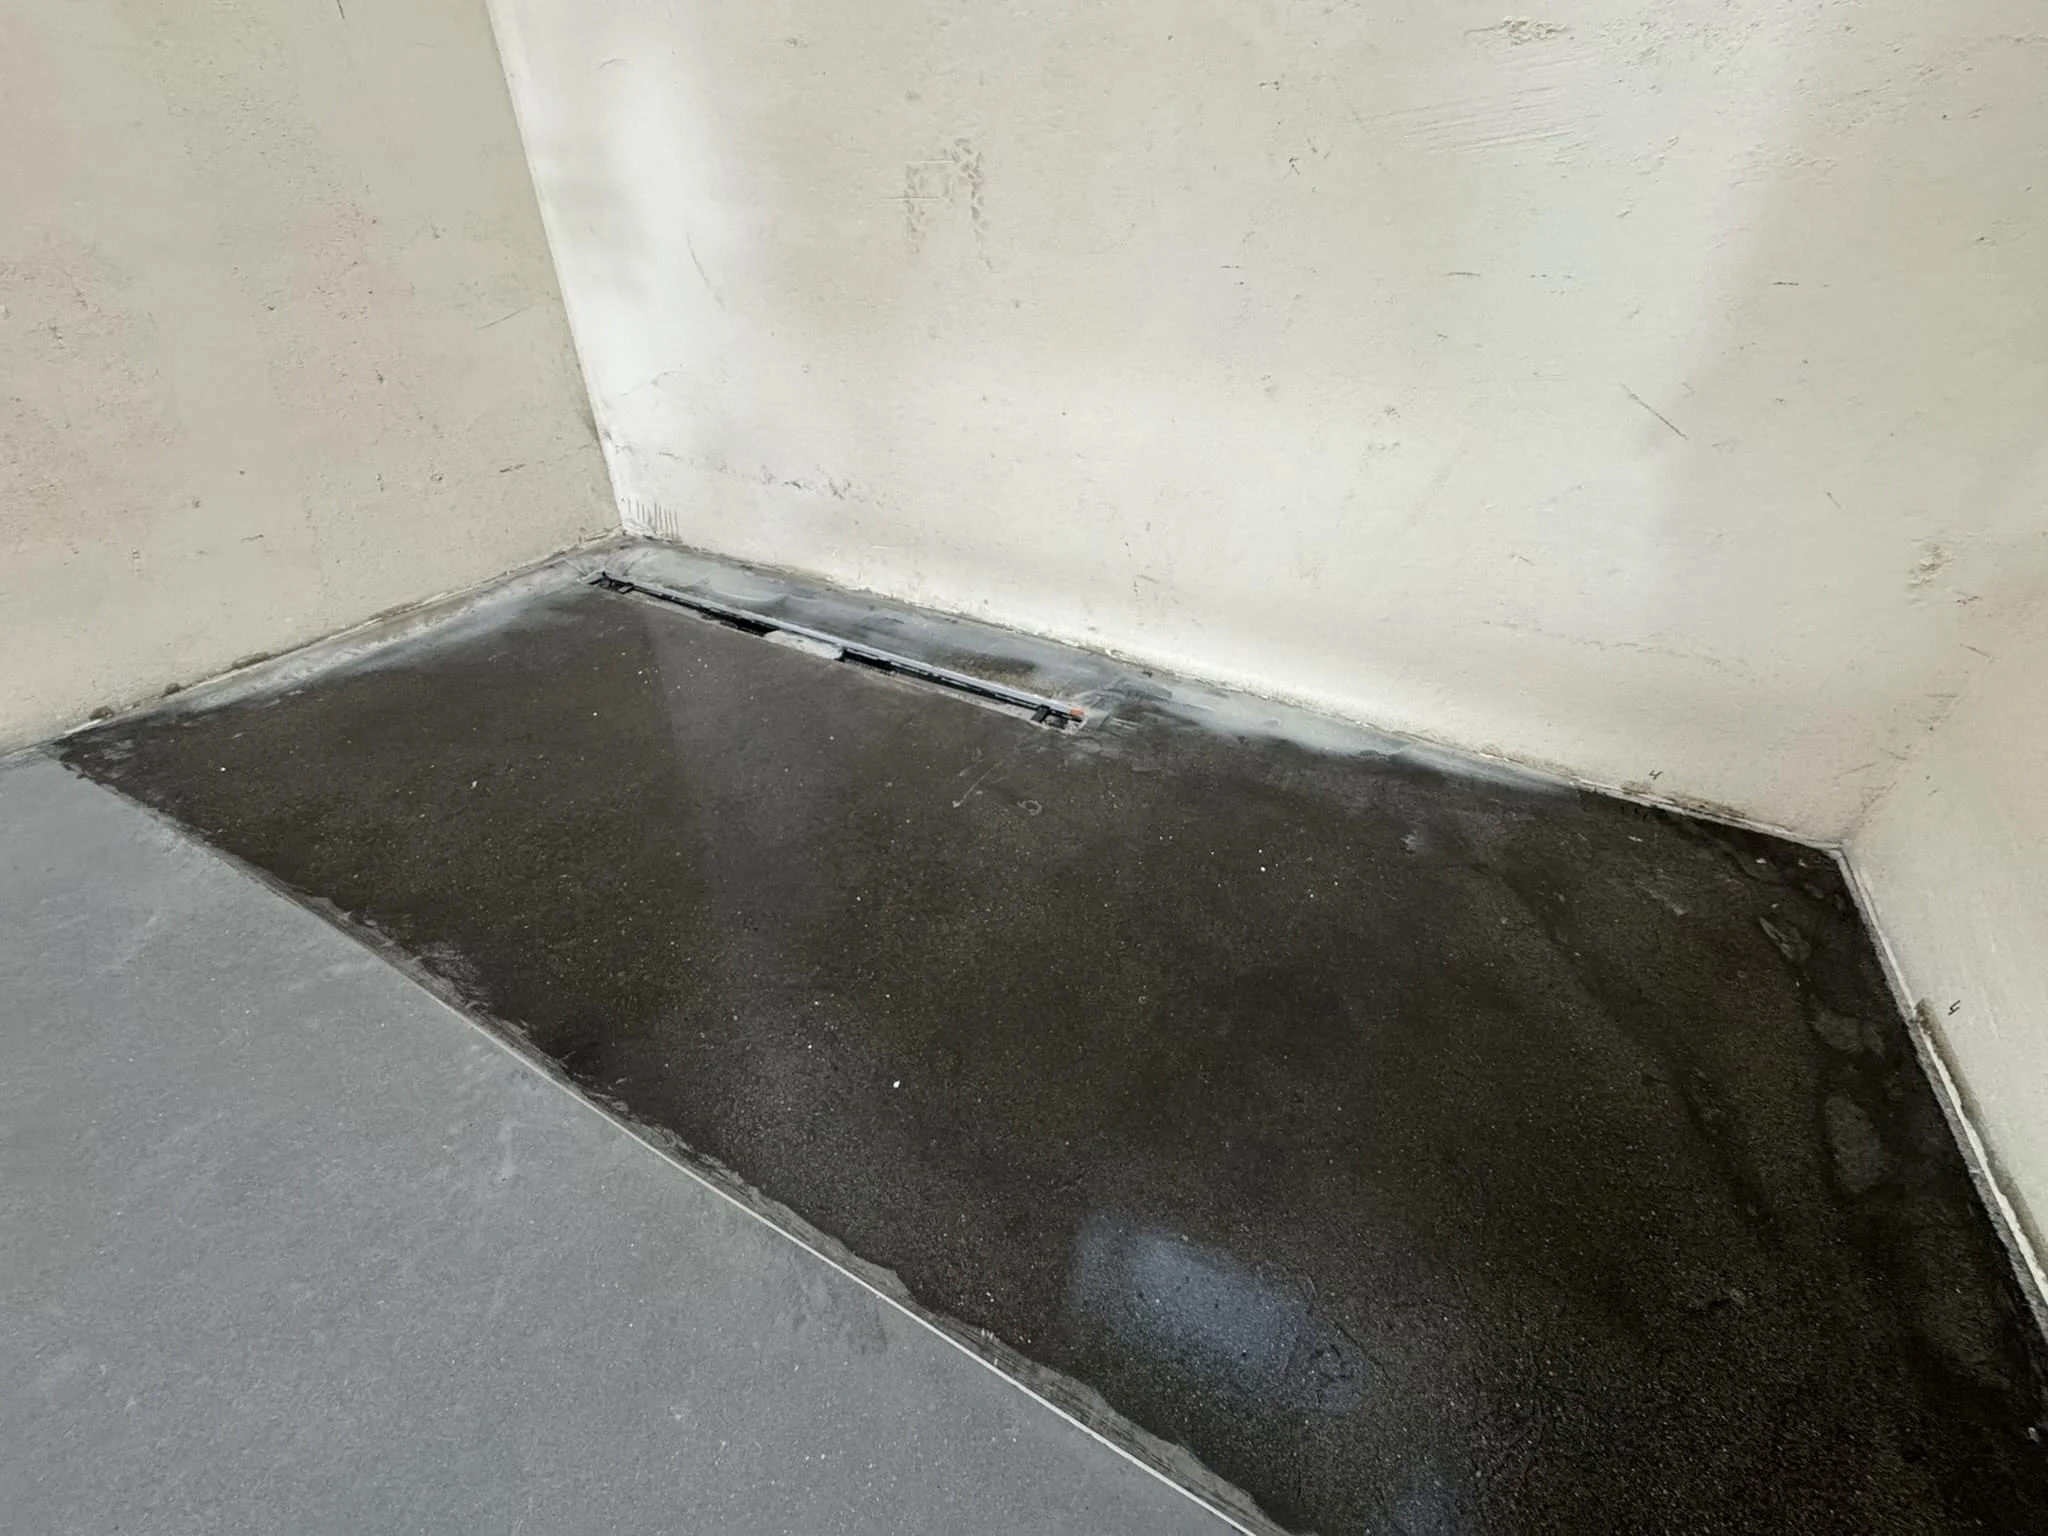
Step 2. Epoxy resin repairs
Epoxy is a high-strength “glue” – great for stabilizing cracks, filling gaps and binding loose areas.
Closing cracks
Gently widen the V-shaped cracks to a depth of a few millimeters. This will allow the resin to penetrate better. Vacuum and degrease. The substrate must be clean and dry during floor repair. Mix components A and B according to the manufacturer's instructions. Do not make too large a batch – the resin has a limited working life.
Pour low-viscosity resin into the crack or rub it in with a brush. Deeper cracks can be filled with dry quartz sand, creating a strong epoxy floor repair mortar. Once the crack is filled, sprinkle the surface with fine sand to roughen the surface for subsequent coats. Once cured, sand off any excess.

Cavities, pits, edges
Repair larger floor holes, gaps in expansion joints, or steps with epoxy mortar with quartz sand (the consistency of "wet sand" or a thick paste). After curing, sand to a smooth surface and vacuum.
Epoxy priming
A thin layer of epoxy or polyurethane resin floors as a primer will "bind" dust, strengthen the top layer of concrete, and even out absorbency. Sprinkle dry quartz sand evenly over the fresh resin. After curing, vacuum up the loose sand. This will create a perfect, rough surface for microcement.
Please note the conditions
Operating temperature typically 10–25°C, free from drafts and moisture from the concrete industrial floor substrate. Allow the resin to cure according to the product data sheet. Don't rush – this is the foundation of the entire finish.
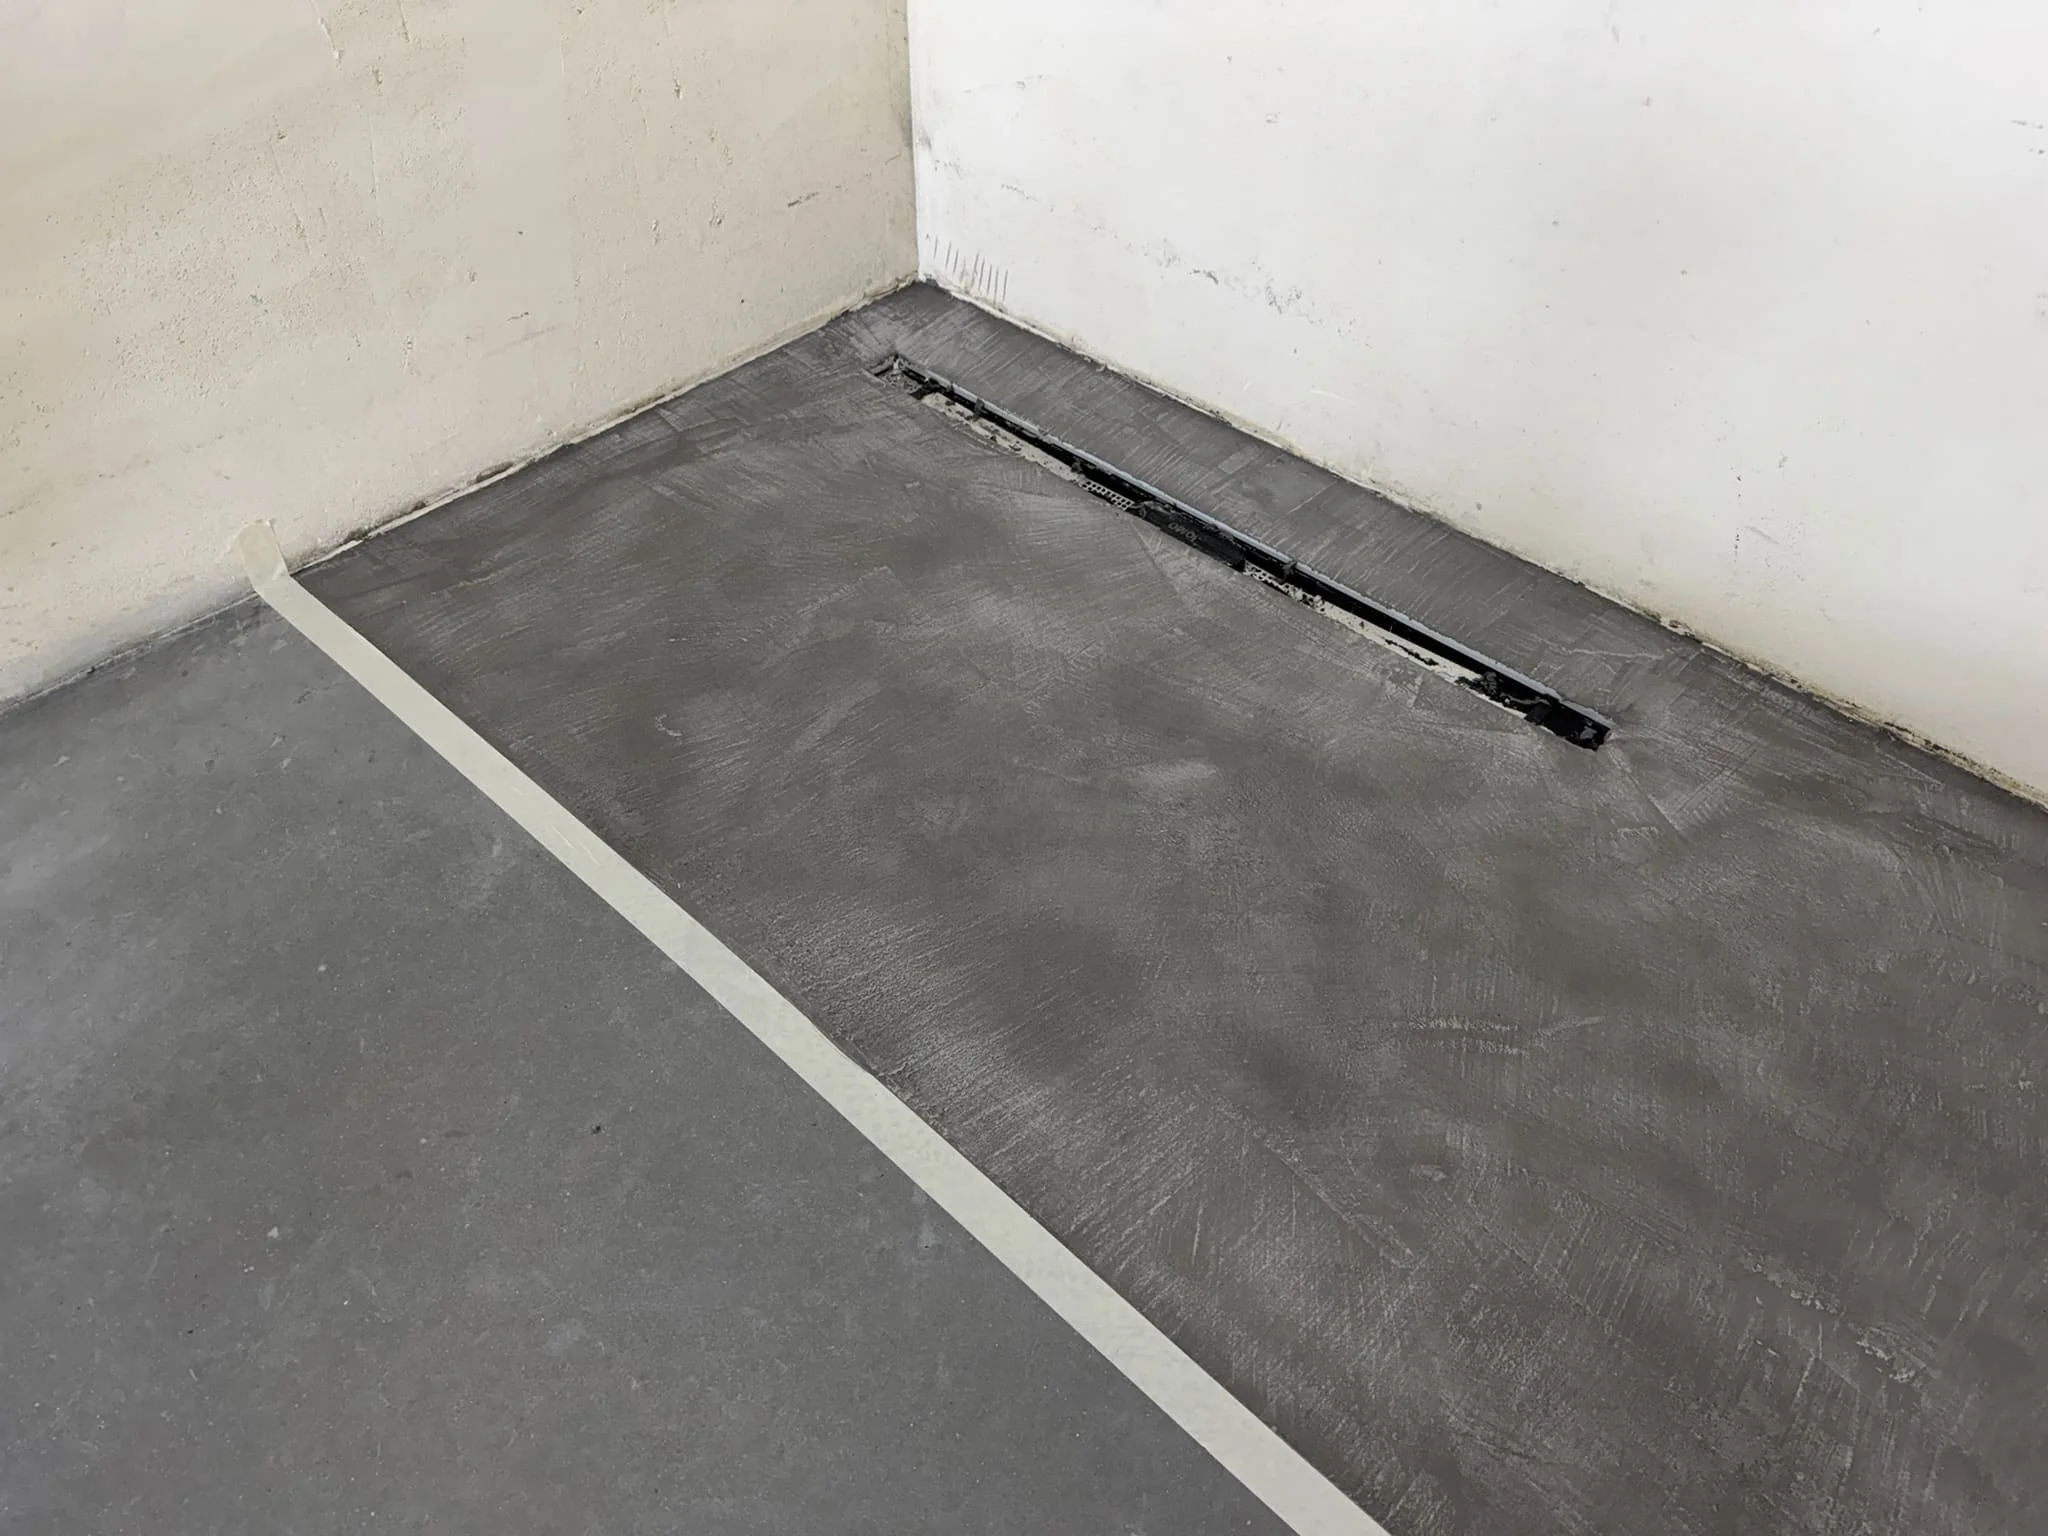
Step 3. Microcement installation
This is the part that gives the floor its final look. Microcement for floor repair is applied in thin layers, usually in two passes, and then sealed with varnish.
Preparation
Vacuum and degrease the surface. No dust, oil stains, or sandy spots. Apply a dedicated microcement primer. A reinforcing mesh is sometimes used on "difficult" surfaces or at material transitions.
Base layer
When mixing, follow the manufacturer's proportions for industrial flooring materials. Mix with a low-speed mixer, avoiding air intrusion. Apply a thin layer with a steel or flexible trowel. Work in short, crisscross motions to avoid streaking. Once dry, lightly sand with sandpaper and remove dust. Apply a second coat of base coat if the system requires it.
Finishing layer
This is what gives the final shape and color. It's applied very thinly. Once dry, lightly sand to smooth out any small "tongues" and achieve a silky finish. Vacuum thoroughly.
Painting
Microcement for floor repair requires protection against stains and water. Typically, 2–3 coats of polyurethane varnish (matte, satin, or semi-gloss) are applied.
Apply with a microfiber roller, thinly and evenly, leaving sufficient time between coats. Full resistance is achieved after a few days. It can usually be walked on after 24 hours, but furniture should be moved in carefully and without dragging.
Care of a new microcement floor
Clean gently, using pH-neutral cleaning products. Avoid bleach and harsh chemicals. Place felt pads under furniture, and don't move heavy items "dry." Refresh the varnish every few years in heavily used areas – the floor will reward you with a long lifespan.
Repairing a polished concrete floor with microcement is a sensible way to give your floor a second life: without tearing, debris, or long downtime. The key is thorough preparation – a level surface after sanding/milling, reinforcing and filling any defects with epoxy, and carefully applying a thin layer of microcement and varnish. The result? A smooth, modern surface that's easy to keep clean and looks great for years. If you have any doubts about the condition of the concrete or aren't comfortable with resins and a trowel, call a professional. If not, arm yourself with patience, good equipment, and follow the steps described above.


