How to make a concrete floor?
Wondering how to create a concrete screed that's durable, even, and meets all professional standards? This article offers a detailed, step-by-step guide that will guide you through the entire process—from selecting the right screed type, through materials and tools, to maintenance and quality control. You'll learn how to avoid common mistakes, familiarize yourself with the current requirements of PN-EN standards, and explore proven methods for success. This is a compendium of knowledge for investors, contractors, and DIY enthusiasts planning work both indoors and outdoors.
Mortar, concrete and types of concrete screeds – what to choose (screed, floor underlayment and mortars)?
What are the features and applications of cement screed (CT) and what is a cement floor?
Cement screed (CT), often referred to as screed or cement flooring, is a floor underlayment made from Portland cement, sand, aggregate, and water. It can be manufactured as a semi-dry or plastic screed. It works well in wet areas such as bathrooms or garage floors, under ceramic tiles, laminate flooring, parquet floors, and in areas where the floor will be subject to heavy loads. It allows for slopes (e.g., for a terrace) and is resistant to moisture and mechanical damage. This type of concrete mortar is suitable for both interior and exterior applications. It is often used as a base layer for the installation of thin-layer commercial cement flooring.
What are the properties of anhydrite screed (CA) and self-leveling screeds?
Anhydrite screed (CA) is made from calcium sulfate (anhydrite), sand, and water. It is often available as a self-leveling compound, making it much easier to achieve a perfect level. It has a fluid consistency, conducts heat very well (ideal for underfloor heating), dries quickly, and allows for the construction of large surfaces without expansion joints. As a self-leveling floor underlayment, it guarantees a level and smooth surface. However, it is not suitable for rooms exposed to moisture.
How to choose the right type of screed and mortar for your needs?
The decision depends on the place of application and requirements:
- Cement screed (CT) - choose for bathrooms, garages, places exposed to high loads when you need slopes and moisture resistance (it is the ideal concrete screed for outdoors);
- Anhydrite screed (CA) – ideal for dry interior spaces, underfloor heating, where perfect evenness and a fast work pace are essential. These are excellent self-leveling screeds.
Comparison table: cement vs. anhydrite screed
| Characteristic | Cement (CT) | Anhydrite (CA) |
|---|---|---|
| Compressive strength | 20–30 MPa | 20–35 MPa |
| Thermal conductivity | all right | very good |
| Minimum screed thickness above the pipe | 45 mm | 35 mm |
| Drying time | 21–28 days | 7–14 days |
| Moisture resistance | high | low |
| Possibility of inheritance | yes | limited |
| Expansion joints | required | less expansion joints |
| Cost | lower | higher |
Building materials and tools – what do you need to pour concrete (25 kg, self-leveling)?
What materials are needed for cement and anhydrite screed?
To obtain solid self-leveling concrete screeds and screeds, you need proven ingredients:
- Portland cement CEM I/CEM II (class 32,5–42,5 MPa) – often sold in 25 kg bags;
- Washed sand (fraction 0–2 mm for screeds, 0–4 mm for floor screeds);
- Gravel/grit (fraction 2–8 mm for thicker screeds);
- Drinking water;
- Styrofoam (for thermal insulation under the screed);
- Steel mesh (4–6 mm wire, mesh 10x10 or 15x15 cm);
- PE construction foil (as insulating material, min. thickness 0.2 mm);
- Plasticizers, admixtures (according to manufacturer's recommendations).
What tools will make it easier to make a screed?
- Concrete mixer (120–200 l);
- Aluminum patches for industrial floors (1.5–3 m) – necessary to level the surface;
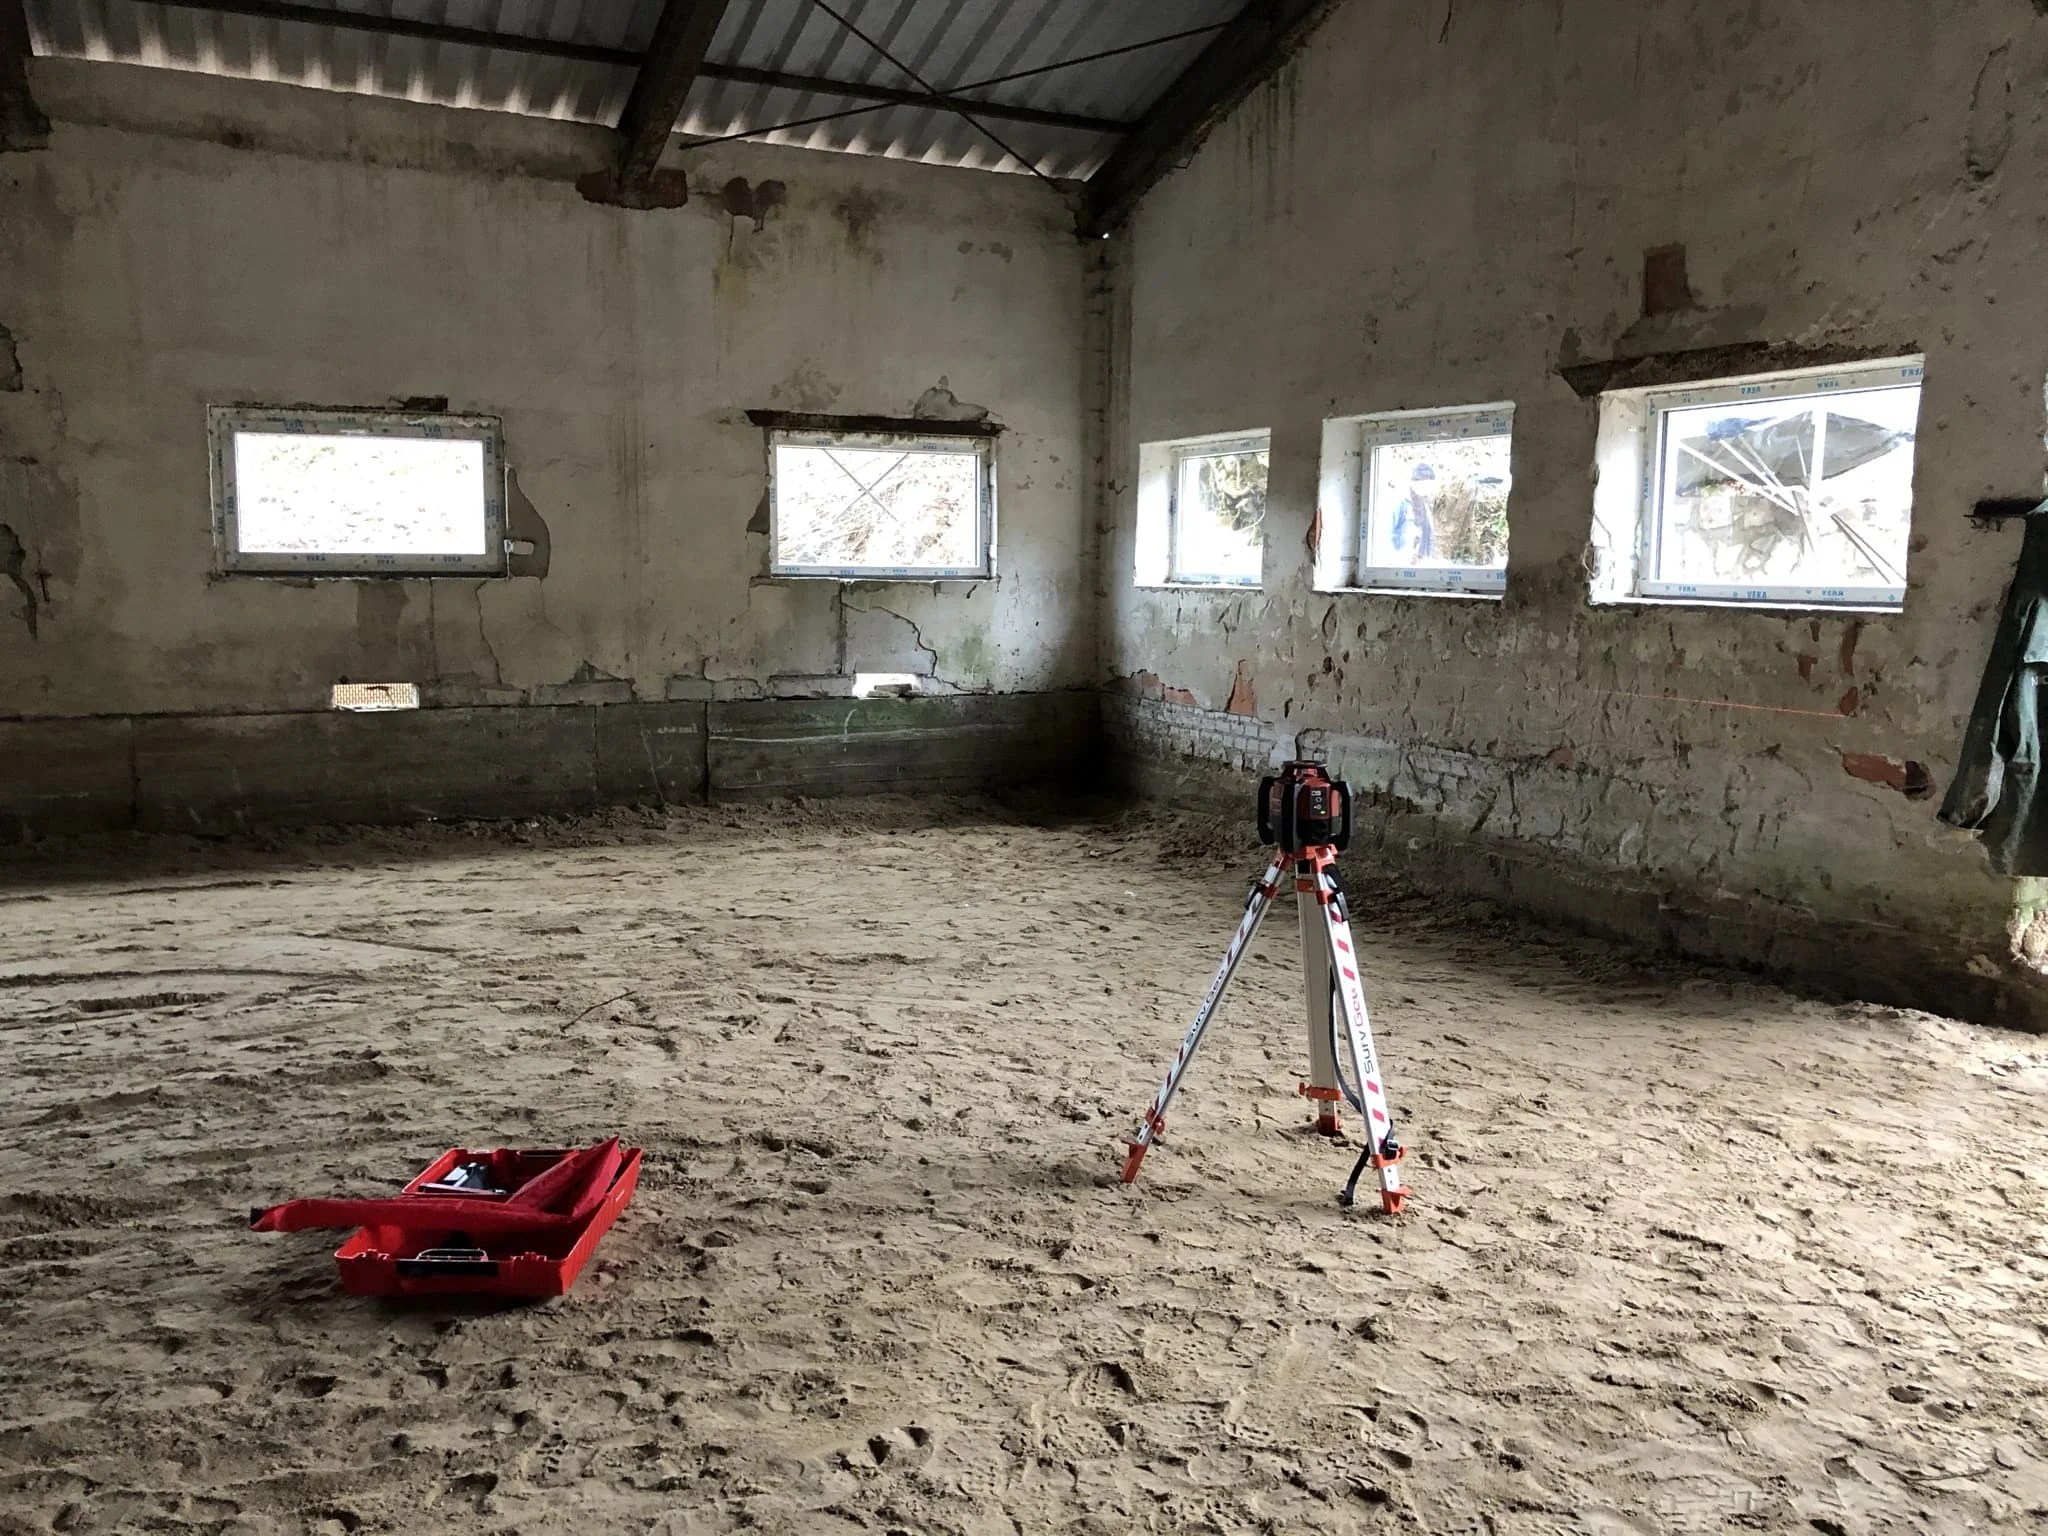
- Laser level (accuracy ±2 mm/10 m);
- Screeding rails;
- Steel trowel, power trowel;
- Measuring cup, buckets, spatulas;
- Gloves, safety glasses.
How to estimate the cost of materials and tools?
The cost depends on the surface area, thickness, screed type, and region. For example, materials for a cement screed are approximately 7–12 eur/m², and anhydrite screed 9–17 eur/m². Often, ready-made mortar packages in 25 kg bags make calculations easier for smaller areas. Add the cost of tools (if you don't have them) and any labor. Don't forget simple safety rules; purchasing personal protective equipment and safety barriers is essential.
Shopping checklist:
- Portland cement CEM I 42.5R (25 kg bags);
- Washed sand 0–2 mm;
- Gravel 2–8 mm;
- Steel mesh 4–6 mm;
- Foil PE 0,2–0,3 mm;
- Styrofoam (insulation);
- Plasticizer;
- Concrete mixer, patches, laser level;
- Proper preparation of the substrate for screeds and mortars;
- Concrete milling;
- Concrete grinding.
How to properly clean and assess the substrate (ceiling)?
The key to success is proper preparation of the substrate, whether it's a ceiling or lean concrete. Remove dust, grease, old coatings, and loose particles. Protect plaster from dirt. Check the evenness and stability of the substrate, and fill any gaps with repair mortar. The process of leveling the substrate is critical to its durability. Measure the substrate's moisture content (moisture meter, CM test).
When and how to use priming?
Apply priming to absorbent, repaired, or smooth surfaces. Use a primer recommended by the screed manufacturer, apply with a roller or brush, and allow to dry.
How to perform insulation and perimeter expansion joints?
Spread PE foil over the entire surface (as a slip and moisture barrier), overlapping it by at least 10–20 cm, and pull it up onto the walls. Lay polystyrene foam to provide thermal and acoustic insulation. Lay expansion (foam) tape around walls and fixed elements to prevent cracking due to expansion and cushion temperature changes.
Substrate preparation checklist:
- Cleaning and repairing the substrate;
- Humidity measurement;
- Priming;
- Laying insulation (polystyrene) and expansion tape.

Reinforcement, expansion joints and screed thickness – how to avoid damage?
When and why to use reinforcement?
Reinforcement (steel mesh or fibers) is recommended for surfaces larger than 20-30 m², for underfloor heating, and in areas subject to cracking or heavy loads (e.g., garage floors). It increases resistance to shrinkage and cracking, making the floor more resistant to compression. This solution will help minimize the problems associated with floor repair.
What types of reinforcement are there and how to arrange them?
- Steel mesh - wire 3–6 mm, mesh 10x10 or 15x15 cm, laid halfway through the screed thickness on spacers;
- Mixed reinforcement - mesh plus fibers for maximum durability.
How to properly perform expansion joints?
Lack of proper cuts is a common cause of screed damage.
- Perimeter expansion joints: foam tape around walls, columns, passages;
- Contraction joints: cuts in fresh screed (1/3 thickness), max area 5×6 m (30 m²) for CT, 40 m² for CA;
- Gap width: min. 20 mm, fill with flexible material.
How to prepare a concrete mixture (concrete, mortar)?
How to choose the proportions of cement, sand and water?
- Cement (CT) most often 1:4 (cement:sand by volume), water/cement 0.45–0.55 (the efficiency of the screed depends on the precision of dosing);
- Anhydrite (CA) proportions according to the manufacturer, liquid, self-leveling mixture.
Example for 1 m³ of cement screed:
- Cement: 250 kg, Sand: 1000 kg, Water: 125–150 l, Plasticizer: according to the manufacturer.
Is it better to use a ready-made mixture or make your own?
Ready-made mix (e.g., 25 kg bags): guarantees repeatability, saves time, and minimizes the risk of errors. Homemade mix: less expensive, requires experience and precision in measuring ingredients.
How to control the consistency and quality of the mixture?
Snowball test: A handful of the mixture should form a compact ball without leaking water. Slump test: For liquid screeds, follow the manufacturer's recommendations. Quality control: samples for strength testing, batch documentation.
How to pour concrete and perform leveling (screed, floor)?
How to determine the screed level?
Set the laser levels and guide rails to the desired height. Check the level at several points and mark them on the walls.
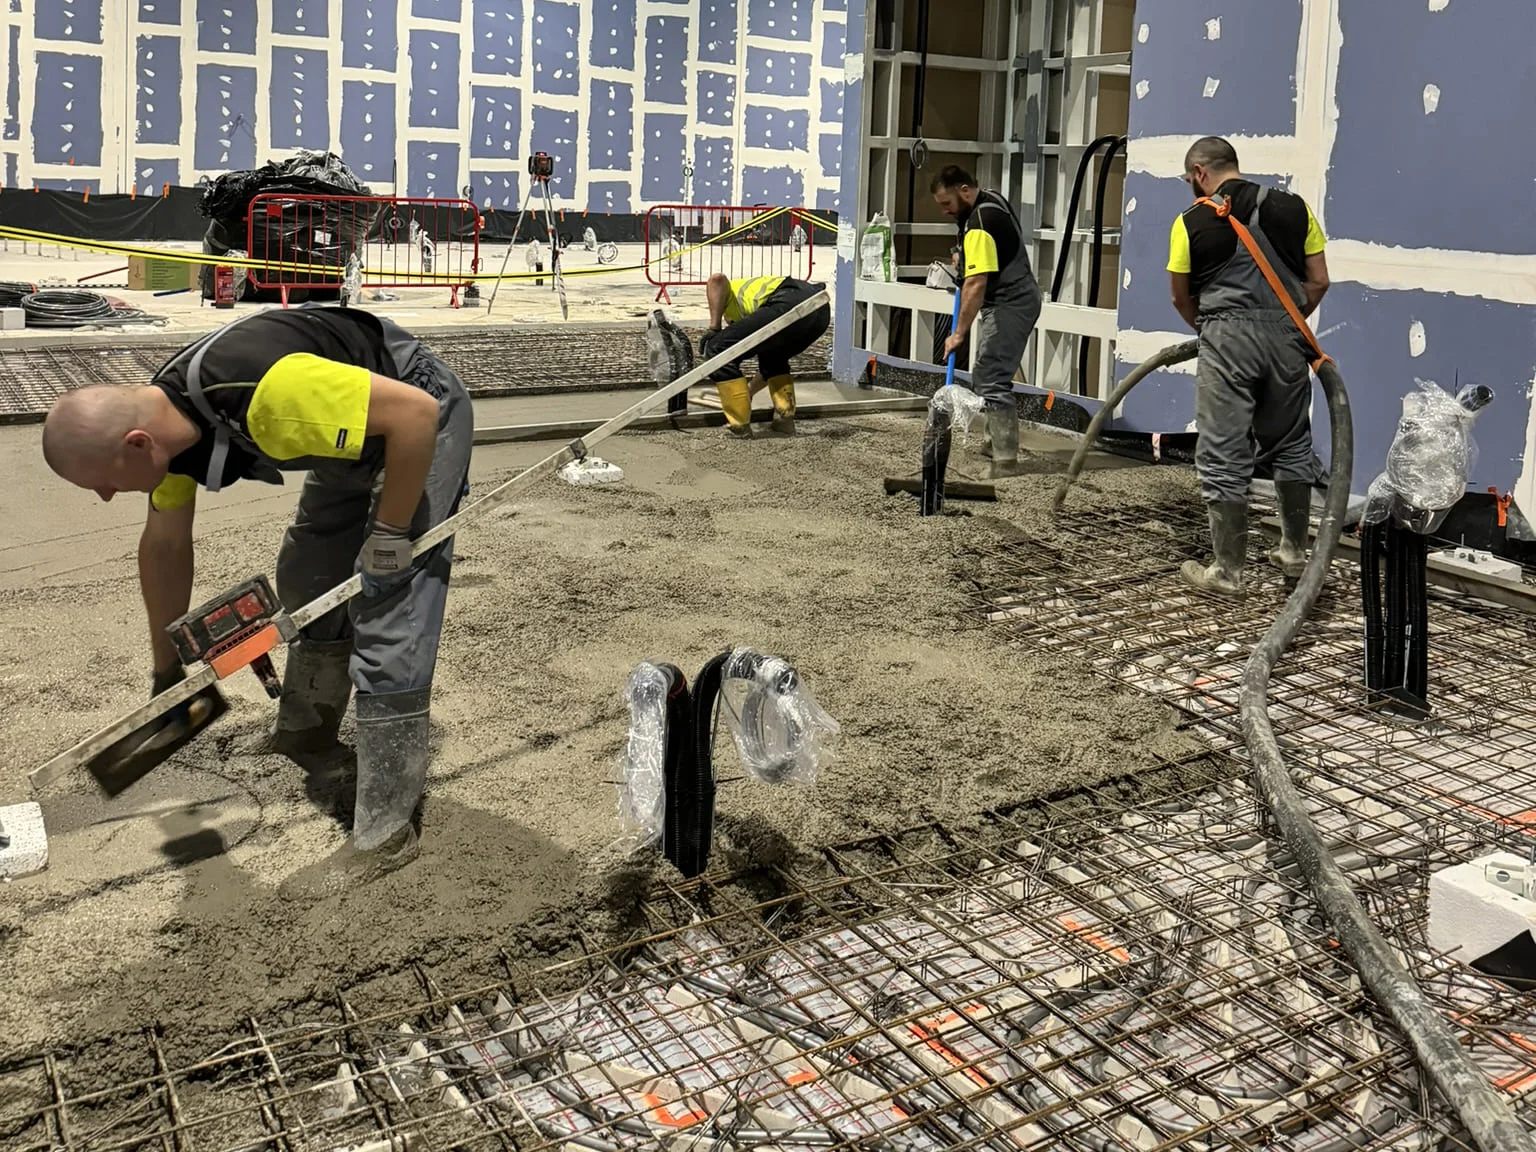
How to spread and level the mixture?
Apply the screed from the furthest point to the exit, in sections 2–3 m wide. Spread the mixture above the level of the battens and compact it manually or mechanically. Drag the patch over the battens using a sawing motion to even out the screed. If using a self-leveling compound, spread it evenly, venting air with a spiked roller.
Once the initial setting has occurred (2-4 mm footprint), smooth the surface with a steel trowel or power trowel. Make several passes, increasing the pressure and angle of the tool. The goal is to achieve a smooth, even surface, ideal for applying finishing materials.
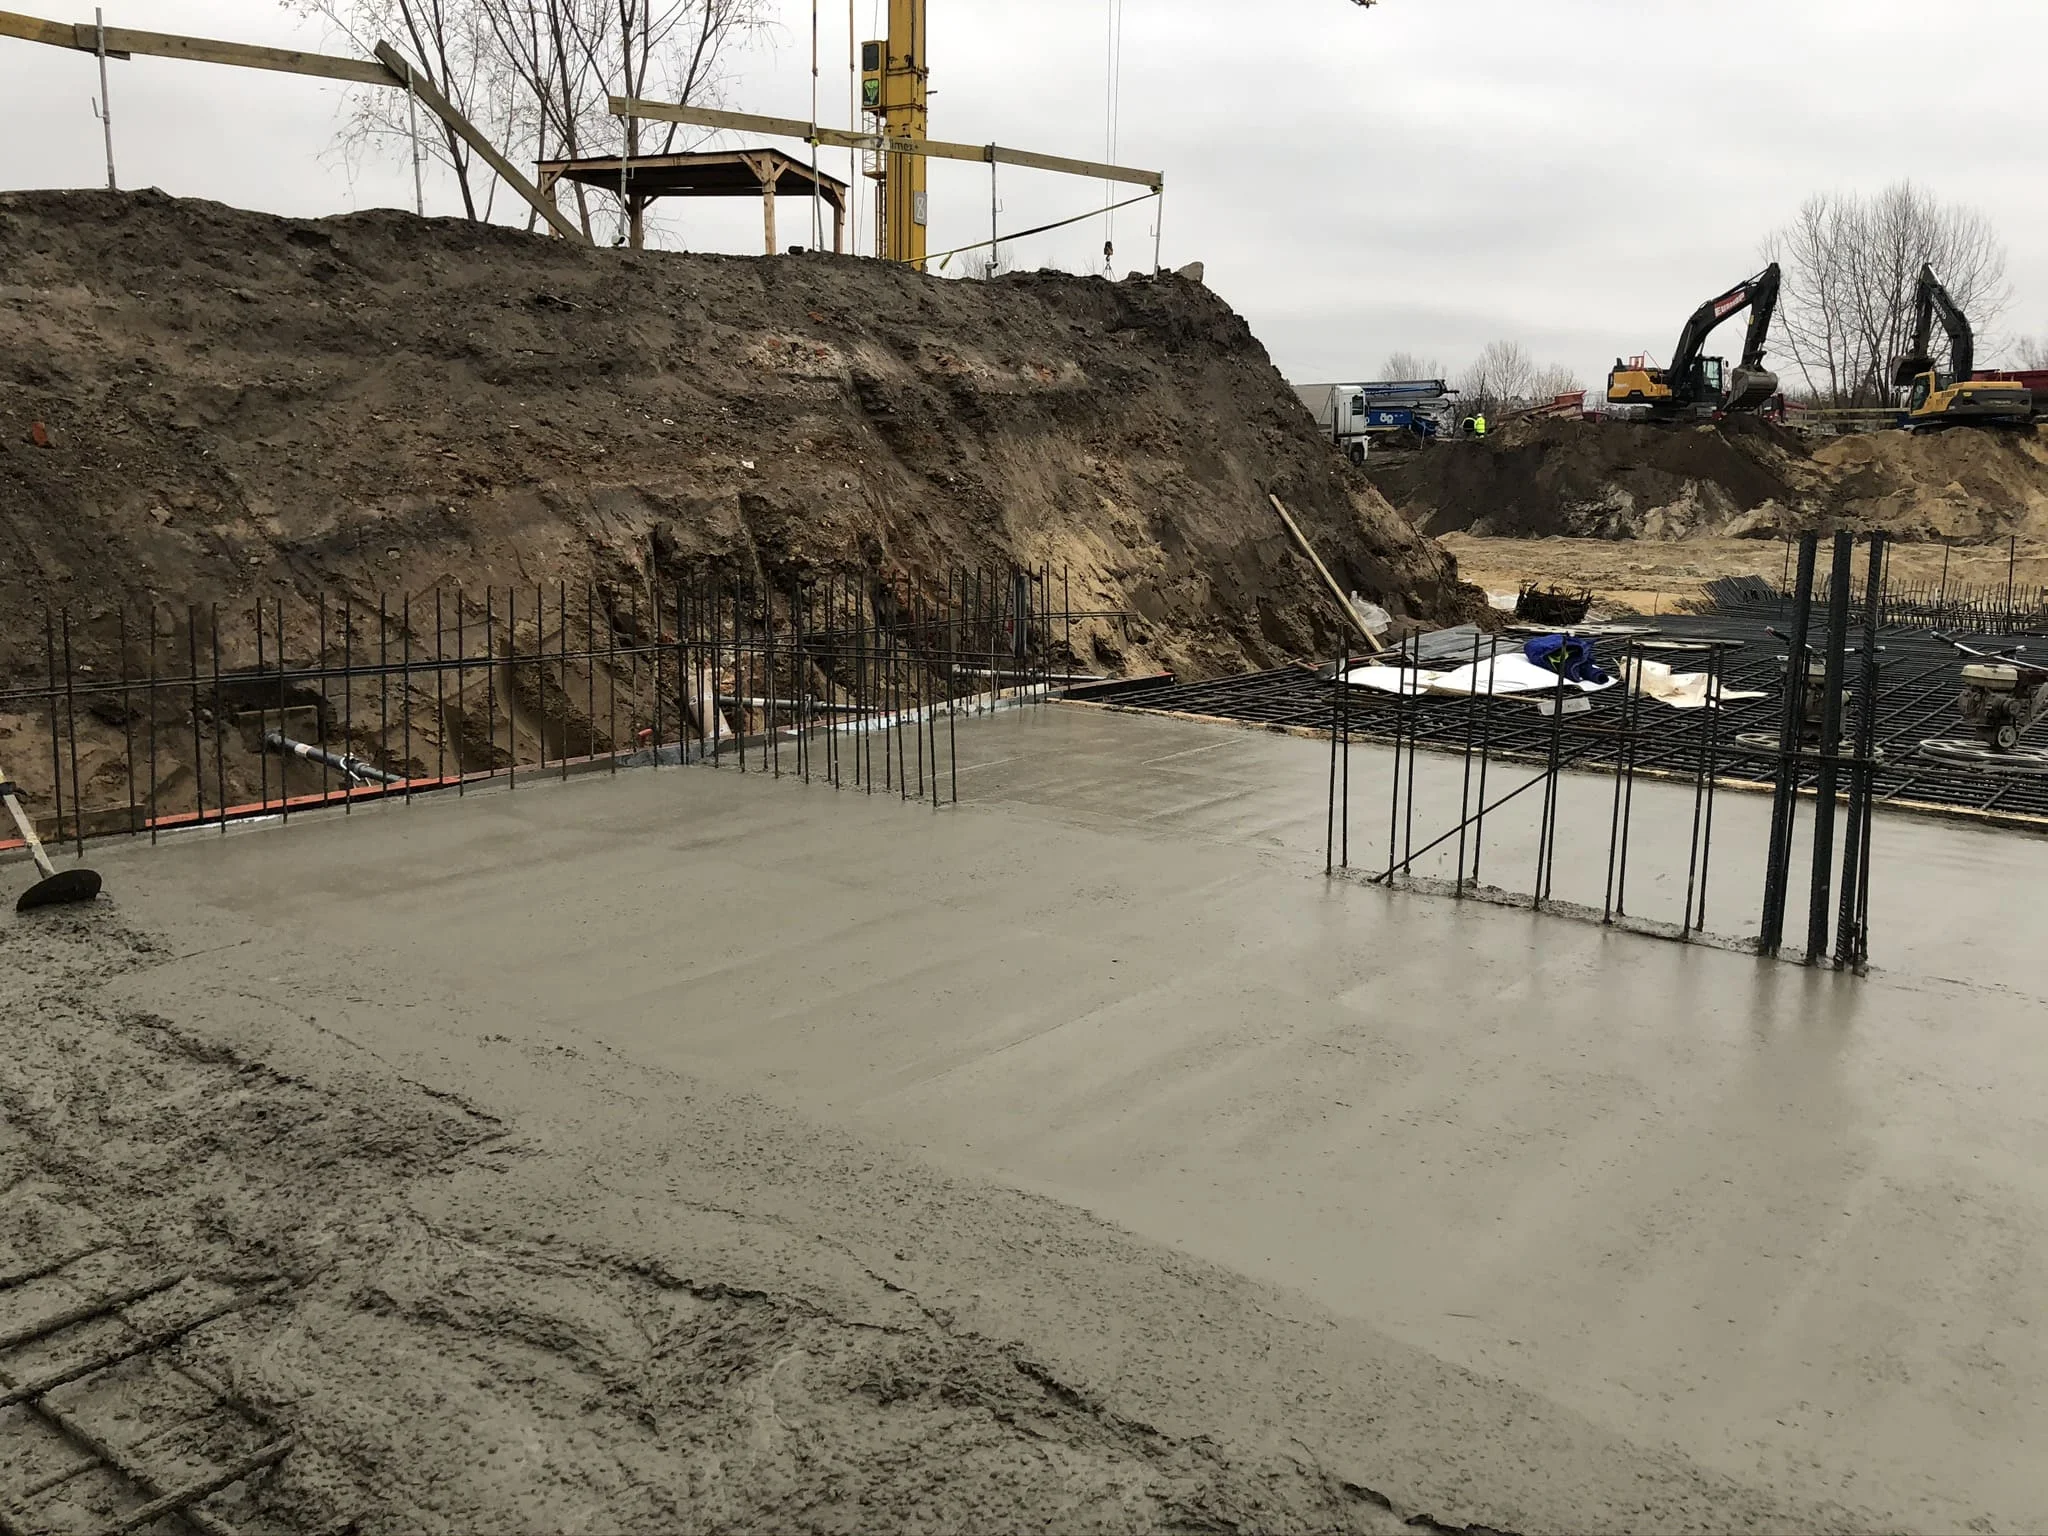
Floor layer diagram
The photo shows layers of concrete flooring consisting of insulation, foil, reinforcement and concrete.
How long does it take for a concrete screed to dry and when should the finishing material be laid?
How to care for a fresh concrete screed?
Immediately after trowelling, cover with PE foil or damp mats. Use care products (membranes, acrylic preparations) in accordance with the PN-EN 13813 standard. Proper care makes the floor resistant to damage. However, if you want to achieve polished concrete, remember that not all types of sealers are suitable for this purpose.
How to control temperature and humidity?
Maintain a temperature of 10–24°C, protected from drafts, sun, and frost. Low temperatures can inhibit setting, so insulating mats are necessary in winter (or when used outdoors). In hot weather, provide shade.
How long does the maintenance take and when can you walk on the screed?
- Cement (CT) min. 7 days of moisture maintenance, foot traffic after 7–14 days;
- Anhydrytowa (CA) pielęgnacja wg producenta, ruch pieszy po 24–48 h.
Care checklist
- Cover with foil/mats;
- Maintaining humidity and temperature.
Restriction of movement until endurance is achieved
- Cement (CT) approx. 1 day/mm up to 50 mm, then longer (e.g. 75 mm = 75+ days);
- Anhydrite (CA) 1 day/mm to 40 mm, above 2 days/mm (e.g. 75 mm = 110 days).
What factors influence drying time?
Screed thickness, temperature, air humidity, ventilation, type of substrate, accelerating additives.
How to check if the screed is ready for further work?
Before you lay ceramic tiles or laminate flooring, check the humidity:
- CM (carbide) test: CT ≤2.0% CM, CA ≤0.5–1.0% CM (depending on the facing);
- Hygrometer: relative humidity ≤75% RH.
Tests at several points, documentation of results. Statistics:
- CT drying time: 21–90 days;
- CA drying time: 7–30 days (under optimal conditions).
The most common mistakes when making a concrete screed and how to avoid them?
What causes cracks and how to prevent them?
Drying too quickly, lack of expansion joints on concrete industrial floor, incorrect proportion of ingredients, unstable substrate. Prevention - proper reinforcement, expansion joints, moisture management, control of the mixture composition.
How to recognize and repair surface dusting?
Dusting is the result of excess water, premature trowelling, or poor maintenance. Repairs include chemical hardeners, sanding, and re-trowelling. This will ensure trouble-free use of the floor.
How to avoid unevenness and delamination?
- Use laser levels, rods, control the thickness and consistency of the mixture;
- Delamination: avoid contaminating the substrate, do not rub before the water evaporates.
How much does it cost to make a concrete screed?
What are the costs of materials and labor?
- Materials (CT): 7–12 eur/m²;
- Materials (CA): 9–17 eur/m²;
- Labor: 5–10 eur/m² (depending on the region and scope of work).
How to calculate the cost of screed per square meter?
Cost = (materials + labor) × area + cost of tools (if you don't have them). Example: 50 m² × 20 eur = 1,000 eur.
What factors influence the final price?
Type and thickness of screed, type of reinforcement, degree of complexity, region, availability of materials, additional work (e.g. insulation, expansion joints).
Summary of key information
A concrete screed is a key element of any floor. Choosing the right type (cement or anhydrite), properly preparing the subfloor, selecting building materials and tools, professionally installing reinforcement, expansion joints, mixing, and application, and meticulous maintenance and quality control guarantee the durability and functionality of the floor. A floor constructed according to the highest standards will perform well in any room type. The next step may be to lay an epoxy or polyurethane resin floor. Avoid common mistakes, adhere to PN-EN standards, and use checklists and tools to support the process.
Frequently asked questions (FAQ)
| What should be the minimum thickness of the screed for underfloor heating? | CT: min. 45 mm above the pipe, CA: min. 35 mm above the pipe. |
| Can I make the screed myself? | Yes, provided health and safety regulations, standards, and thorough preparation and application are observed. Remember that outdoor concrete screeds (e.g., on a terrace) require special attention to slopes. |
| How long does it take to lay panels or tiles? | To obtain the appropriate residual humidity (CM test or hygrometer) so that the finishing material is not damaged. |
| Is anhydrite screed suitable for a bathroom? | No, it is sensitive to moisture - it is better to choose a cement mortar. |
| How to repair cracks in the screed? | Fill with epoxy resin or flexible sealant, improve expansion joints to avoid further damage to the screed. |


