Floor repair – profiling new drains in an old concrete floor
Sometimes, in a garage, basement, or covered patio, water pools in puddles with nowhere to drain. Instead of tearing up the entire floor, you can add a point drain and create a gentle slope. This is a time-consuming but doable task, even for those who enjoy DIY and have a bit of patience. Below, we'll describe a simple method: drill a hole, install a drain, profile the slope, repair with a polymer-cement mortar, and finally, seal with epoxy resin and finish with microcement.
What will you need?
Marker, tape measure, spirit level or cross laser. Drilling rig with diamond crown (wet drilling) – approx. 400 mm hole. 110 mm sewer pipe and fittings, rainwater inlet/receiver with grate. Milling machine for concrete milling.
Concrete grinder for grinding concrete, industrial vacuum cleaner. Polymer-cement repair mortar. Epoxy resin (primer and/or coating), quartz sand for topping. Microcement kit (base coat, finish coat, varnish/sealer). Mixer, trowel, buckets, expansion tape. Personal protection: goggles, dust mask, gloves, earmuffs.
Before you start
Check where you'll run the 110mm pipe and where you'll connect it to the storm sewer system. Make sure you're not drilling over utilities (electricity, water, underfloor heating). Check if safety barriers are installed.
Plan for slopes for floor repairs: ideally 1.5–2% (i.e. 1.5–2 cm per meter towards the drain). Wet work and resins typically require temperatures of 10–25°C and a dry substrate. If the floor is damp, use a dehumidifier and perform a simple film test (no condensation after 24 hours).
Designating the drain location
Mark the center of the future drain. Ideally, at the lowest natural point or wherever it's most convenient to connect the pipe. Draw a circle with a diameter of approximately 400 mm. This will provide space for a 110 mm pipe and a stable seat for the drain.
Drilling a hole
Use a floor repair drill with a diamond bit and drill wet (less dust, cleaner edges). Once the "disc" is cut, remove it, vacuum it, and clean the edges. If the floor is thick, work patiently in layers, monitoring plumb and level.
Pipe and drain installation
Lay the 110mm pipe with the required slope (usually around 2% towards the drain). Position the rainwater inlet/receiver so that its top edge is approximately 1cm below the intended floor height. This allows water to flow into the drain rather than stagnate around the grate.
Stabilize the elements with a quick-setting mortar or installation bedding for floor repair. Check the level in two directions. If you're planning a siphon, consider a drain model with a built-in siphon.
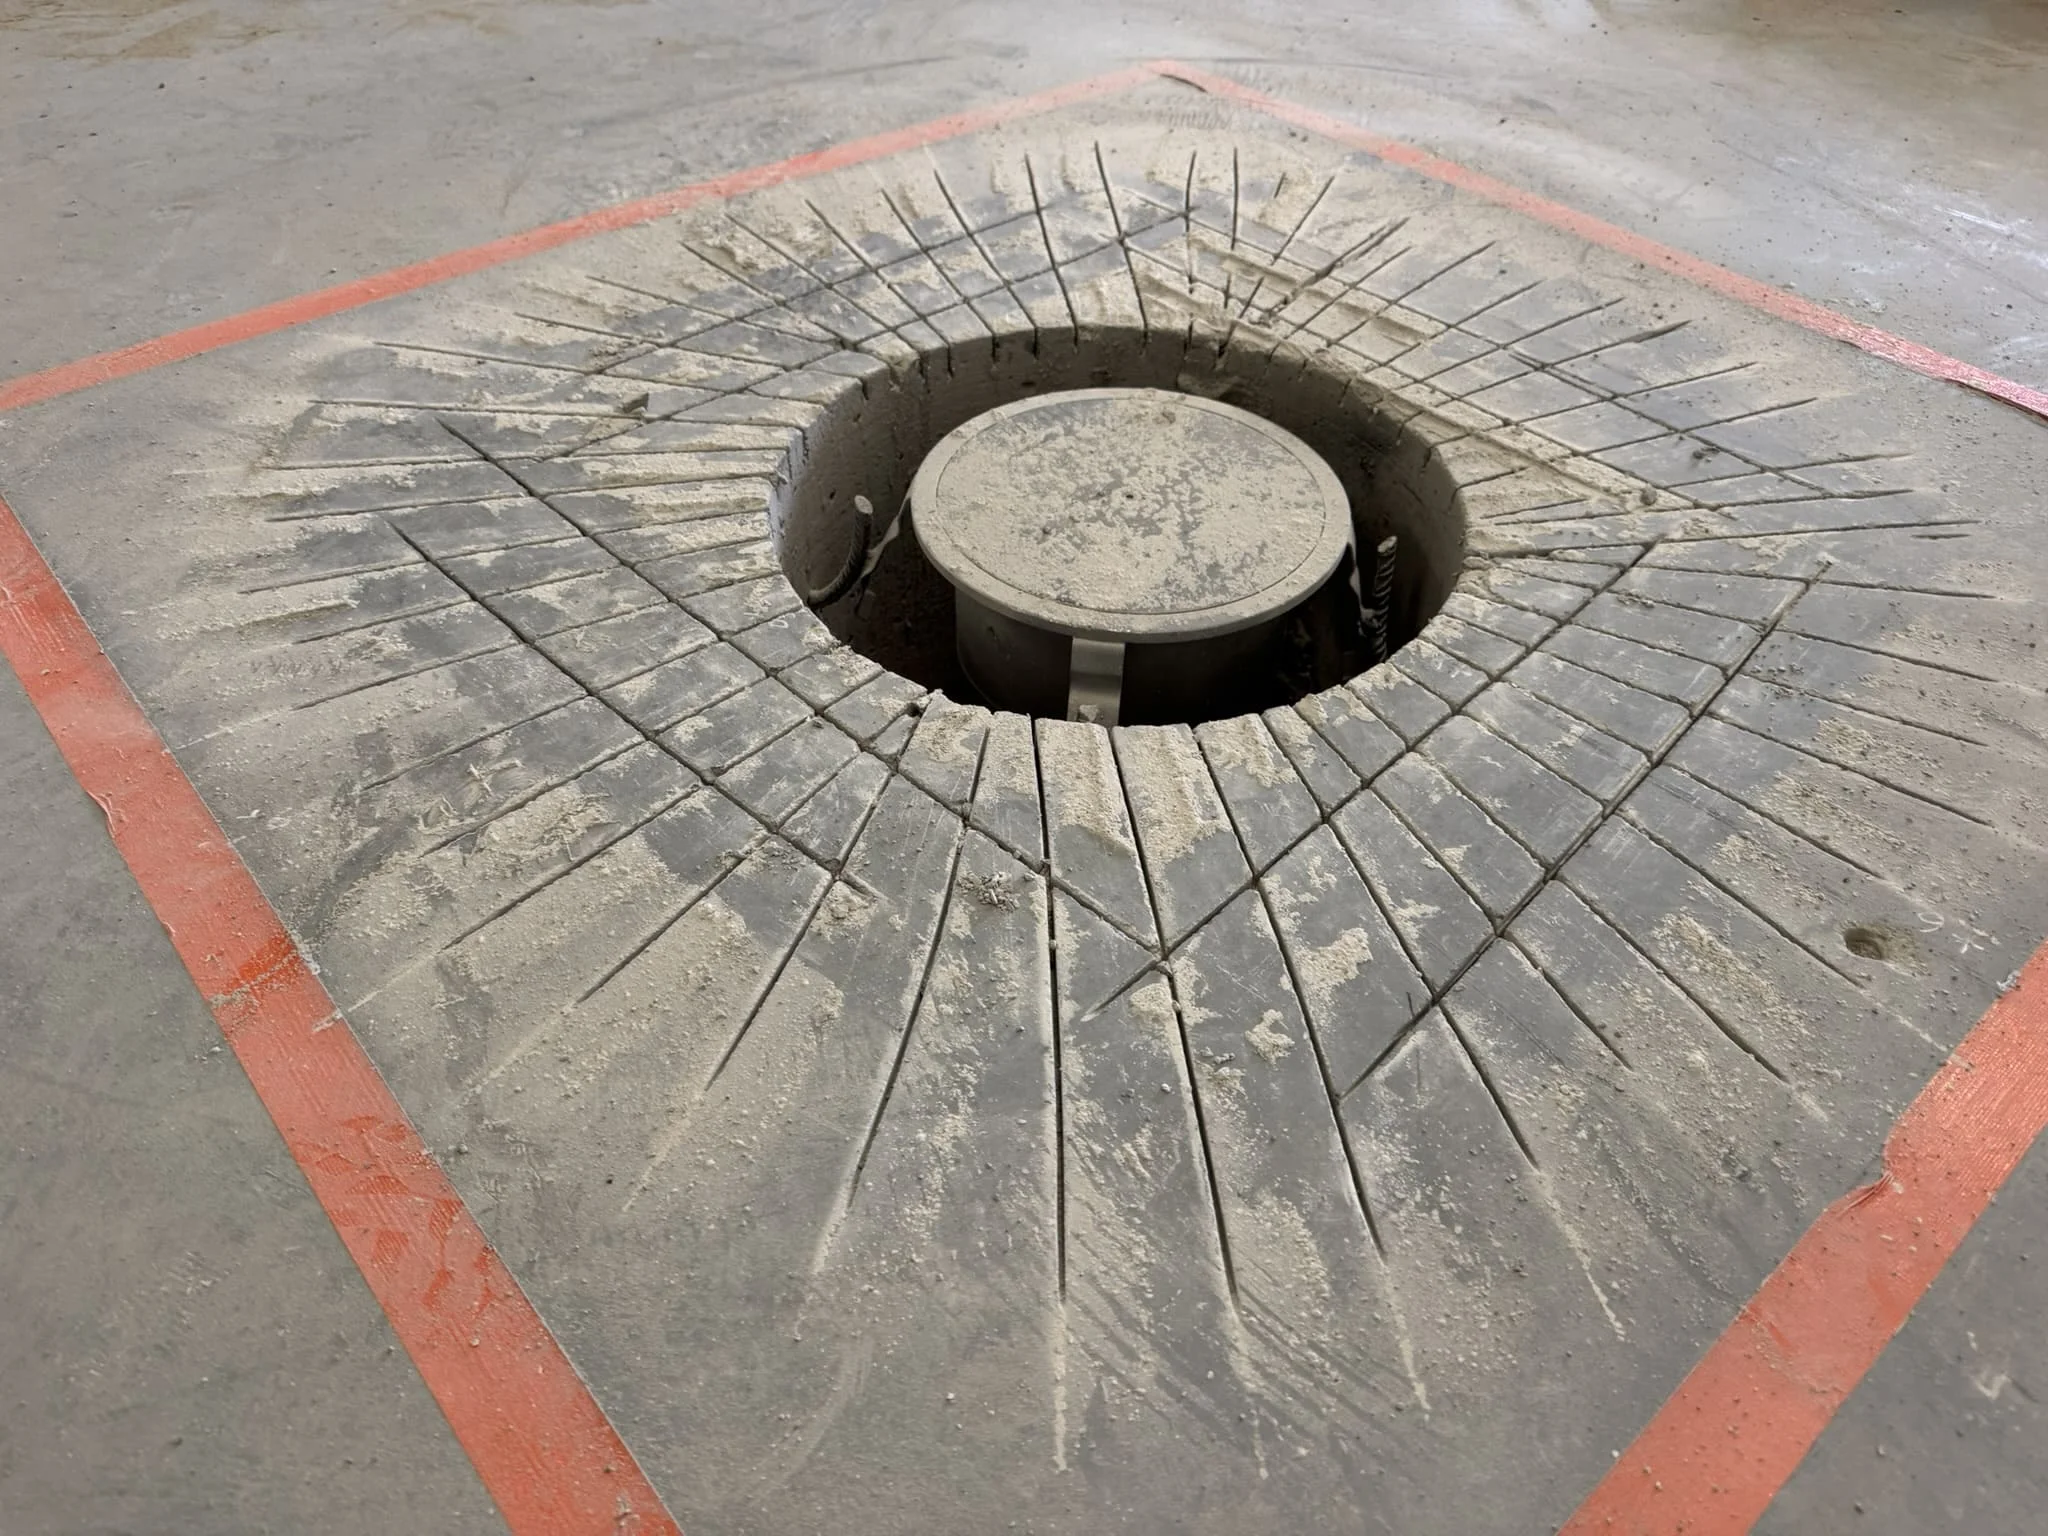
Inheritance profiling
Mark out the "bowl" area from the edge of the room toward the drain. You can apply tape with the heights marked. A laser is very helpful. Use a milling machine or concrete grinder to remove the material to achieve an even slope of 1.5–2% toward the grate. Work in stages, frequently checking the slopes with a rod and level.
Smooth edges and corners by hand with a fine thin-layer commercial cement flooring trowel to avoid "broken" creases.
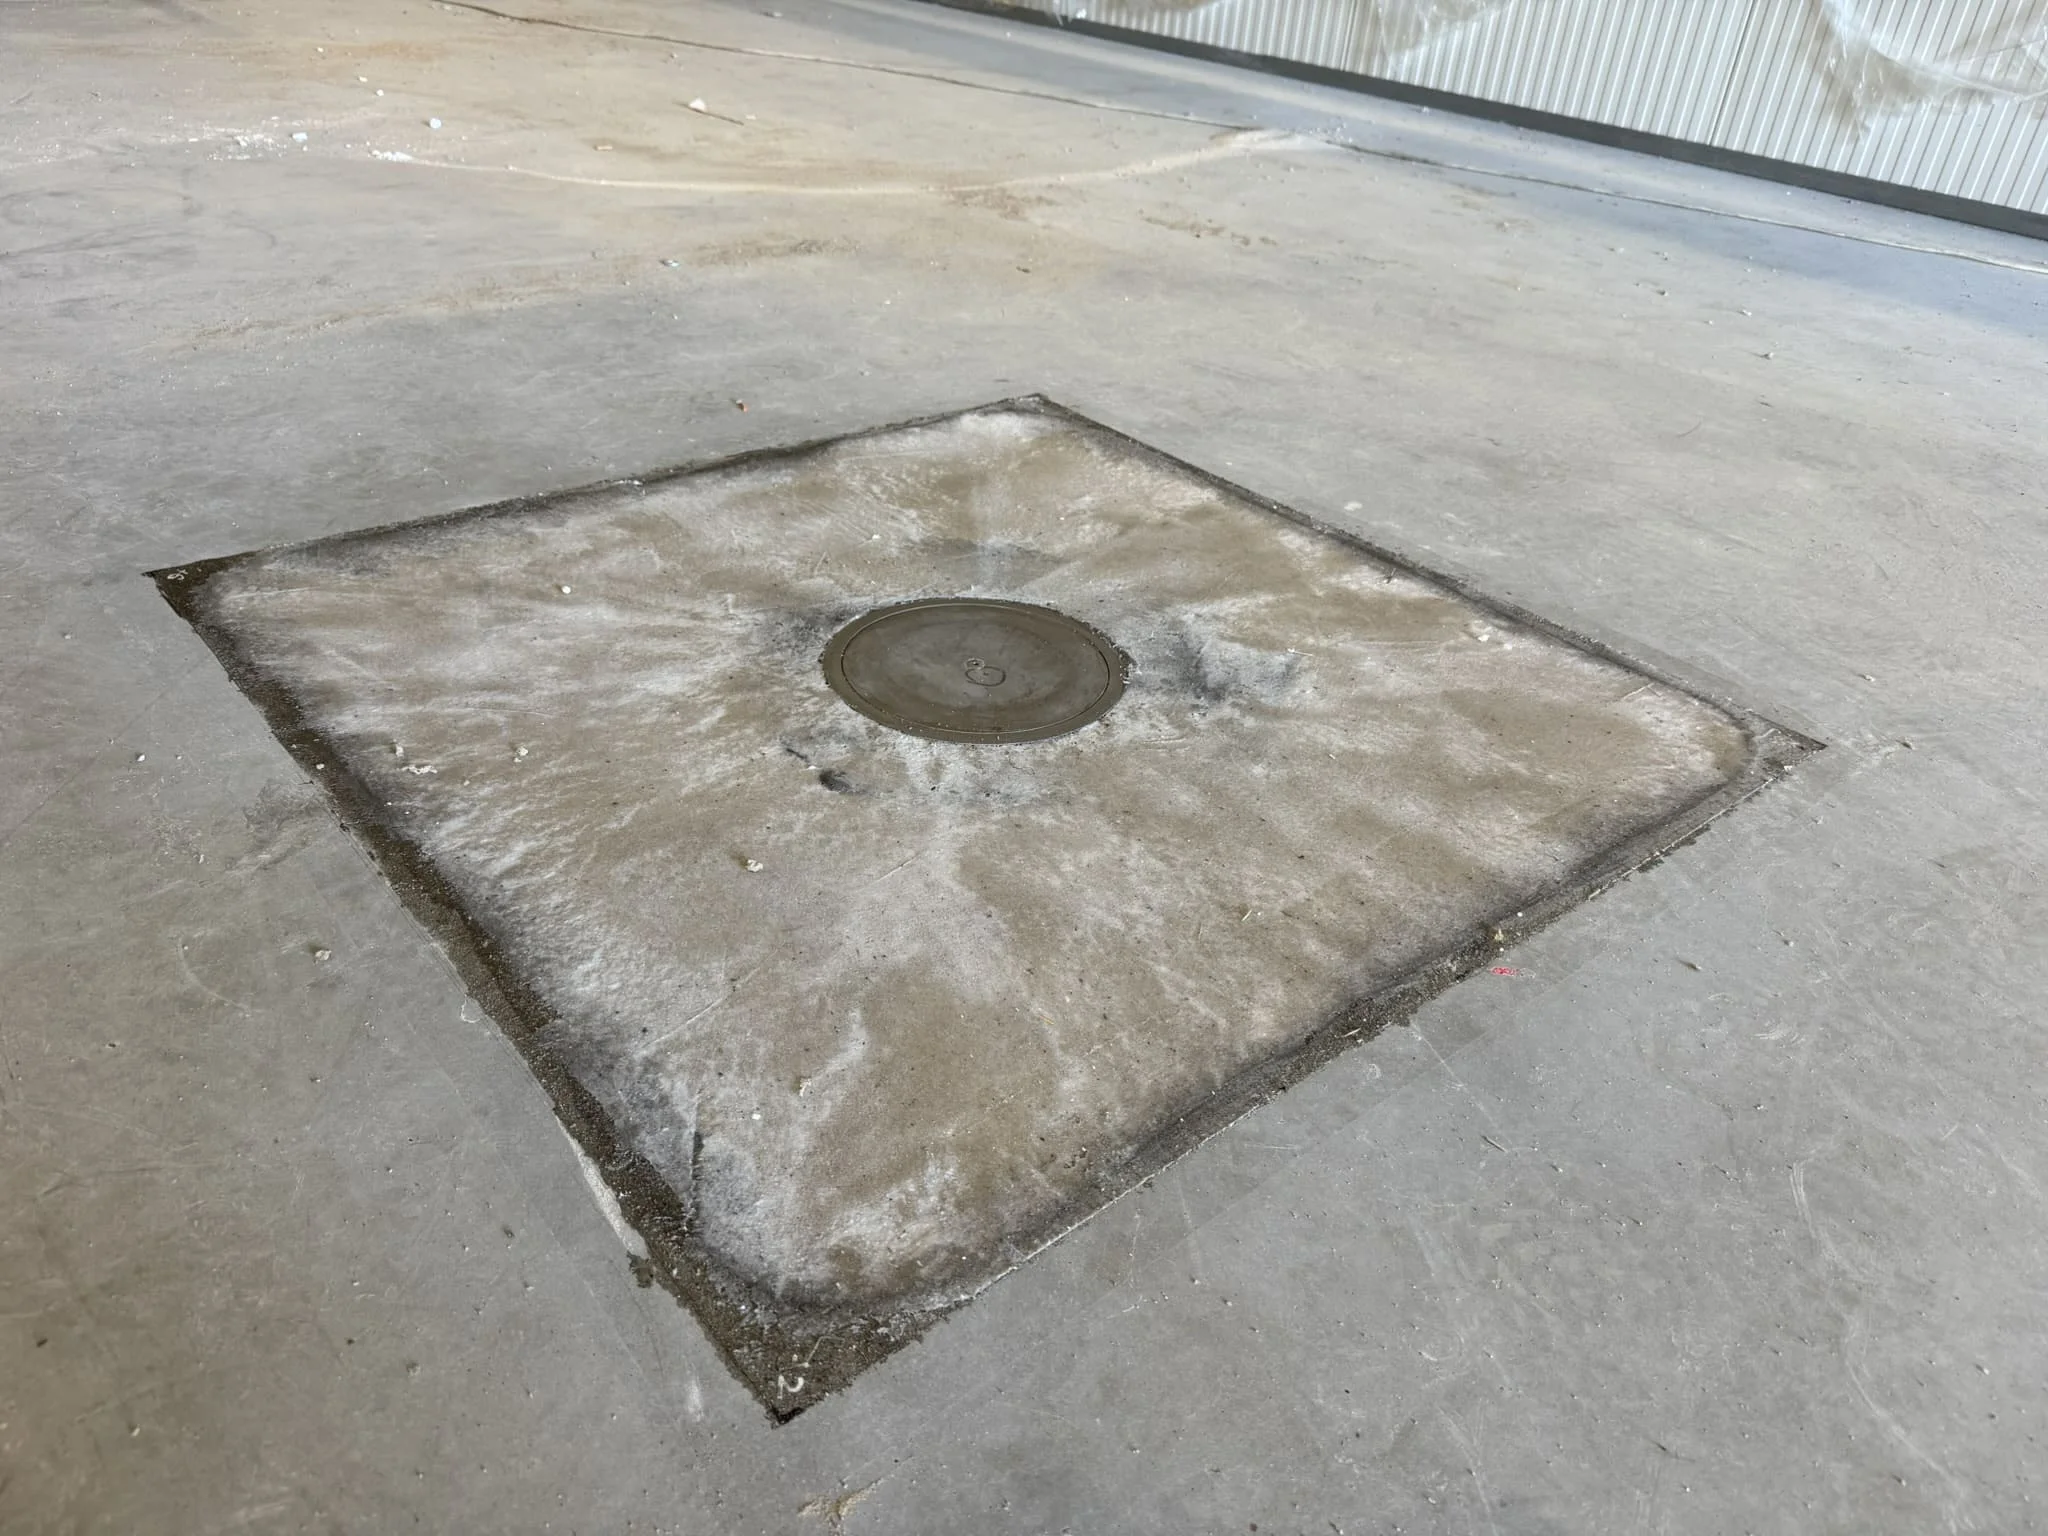
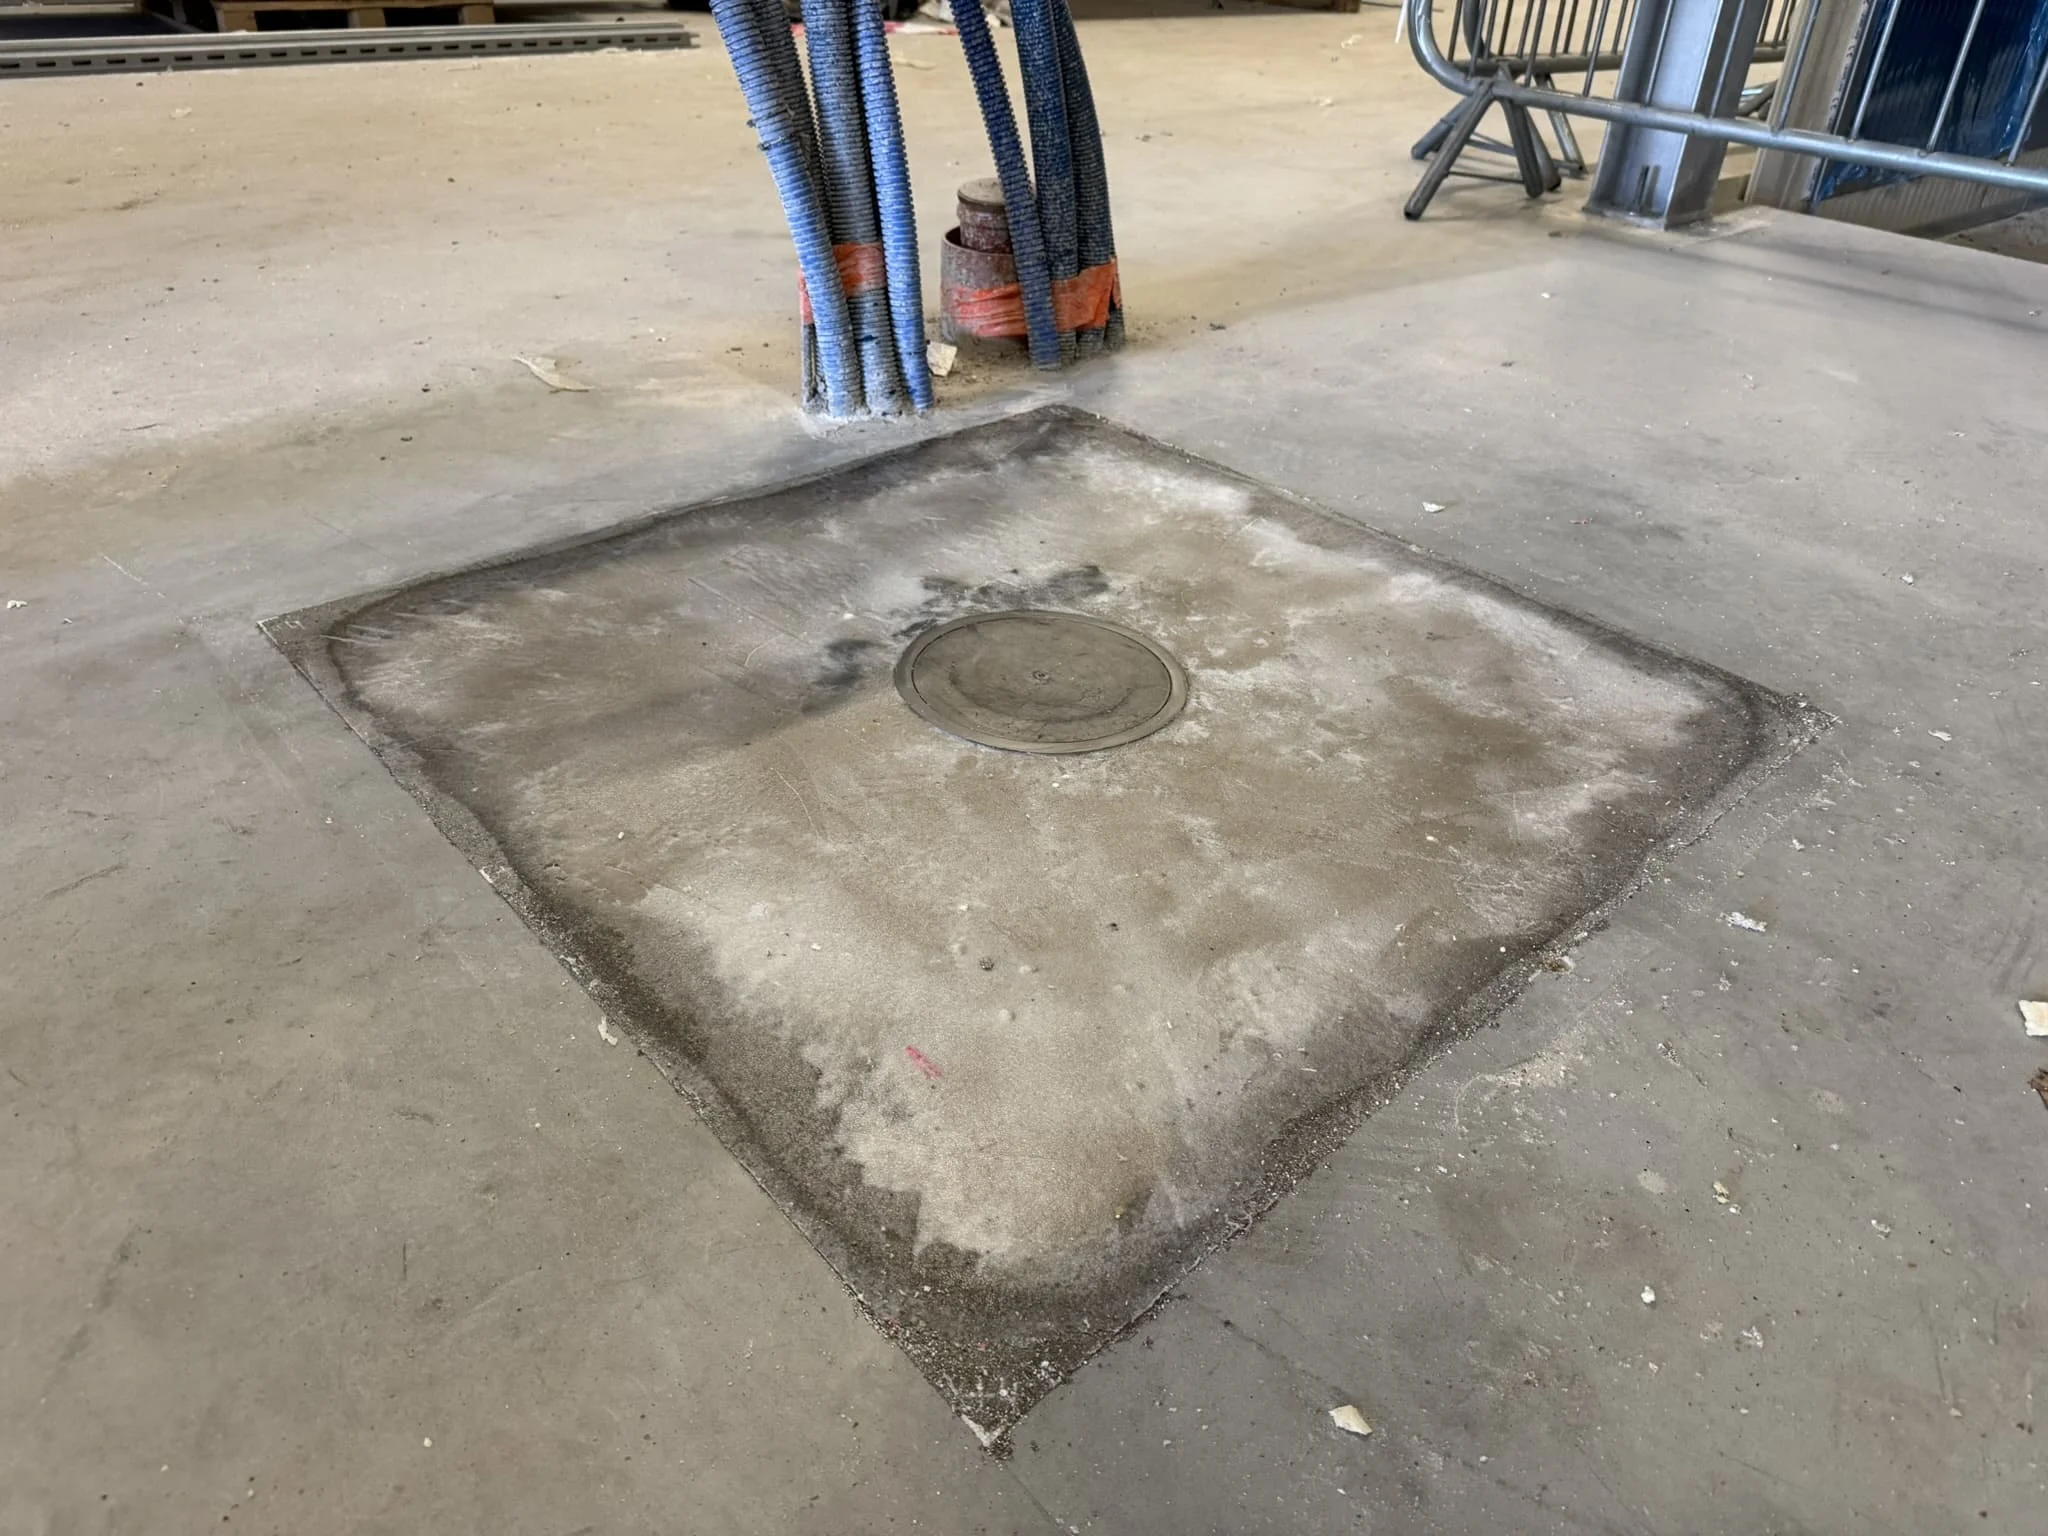
Filling the hole with a polymer-cement material
Moisten the gaps around the inlet and any empty spaces left after drilling with water (matt-damp, not wet) and prime if the mortar manufacturer requires it. Apply the polymer-cement repair mortar in layers to the industrial floor, compacting it well and pressing it into the substrate to eliminate air pockets.
Leave the required expansion joints when repairing the floor (do not bridge existing gaps). It's a good idea to use expansion tape on walls. Maintain the slope up to the edge of the grate. After initial curing, gently sand the bumps. Curing time is usually 24–48 hours.
Epoxy resin protection
Thoroughly vacuum and degrease the surface. Dust is the enemy of adhesion. Apply epoxy primer with a brush/roller. Sprinkle the fresh coat evenly with dry quartz sand (this will ensure adhesion of subsequent coats and microcement).
Once cured, remove excess sand and, if necessary, apply a second thin coat of epoxy to repair the floor. Typical curing times for resins are 12–24 hours per coat (check the product data sheet). If the surface is exposed to water more frequently, consider systemic waterproofing (e.g., an additional membrane or flexible coating in the corners).
Microcement finish
Microcement is applied thinly (usually 2–3 mm in two layers). The first is a base coat, the second is a finishing coat. Lightly sand and vacuum after each layer. Be careful not to "lose" the slopes – it's a thin material, so any ridges are visible.
Above the existing expansion joints in polished concrete, make cuts in the microcement as well. At the walls, leave a gap filled with a flexible sealant. Finally, apply a sealer or protective varnish according to the manufacturer's system. Let the coating mature before applying water (often 3–7 days).
Approximate time and costs
The entire floor repair, including maintenance breaks, typically takes 3–5 days. Materials and tool rental vary by region. A single drainage point can cost several hundred to several thousand zlotys (gully and pipes, mortar, resins, microcement, and possible drilling and milling machine rental).
Common mistakes and how to avoid them
Insufficient slope of the concrete industrial floor – aim for 1.5–2%. Less than 1% poses a risk of puddles. Align the grate flush with the floor – leave a minimum 1 cm "indentation" at the inlet. Lack of substrate preparation – dust and cement laitance reduce the adhesion of resins and microcement.
Failure to sand the epoxy primer for epoxy or polyurethane resin floors – the next layer may "slip." Failure to use expansion joints – cracks in the old slab will quickly "bleed" into the finish. Working on damp concrete – resins may swell or debond.
When to call a specialist
When you need to drill a ceiling or have underfloor heating. When connecting to an external rainwater drainage system. If the floor being repaired is weak, brittle, or severely cracked, it may require reinforcement. When a terrace or balcony requires full, flexible waterproofing within the system.
Floor repair and adding a point drain to an old concrete floor is an effective way to say goodbye to puddles. Accuracy is key: correctly positioning the drain 1 cm below the floor level, slope it evenly towards the floor, fill it thoroughly with polymer-cement mortar, and carefully seal it with epoxy resin. A microcement finish creates an aesthetically pleasing, smooth surface that reacts well with water. With a little planning and patience, you can achieve a lasting effect that will last for years.


